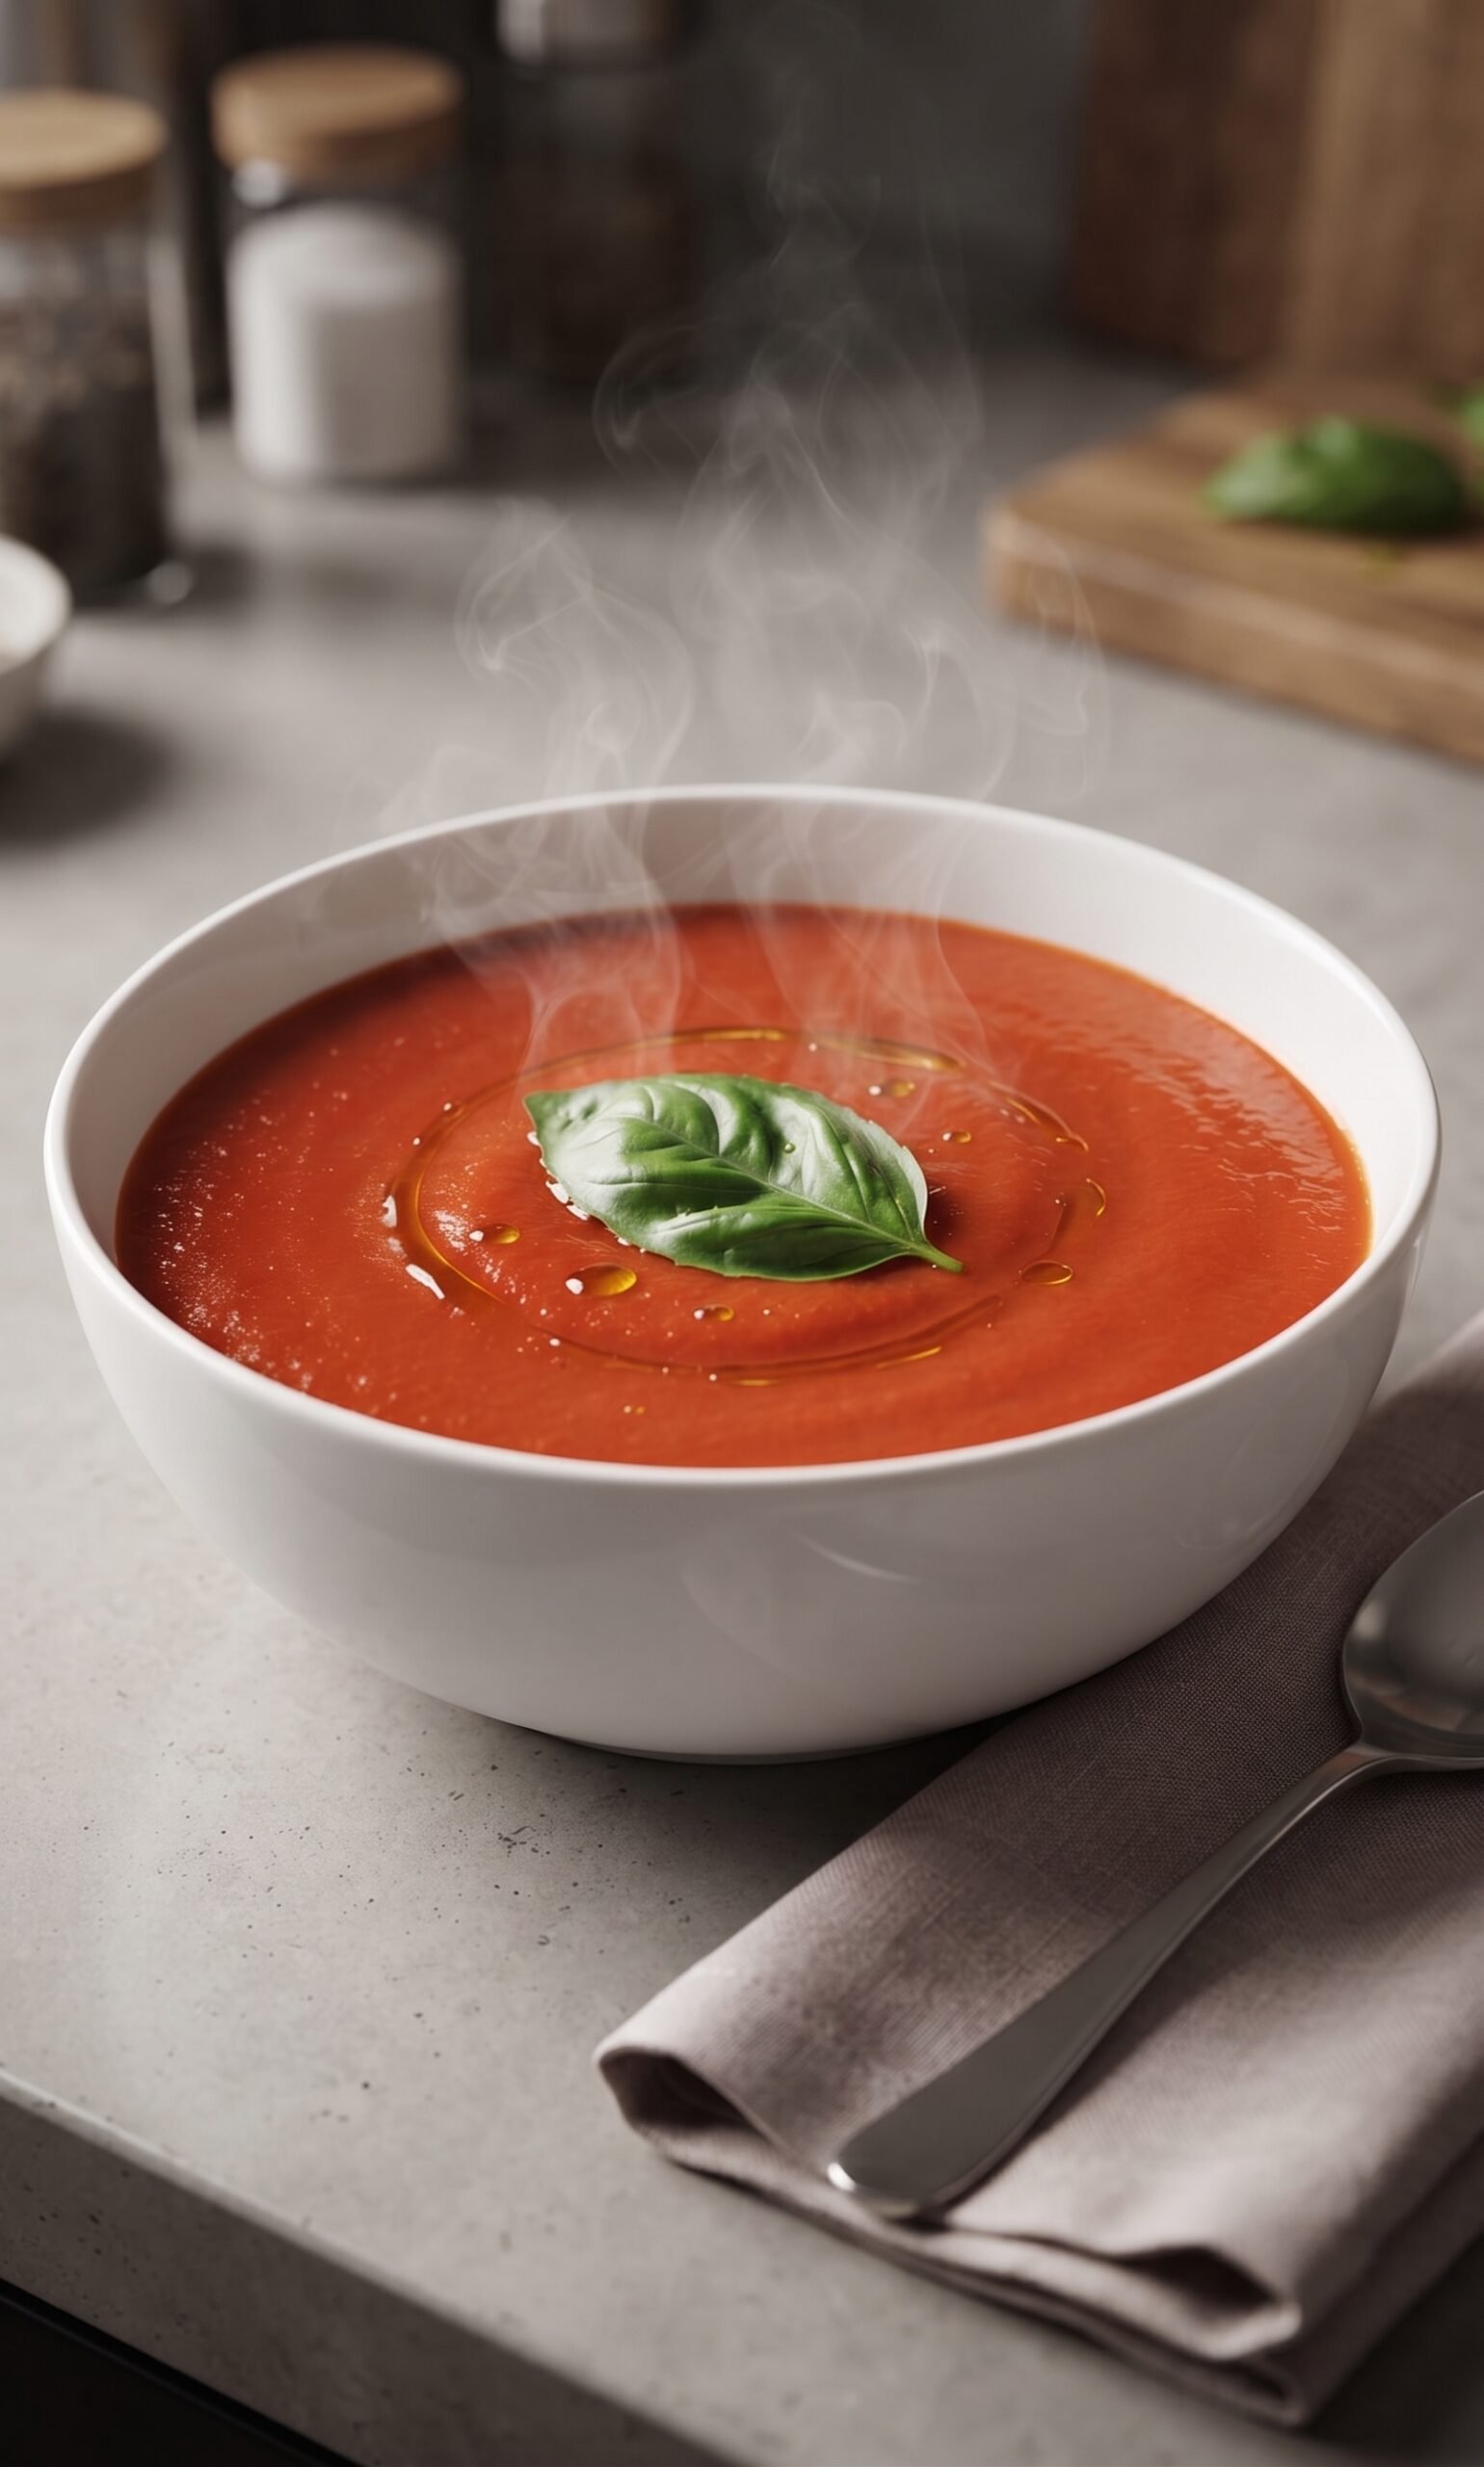
-
Prep Time: 20 minutes
-
Cook Time: 1 hour
-
Total Time: 1 hour 20 minutes
-
Intensity: Easy (Most of the time is just waiting for the veggies to roast)
-
Yields: 4-6 generous servings
-
Servings: 6
Ingredients: The Building Blocks of Flavor
To make this exceptional soup, you will need a few key ingredients that are easy to find at any grocery store, especially during peak tomato season (though canned tomatoes work beautifully in the winter!).
For the Roast:
-
3 lbs Fresh Plum Tomatoes (Roma): These are ideal for soup because they are meaty and have less water than other varieties. Look for deeply red, ripe tomatoes.
-
Winter Variation: If fresh tomatoes aren’t in season, use two 28oz cans of whole San Marzano tomatoes. Drain them well and proceed with the roasting step.
-
-
2 Large Sweet Onions (like Vidalia or Walla Walla): These provide a sweet, savory base. Coarsely chop them.
-
1 Whole Head of Garlic: This seems like a lot, but fear not! Roasting a whole head mellows the garlic, making it sweet and nutty rather than pungent and sharp. We’ll slice off the top to expose the cloves.
-
3-4 tablespoons Extra Virgin Olive Oil: This is essential for caramelizing and roasting the vegetables. Don’t skimp!
-
1 tablespoon Balsamic Vinegar: This adds a deep, subtle sweetness and a touch of acid that cuts through the rich tomatoes.
-
1 teaspoon Dried Oregano: This adds an earthy, herbaceous note that deepens as it roasts.
-
1 teaspoon Kosher Salt: Use kosher salt, not table salt, for a cleaner, less metallic flavor.
-
1/2 teaspoon Freshly Ground Black Pepper: Adjust to your preference.
For the Pot:
-
4 cups Vegetable or Chicken Stock (Broth): Choose a high-quality stock. If you want a richer soup, use chicken stock. For a strictly vegetarian/vegan version, use a good vegetable stock.
-
1/4 cup Unsalted Butter (or Olive Oil for Vegan): This adds a beautiful richness and sheen to the finished soup.
-
2 teaspoons Tomato Paste: This intensifies the tomato flavor and gives the soup a deeper color.
-
1/2 cup Fresh Basil Leaves: This is non-negotiable for that authentic “Roasted Tomato Basil” taste. We add it at the very end to preserve its bright flavor.
-
Salt & Pepper to Taste: Your palate is the final judge. Always taste and adjust seasoning before serving.
Step-by-Step Instructions: Mastering the Magic
Phase 1: Roasting the Foundation
-
Preheat and Prep: Preheat your oven to 400°F (200°C). Line a large, rimmed baking sheet with parchment paper for easy cleanup.
-
Prep the Tomatoes: Wash the tomatoes and slice them in half lengthwise.
-
Prep the Garlic: Take the head of garlic and slice off the top 1/2 inch to expose the cloves inside. Drizzle with a little olive oil and wrap it loosely in a small piece of aluminum foil.
-
Toss the Veggies: On your prepared baking sheet, toss the halved tomatoes and the chopped onions with the 3-4 tablespoons of olive oil, balsamic vinegar, dried oregano, 1 teaspoon of salt, and 1/2 teaspoon of pepper. Spread them out in a single layer. Place the foil-wrapped garlic packet right in the center of the tray.
-
Roast: Roast in the preheated oven for 45-60 minutes. The tomatoes should be deeply caramelized, with charred edges, and the onions should be soft and golden. The garlic cloves inside the packet will be completely soft and golden brown.
-
Cool Slightly: Remove from the oven and let the tray cool for about 10 minutes before handling.
Phase 2: Building the Soup
-
Sauté Aromatics: While the veggies roast, melt the 1/4 cup of butter (or olive oil) in a large Dutch oven or heavy-bottomed soup pot over medium heat. Add the 2 teaspoons of tomato paste and cook, stirring constantly, for about 1 minute until it deepens in color and becomes fragrant. This “blooms” the tomato paste and removes its raw flavor.
-
Transfer and Deglaze: Carefully transfer all the roasted tomatoes, onions, and their flavorful juices from the baking sheet into the soup pot.
-
Squeeze the Garlic: Unwrap your roasted garlic packet. Carefully squeeze the soft, caramelized garlic cloves from their skins directly into the pot. You can use a fork to help if needed. The cloves will be like a sweet garlic paste.
-
Add Stock: Pour in the 4 cups of vegetable or chicken stock. Use a wooden spoon to scrape up any caramelized bits stuck to the bottom of the pot (this is called deglazing and adds immense flavor!).
-
Simmer: Bring the mixture to a gentle simmer. Reduce the heat to low, cover the pot, and let it cook for 20 minutes to allow the flavors to meld together.
Phase 3: Finishing and Blending
-
Add Basil: Remove the pot from the heat. Stir in the 1/2 cup of fresh basil leaves. The residual heat will wilt the basil and infuse the soup without destroying its fresh flavor.
-
Blend: This is where your appliance of choice comes in.
-
Immersion Blender (Easiest Method): Place your immersion blender directly into the pot and blend until the soup is completely smooth and creamy. This can take a minute or two.
-
Stand Blender (Smoothest Method): Working in batches, carefully ladle the hot soup into a high-powered blender. Crucially: Remove the center cap from the blender lid and cover the opening with a folded kitchen towel. This allows steam to escape, preventing a pressure buildup that could cause the lid to explode. Blend on high until perfectly smooth, then transfer to a clean bowl or pot.
-
-
Taste and Adjust: This is the final step of perfection. Taste your soup. Does it need more salt? A pinch of sugar to balance the acidity (though roasting usually prevents this)? A squeeze of lemon juice to brighten it up? Adjust seasoning to your liking.
Serving Suggestions: Elevating Your Bowl
This soup is incredible on its own, but why stop there? Here are some classic and creative ways to serve it.
-
The Classic Combo: The ultimate pairing is a crispy, melty Grilled Cheese Sandwich. Use sourdough, cheddar, and plenty of butter. The salty, cheesy crunch is the perfect textural counterpart to the smooth soup.
-
Garnish with Herby Goodness: Top your bowl with a swirl of extra virgin olive oil, a few whole fresh basil leaves, or a sprinkle of freshly chopped chives.
-
Add a Touch of Luxury: For a richer, more decadent soup, stir in 1/2 cup of heavy cream or full-fat coconut milk just before blending.
-
Something Crunchy: Instead of a full sandwich, top the soup with homemade garlic croutons, toasted pumpkin seeds, or crispy fried shallots.
-
Serve with Bread: A crusty baguette or a loaf of ciabatta is perfect for dipping and ensuring you get every last drop of that delicious broth.
Storage Instructions
This soup is fantastic for meal prep and tastes even better the next day.
-
Refrigerator: Let the soup cool completely to room temperature. Transfer it to an airtight container and store in the refrigerator for up to 5 days.
-
Freezer: The soup freezes beautifully. Cool completely and freeze in individual portions or a large container, leaving an inch of headspace for expansion. It will keep in the freezer for up to 3 months. Thaw overnight in the refrigerator and reheat gently on the stovetop over medium-low heat, stirring occasionally, until hot.
Nutritional Information
Note: The following values are estimates and will vary based on the specific brands of ingredients you use and the amount of butter/oil in your serving. The calculation below is based on 6 servings using vegetable stock and butter.
-
Serving Size: 1 1/2 cups
-
Calories: 210
-
Total Fat: 12g
-
Saturated Fat: 6g
-
-
Cholesterol: 30mg
-
Sodium: 650mg
-
Total Carbohydrates: 24g
-
Dietary Fiber: 6g
-
Sugar: 12g (primarily natural sugars from the tomatoes and onions)
-
-
Protein: 4g