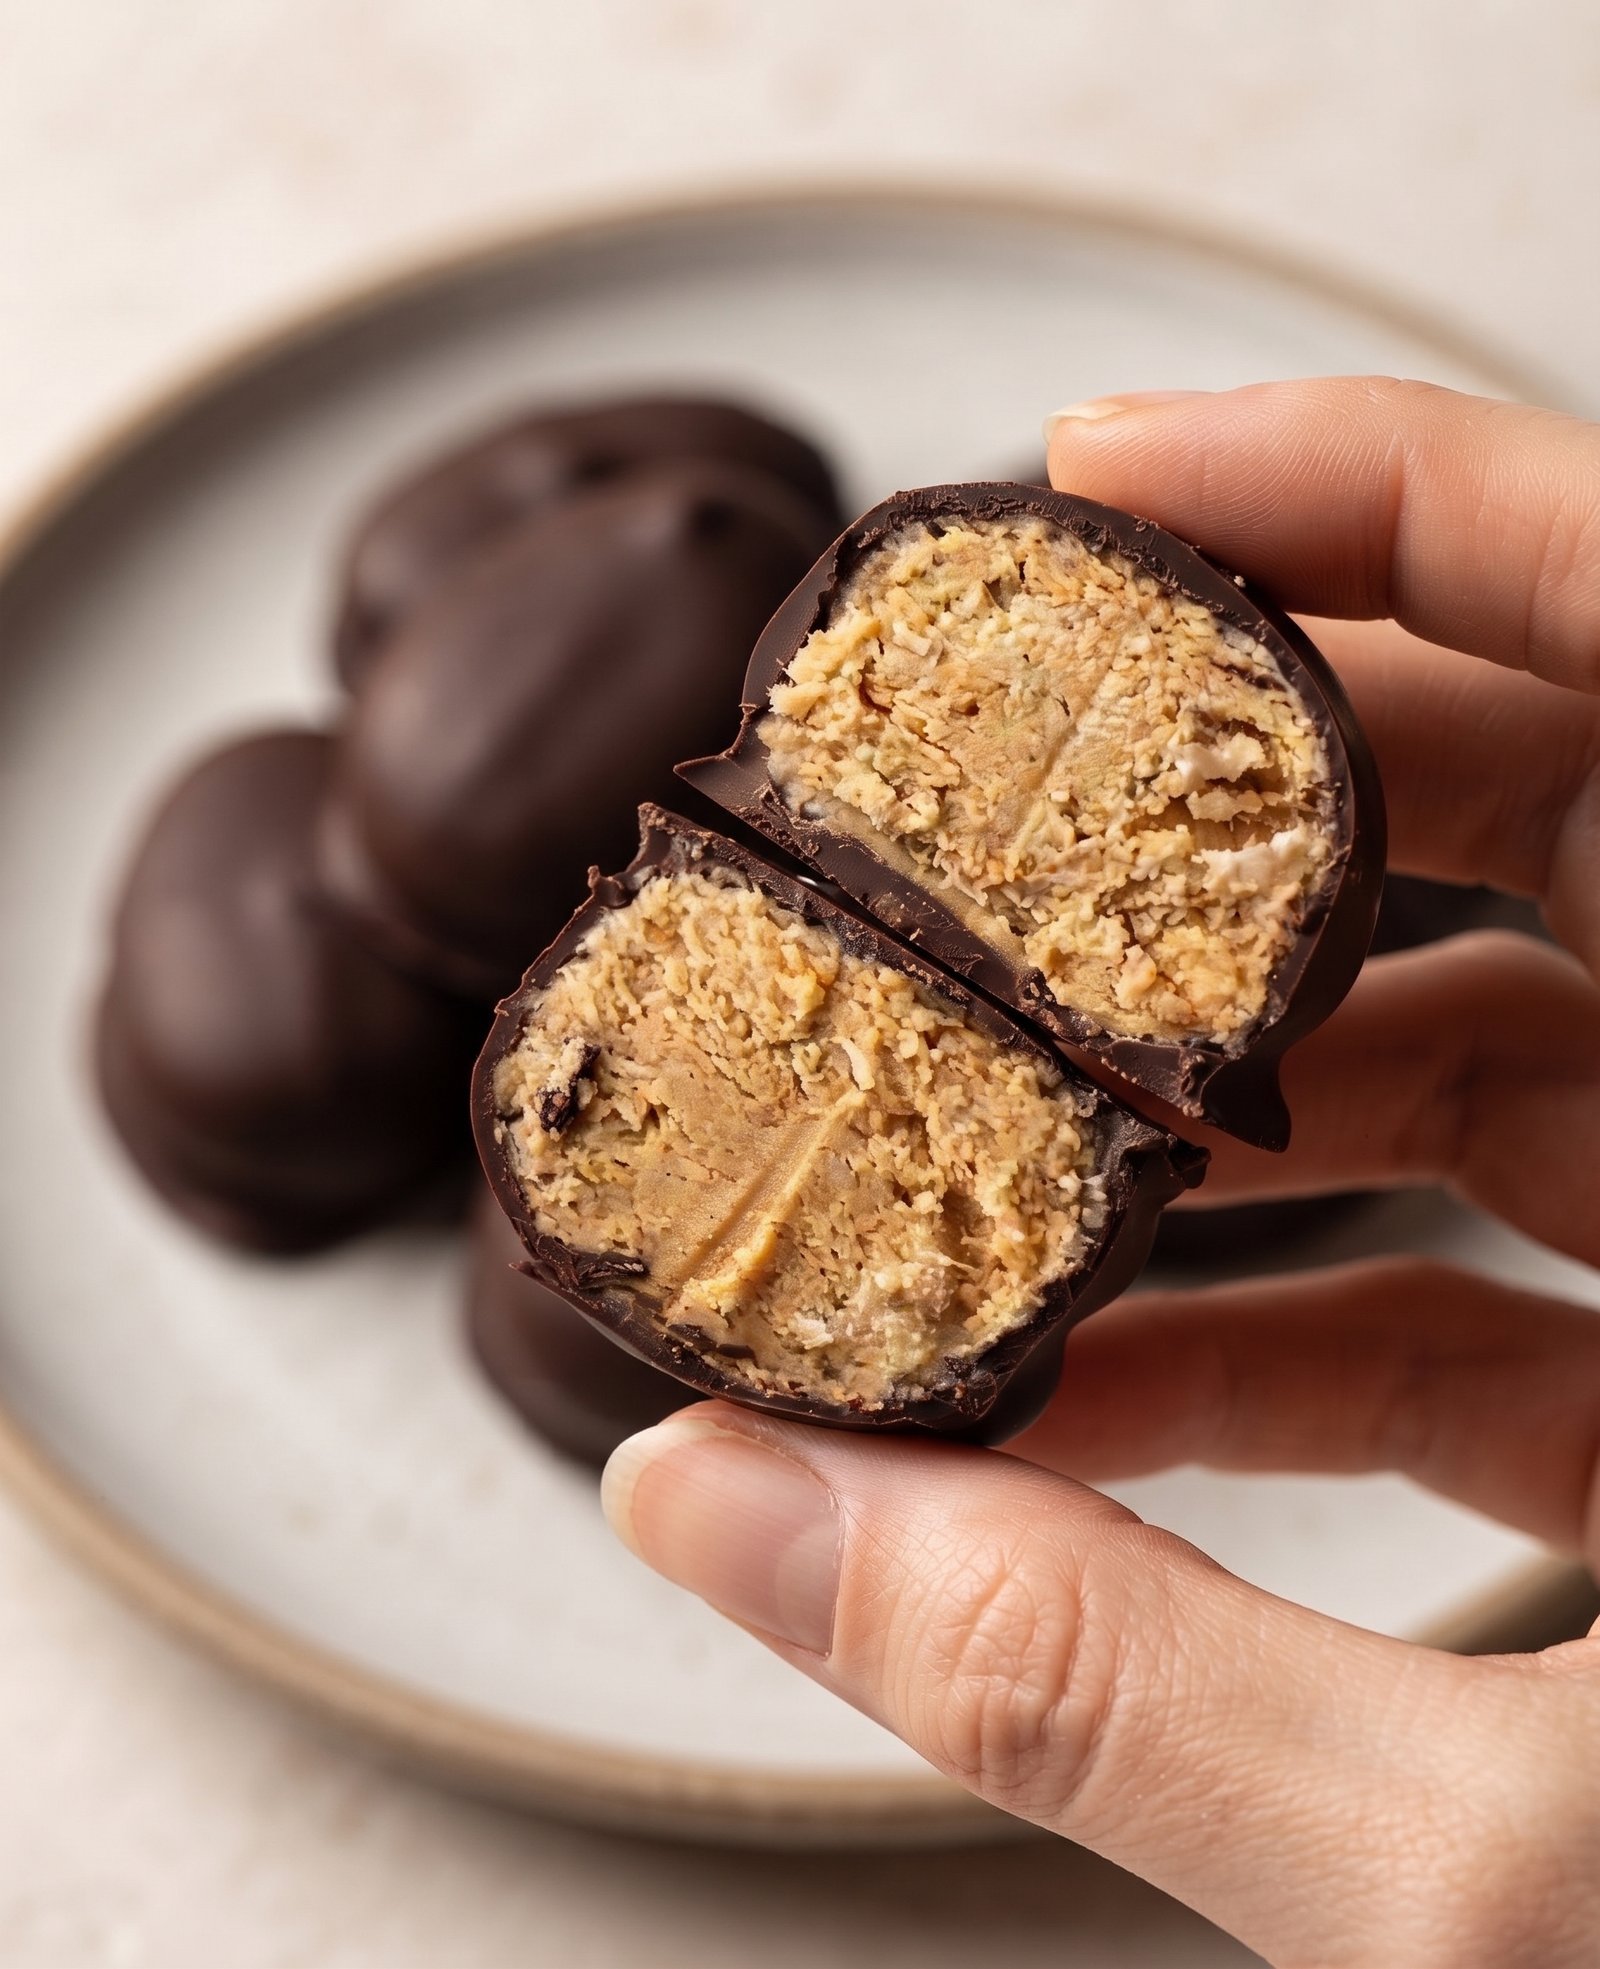
-
Prep Time: 15 minutes
-
Chill Time: 30 minutes (optional, but recommended for best texture)
-
Total Time: 45 minutes
-
Intensity: Super Easy (If you can stir and roll, you can make this).
-
Yields: 16-20 protein balls (depending on the size you roll).
-
Serving Size: 1-2 protein balls.
Ingredients: Simple, Real Foods
You likely already have many of these items in your pantry. We recommend using high-quality ingredients for the best flavor.
The Base:
-
Old-Fashioned Rolled Oats (1 1/2 cups): This provides the main structure, complex carbohydrates, and fiber. Be sure to use certified gluten-free oats if you have a sensitivity. Do not use quick oats or instant oats, as they will result in a mushy texture.
-
Creamy Natural Peanut Butter (1 cup): This is the “glue” and the primary source of healthy fats and protein. Use a natural variety where the only ingredients are peanuts and salt (optional). Avoid brands with added hydrogenated oils or excessive sugar. The drippier the peanut butter, the better it binds the mix.
The Power-Ups:
-
Protein Powder (1/2 cup): The name of the game! This boosts the protein content significantly. A chocolate-flavored protein powder works best here to amplify the cocoa flavor. We recommend a whey isolate or a plant-based blend.
-
Ground Flaxseed or Chia Seeds (1/4 cup): An optional but highly recommended nutritional powerhouse. These add Omega-3 fatty acids and extra fiber, without altering the flavor.
The Flavor and Sweeteners:
-
Unsweetened Cocoa Powder or Cacao Powder (1/4 cup): This gives the balls their rich, chocolatey taste.
-
Honey or Maple Syrup (1/3 cup): This provides the necessary sweetness and helps bind the ingredients. Maple syrup keeps the recipe vegan. Adjust the amount based on your preference for sweetness.
-
Pure Vanilla Extract (1 teaspoon): This rounds out the chocolate and peanut butter flavors.
The “Extras”:
-
Mini Chocolate Chips (1/4 cup): An essential addition for that extra burst of chocolate in every bite. Feel free to use dairy-free or dark chocolate chips.
-
A Pinch of Salt (1/4 teaspoon): This enhances all the flavors, especially the chocolate and peanut butter. If your peanut butter is unsalted, definitely add this pinch.
Step-by-Step Instructions
Step 1: Combine the Dry Ingredients
In a large mixing bowl, add the rolled oats, protein powder, ground flaxseed (or chia seeds), cocoa powder, and salt. Use a sturdy spoon or a whisk to stir everything together until the mixture is uniform. Breaking up any clumps in the cocoa powder is key.
Step 2: Add the Wet Ingredients
To the bowl of dry ingredients, add the creamy natural peanut butter, honey (or maple syrup), and vanilla extract.
Step 3: Mix It Thoroughly
This is the most important step! Start stirring with your spoon. The mixture will seem dry at first—you might even wonder if it will ever come together. Keep going. Use the back of your spoon to press and fold the wet ingredients into the dry ones. As you mix, the warmth and pressure will help the peanut butter and honey coat every oat. Eventually, you will have a thick, sticky, uniform “dough.” You can use your clean hands for the final few mixes to ensure everything is fully incorporated.
Step 4: Fold in the Chocolate Chips
Pour the mini chocolate chips over the dough. Gently fold them in with your spoon or hands just until they are evenly distributed. Try not to over-mix, as this can break the chips.
Step 5: Roll Into Balls
Scoop out portions of the dough using a tablespoon or a small cookie scoop (this ensures uniformly sized balls). Roll each scoop between your palms to form a smooth sphere. Place the finished balls on a large plate or a parchment-lined baking sheet. If the dough is too sticky to roll, wet your hands slightly with water before rolling.
Step 6: Chill (The Waiting Game)
While you can eat them immediately, the texture is vastly improved by chilling. Place the plate of protein balls in the refrigerator for at least 30 minutes. This allows the oats to absorb some of the moisture from the peanut butter and honey, resulting in a firmer, chewier, and more delicious bite.
Tips for Perfect Protein Balls
-
Too Dry? If your “dough” is crumbly and won’t stick together when you try to roll it, your peanut butter might have been too thick, or you added too many dry ingredients. The fix is simple: add a teaspoon of peanut butter or honey at a time and mix again until it reaches the right consistency.
-
Too Sticky? If the dough is impossible to handle and sticks aggressively to your hands, it’s too wet. The fix: sprinkle in a tablespoon of oats or protein powder and mix again. Also, chilling the “dough” for 10 minutes before rolling can make it much easier to manage.
-
Use a Cookie Scoop: For professional-looking, evenly sized balls, use a small cookie scoop. It saves time and makes portion control a breeze.
-
Make It Look Pretty: For an extra touch, roll the finished balls in extra cocoa powder, shredded coconut, or crushed peanuts before chilling.
Recipe Variations
This recipe is a template. Feel free to make it your own.
-
Nut-Free: Swap the peanut butter for sunflower seed butter (“sun butter”) and omit the chocolate chips (check labels for cross-contamination).
-
Almond Joy Vibe: Use almond butter in place of peanut butter, and add 1/4 cup of unsweetened shredded coconut to the dry mix.
-
Fruity Twist: Omit the cocoa powder. Use vanilla or unflavored protein powder, and fold in 1/4 cup of dried cranberries or finely chopped dried apricots.
-
Extra Crunch: Instead of creamy peanut butter, use crunchy peanut butter.
-
Vegan: Ensure you use a plant-based protein powder and maple syrup instead of honey.
Storage Instructions
These protein balls are fantastic for meal prep.
-
Refrigerator: Store the protein balls in an airtight container in the refrigerator. They will stay fresh and delicious for up to two weeks. The texture will firm up nicely when cold.
-
Freezer: For longer storage, freeze the balls. Place them in a single layer on a baking sheet to freeze individually (this is called “flash freezing”). Once frozen solid, transfer them to a freezer-safe bag or container. They will keep in the freezer for up to three months.
-
Serving from Frozen: You can eat them straight from the freezer—they are like little bites of ice cream! Or, let them thaw at room temperature for 10-15 minutes before enjoying.
Nutritional Information
Note: The following values are estimates and will vary based on the specific brands of ingredients you use and the size you roll your balls. The calculation is based on 18 balls using honey, whey protein powder, and mini chocolate chips.
-
Serving Size: 1 ball (approx. 30g)
-
Calories: 165 kcal
-
Total Fat: 10g
-
Saturated Fat: 3g
-
-
Sodium: 55mg
-
Total Carbohydrates: 15g
-
Dietary Fiber: 3g
-
Sugars: 7g
-
-
Protein: 6g