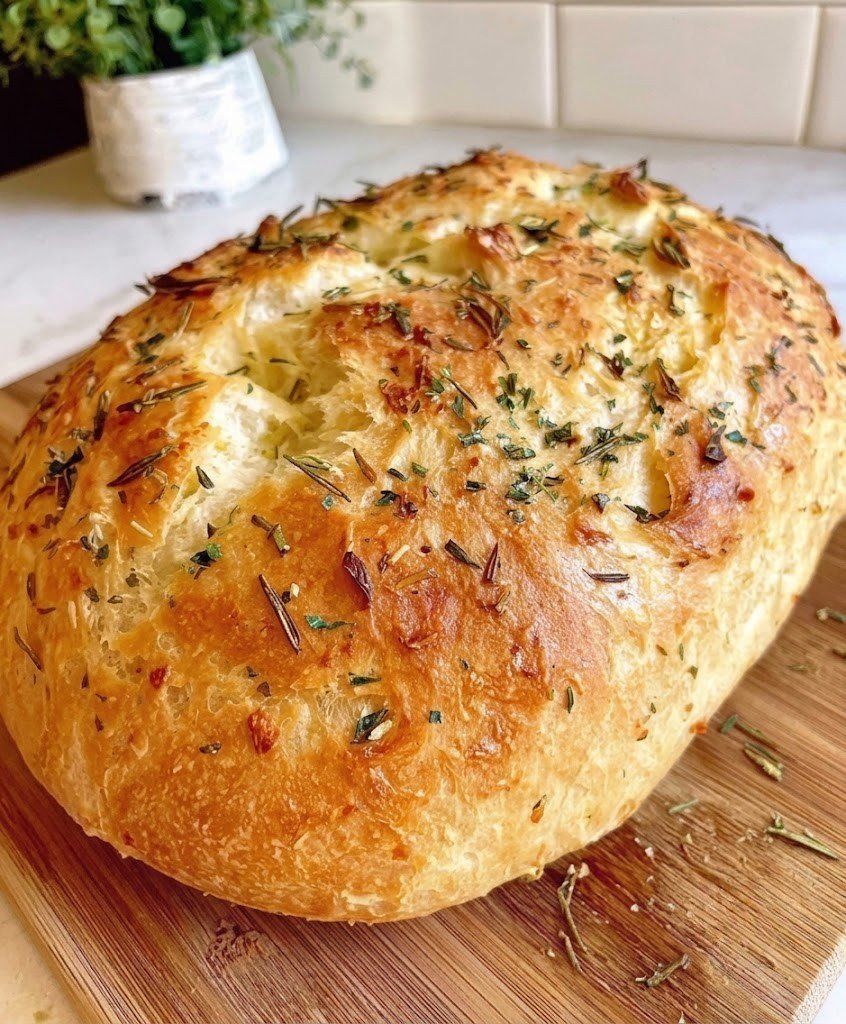
Prep Time: 15 minutes
Resting Time: 12–18 hours
Second Rise: 45 minutes
Bake Time: 45 minutes
Total Time: Approximately 14–19 hours
Difficulty: Easy
Servings: 8 slices
Ingredients
- 3 cups all-purpose flour
- 1½ teaspoons salt
- ½ teaspoon instant yeast
- 1¼ cups warm water
- 2 tablespoons olive oil
- 4 cloves garlic, minced or roasted
- 2 tablespoons fresh rosemary, finely chopped
- 1 teaspoon coarse sea salt (optional)
- Extra flour for dusting
Equipment
- Large mixing bowl
- Wooden spoon
- Plastic wrap or clean kitchen towel
- Dutch oven with lid
- Parchment paper
- Cooling rack
Instructions
Step 1: Mix the Dough
In a large mixing bowl, combine the flour, salt, and instant yeast. Stir until evenly mixed.
Add the warm water, olive oil, minced garlic, and chopped rosemary. Mix with a wooden spoon until all the flour is incorporated. The dough will look sticky and shaggy. This is completely normal.
Cover the bowl tightly with plastic wrap or a clean towel.
Step 2: Let the Dough Rise
Allow the dough to rest at room temperature for 12 to 18 hours.
During this long fermentation, the yeast slowly develops flavor while creating air pockets that give the bread its beautiful artisan texture.
The dough is ready when it has doubled in size and is covered with bubbles.
Step 3: Shape the Dough
Lightly flour your work surface.
Turn the dough onto the floured surface and gently fold it over itself several times. Avoid kneading because you want to preserve the air bubbles inside.
Shape the dough into a rough round loaf.
Place it on a sheet of parchment paper.
Cover loosely with a towel and let it rise for another 45 minutes.
Step 4: Preheat the Oven
About 30 minutes before baking, place a Dutch oven with its lid into the oven.
Preheat the oven to 450°F (230°C).
Heating the Dutch oven first helps create steam that produces the signature crispy crust.
Step 5: Bake the Bread
Carefully remove the hot Dutch oven from the oven.
Using the parchment paper, lower the dough into the pot.
If desired, sprinkle coarse sea salt over the top.
Cover with the lid and bake for 30 minutes.
Remove the lid and continue baking for another 15 minutes until the crust becomes deep golden brown.
The bread should sound hollow when tapped on the bottom.
Step 6: Cool Before Slicing
Transfer the bread to a cooling rack.
Allow it to cool for at least 30 minutes before slicing.
Although it is tempting to cut into it immediately, cooling helps the crumb finish setting for the best texture.
Tips for Success
- Use fresh rosemary for the brightest flavor.
- Roasted garlic provides a sweeter, milder taste than raw garlic.
- Do not rush the overnight fermentation.
- Handle the dough gently to keep the air bubbles intact.
- Bake in a preheated Dutch oven for the crispiest crust.
- Allow the bread to cool completely before storing.
Flavor Variations
This recipe is wonderfully versatile.
Try adding grated Parmesan cheese for a richer loaf, chopped olives for a Mediterranean twist, shredded cheddar for extra savory flavor, or cracked black pepper for a little spice. You can also mix in sun-dried tomatoes or caramelized onions for an even more gourmet loaf.
Serving Suggestions
Rustic No-Knead Rosemary Garlic Bread pairs beautifully with:
- Tomato soup
- Creamy potato soup
- Pasta dishes
- Olive oil and balsamic vinegar
- Cheese boards
- Roasted vegetables
- Grilled chicken
- Fresh garden salads
It also makes excellent garlic toast, sandwiches, and homemade croutons.
Storage
Store the bread at room temperature in a paper bag or bread box for up to 3 days.
For longer storage, wrap tightly and freeze for up to 3 months.
Reheat slices in the oven or toaster for the best texture.
Nutrition Information (Per Serving)
- Calories: 220
- Carbohydrates: 41g
- Protein: 6g
- Fat: 4g
- Saturated Fat: 0.5g
- Fiber: 2g
- Sugar: 1g
- Sodium: 380mg
- Potassium: 75mg
- Calcium: 18mg
- Iron: 2mg