Preparation (10-15 Minutes)
Intensity: Easy
This initial phase sets the stage for a seamless cooking process and guarantees the best possible results. Proper preparation ensures that the bacon stays put and the pork is optimally seasoned.
Step 1: Prep the Pork (5 Minutes)
Start with a single pork tenderloin, typically weighing between 1 and 1.5 pounds. Remove any silverskin, which is the tough, silver-colored membrane that doesn’t break down during cooking. It’s easily trimmed off by sliding a sharp knife just underneath it and slicing it away. Next, and this is crucial, pat the tenderloin completely dry with paper towels. A dry surface allows the bacon and any seasonings to adhere well and helps the bacon crisp up better.
Step 2: Season and Prepare for Wrapping (2 Minutes)
Season the dried pork tenderloin generously with salt and fresh cracked black pepper on all sides. You can also get creative with a dry rub here; smoked paprika, garlic powder, onion powder, and a touch of brown sugar are excellent choices to enhance the flavor.
Step 3: Wrap the Tenderloin (5-8 Minutes)
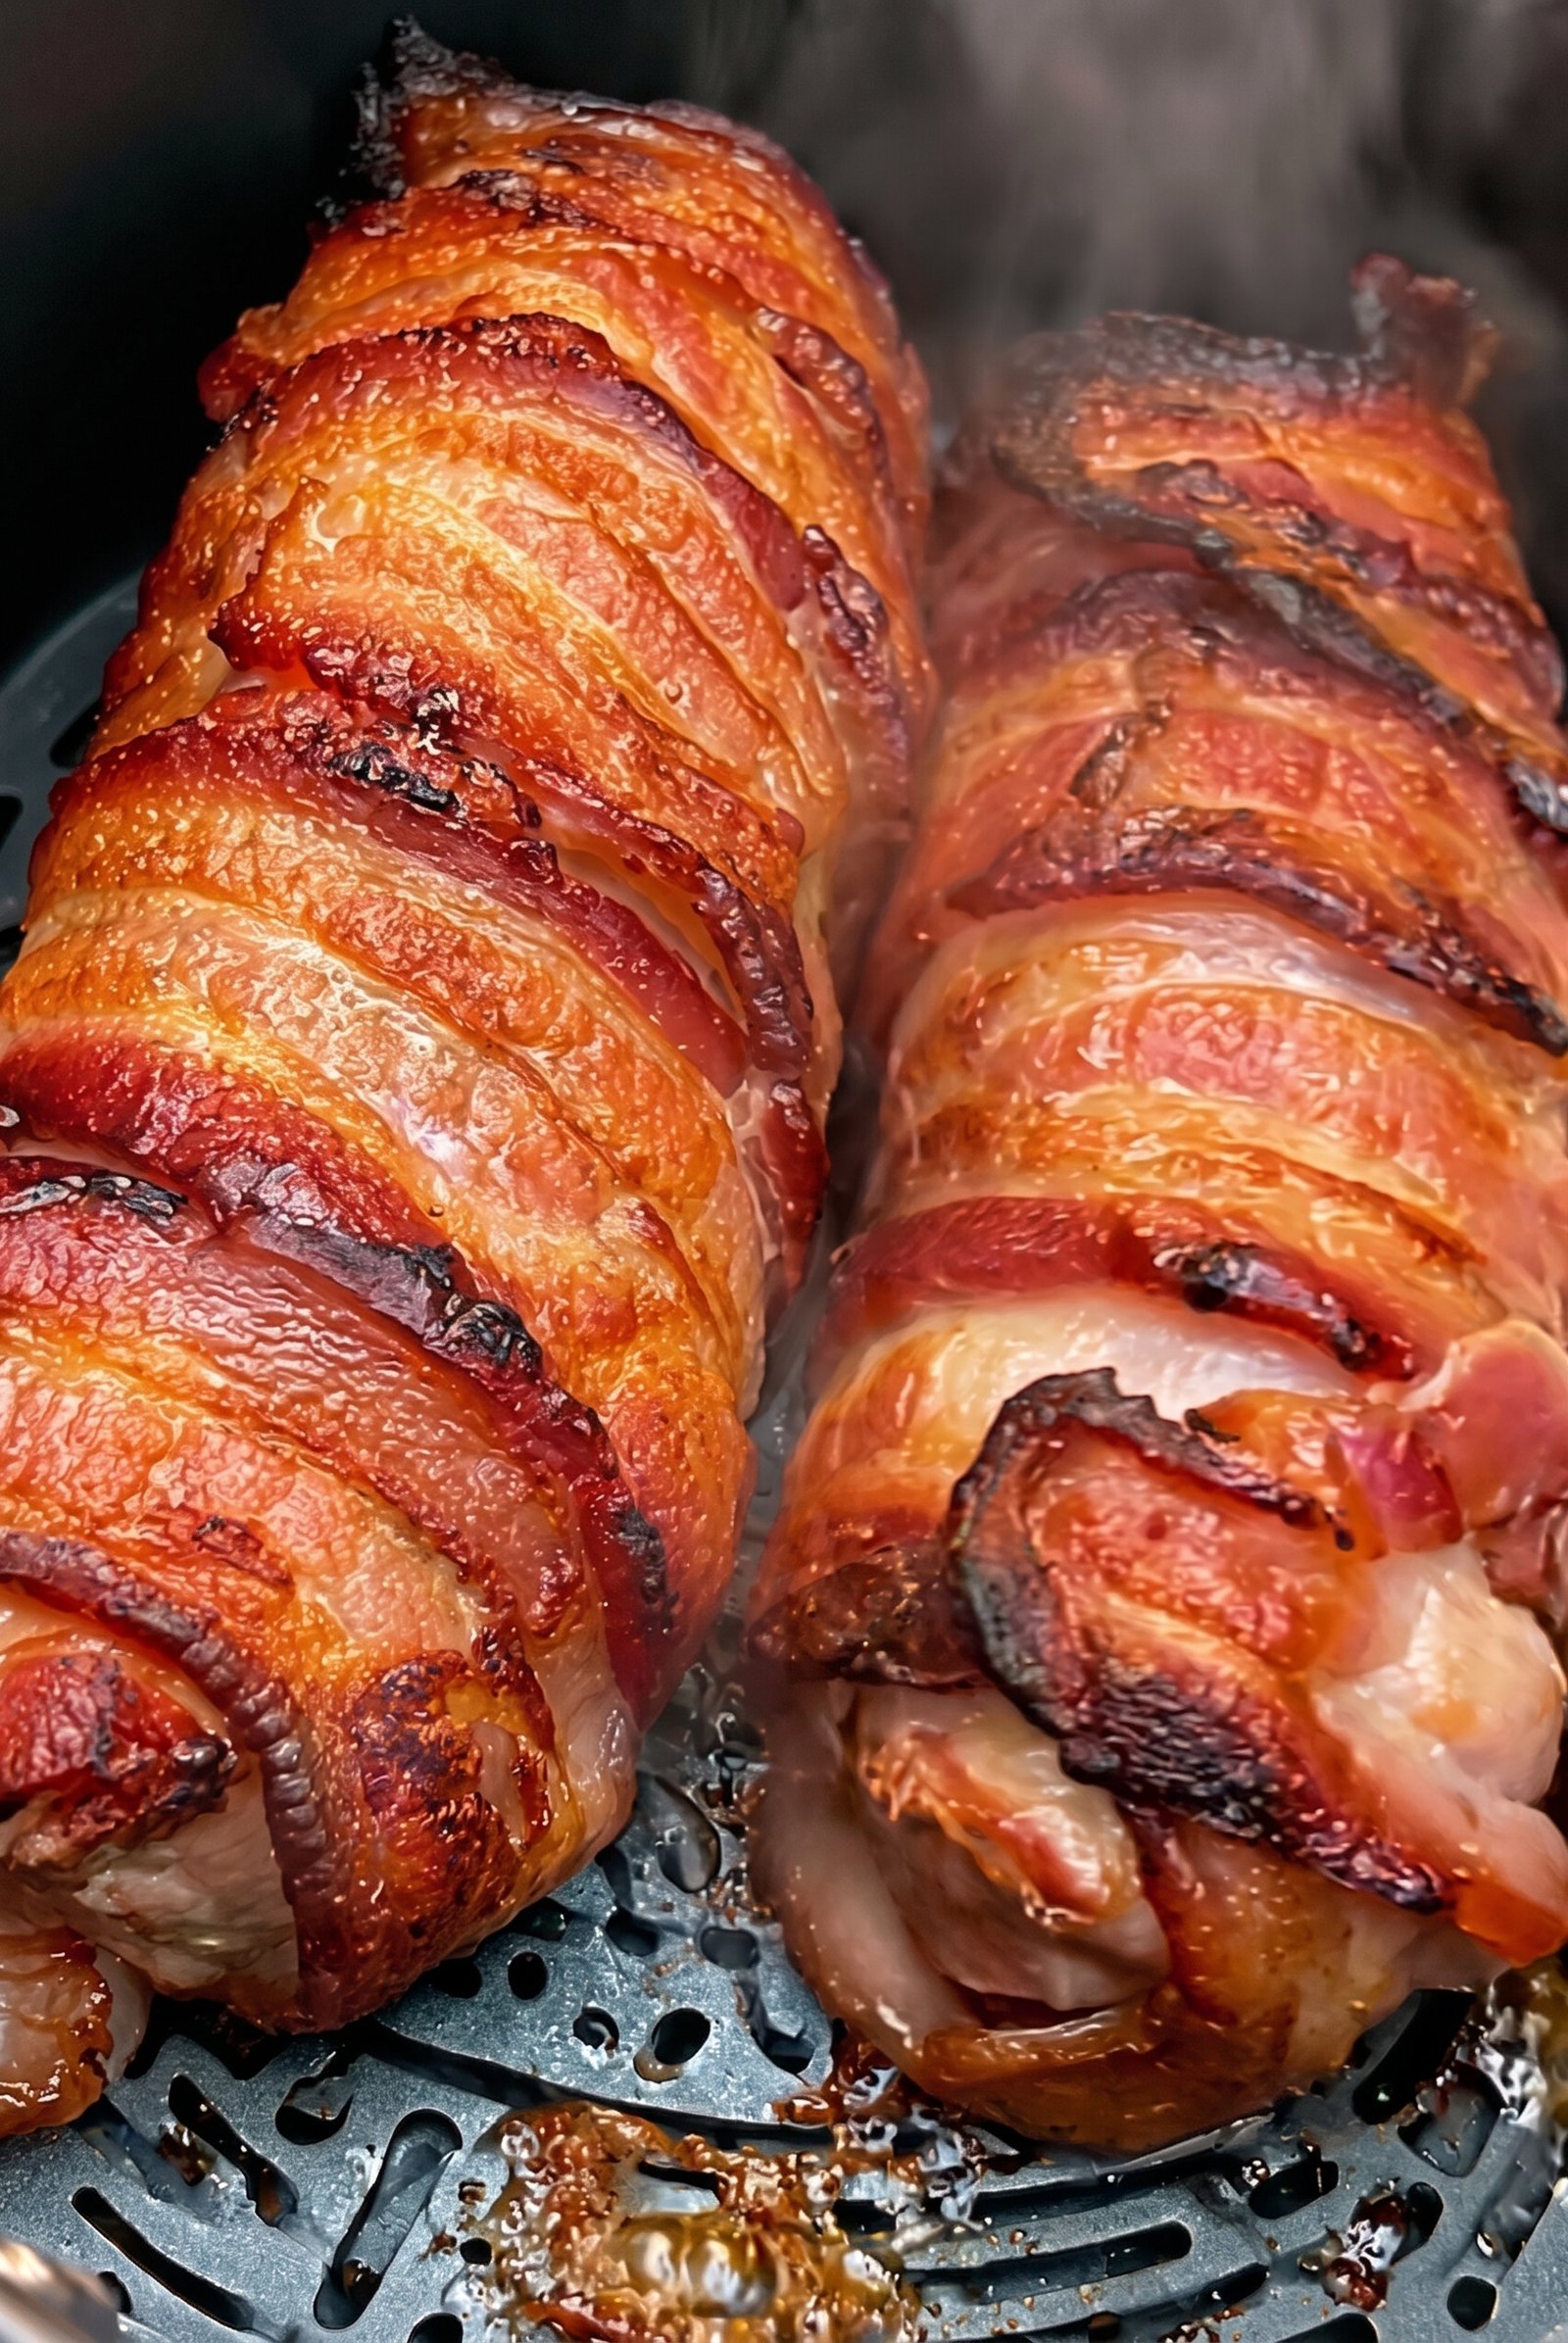
The goal is to snugly cover the entire tenderloin with a delicious layer of bacon, which will act as a self-basting shield. This technique is often called “barding.“
-
Option 1: The Weave Method (Advanced) Create a bacon weave on parchment paper. Place the seasoned tenderloin in the center and fold the bacon sides up over it. Secure the ends with toothpicks.
-
Option 2: The Spiral Method (Easier) Start at one end of the tenderloin. Wrap a bacon strip around it, overlapping slightly. Secure the beginning end with a toothpick. Continue with the next strip, slightly overlapping the previous one, and so on, working your way down. Secure the very last strip with another toothpick.
Ensure the entire tenderloin is enveloped, as any exposed pork might dry out during the air frying process. If you used toothpicks, make sure they are pushed in securely.
Part 2: Cooking (20-25 Minutes)
Intensity: Medium
This phase requires your attention, as achieving the correct internal temperature is the most critical element of this recipe. While the air fryer does most of the work, checking for doneness is your responsibility to prevent dry pork.
Step 1: Air Fry (15-20 Minutes)
-
Preheat: Preheat your air fryer to 375°F (190°C). While not always necessary, it helps start the crisping process immediately.
-
Add the Pork: Carefully place the bacon-wrapped pork tenderloin into the air fryer basket. Ensure there is enough space for the hot air to circulate freely around it; this is what makes the bacon crisp up perfectly. Do not overcrowd the basket.
-
Flip: After 10-12 minutes, or when the bacon on top starts to look browned and crisp, carefully use tongs to flip the tenderloin over to ensure even cooking and browning all around.
Step 2: Check for Doneness (3-5 Minutes)
Start checking the internal temperature with a meat thermometer after 18 minutes of total cooking time. Insert the probe into the thickest part of the meat without touching a bone (though tenderloin is boneless) or pushing through the bottom.
-
The safe and optimal internal temperature for pork tenderloin is 145°F (63°C) for a slightly pink, exceptionally juicy result.
-
Once it hits this temperature, immediately remove the tenderloin from the air fryer. The temperature will continue to rise a few degrees as it rests.
Part 3: Resting and Serving (15 Minutes)
Intensity: Easy
This final phase is non-negotiable for achieving the best possible taste and texture. Do not skip this step!
Step 1: The Crucial Rest (10 Minutes)
Remove the pork from the air fryer and place it on a clean cutting board. Cover it loosely with aluminum foil. Let the tenderloin rest undisturbed for 10 full minutes.
Why is this important? During the high-heat cooking process, the juices within the meat are pushed to the center. Resting gives the meat fibers time to relax, so those juices can redistribute throughout the entire piece of meat. This ensures that every single bite is incredibly moist and flavorful. If you cut it too soon, those precious juices will pour out onto the cutting board, leaving you with dry meat.
Step 2: Slice and Serve (5 Minutes)
Remove the toothpicks and the foil. Use a very sharp knife to slice the tenderloin into ½-inch thick medallions. Be sure to cut cleanly through the bacon layer for a beautiful presentation. Serve immediately. This pairs wonderfully with roasted potatoes, a fresh arugula salad, or a side of steamed green beans.
Tips for Success
-
Avoid Thick-Cut Bacon: For this recipe, standard-cut bacon works best. Thick-cut bacon takes significantly longer to crisp up and might leave you with a soft, fatty layer underneath.
-
Don’t Overcook: Use that meat thermometer! Pork tenderloin can quickly go from perfect to dry, so always cook to temperature, not just to time.
-
Secure Well: Ensure your bacon is wrapped tightly and secured with toothpicks. As the bacon cooks, it shrinks and can unroll, leading to exposed meat.
-
A Note on Air Fryers: Every air fryer model cooks slightly differently. Treat the cooking times as guidelines and lean heavily on your meat thermometer for accuracy.
This Bacon-Wrapped Pork Tenderloin is an incredible blend of savory flavor and satisfying crunch. It’s an elegant solution for any meal, providing an appetizing, restaurant-quality experience right in the comfort of your own home. Get ready for a new family favorite!
Nutritional Information
This information is an estimate and can vary based on the specific type and size of your pork tenderloin, the type of bacon used, and any seasonings added. This nutrition data is for a standard serving size of approximately 3-4 slices.