Preparation Time: 12 hours (including soaking time)
Active Prep Time: 30 minutes
Cooking Time: 30 minutes
Pressure Canning Time:
- 75 minutes for pint jars
- 90 minutes for quart jars
Total Time: Approximately 14 hours
Difficulty Level: Intermediate
Preservation Method: Pressure Canning
Equipment Needed
- Pressure canner
- 7 quart jars or 14 pint jars
- New canning lids and rings
- Jar lifter
- Canning funnel
- Large stockpot
- Measuring cups and spoons
- Clean kitchen towels
Ingredients
- 4 pounds dried pinto beans
- Water for soaking and cooking
- 7 teaspoons canning salt (optional, 1 teaspoon per quart jar)
- Additional boiling water as needed
Why Soak Pinto Beans?
Soaking dried beans before canning helps hydrate them evenly and improves texture after processing. It also reduces cooking time and helps remove some of the starches that can cause foaming during canning.
An overnight soak is the preferred method for the best results. If you are short on time, a quick-soak method may be used, but overnight soaking generally produces more consistent texture.
Instructions
Step 1: Sort and Rinse the Beans
Spread the dried pinto beans on a clean surface and inspect them carefully. Remove any damaged beans, stones, debris, or foreign material.
Place the beans in a large colander and rinse thoroughly under cool running water.
Step 2: Soak the Beans
Transfer the cleaned beans to a large stockpot.
Cover them with several inches of water since they will expand significantly during soaking.
Allow the beans to soak for 12 to 18 hours at room temperature.
After soaking, drain the beans and rinse them thoroughly.
Step 3: Pre-Cook the Beans
Return the soaked beans to a large pot and cover them with fresh water.
Bring the water to a boil over medium-high heat.
Reduce the heat and simmer the beans for 30 minutes.
This pre-cooking step helps ensure proper texture and prepares the beans for pressure canning.
Do not fully cook the beans at this stage because they will continue cooking during the canning process.
Step 4: Prepare the Jars
While the beans are simmering, wash jars, lids, and rings in hot soapy water.
Rinse thoroughly.
Keep jars hot until ready to fill.
Prepare your pressure canner according to the manufacturer’s instructions.
Heat water in the canner but do not bring it to a full boil.
Step 5: Fill the Jars
Using a slotted spoon, fill each hot jar with the hot beans.
Leave approximately 1 inch of headspace at the top of each jar.
If desired, add:
- 1 teaspoon canning salt to each quart jar
- ½ teaspoon canning salt to each pint jar
The salt is optional and used primarily for flavor.
Ladle hot cooking liquid or boiling water into each jar while maintaining the 1-inch headspace.
Remove air bubbles using a bubble remover or plastic utensil.
Adjust liquid levels if necessary.
Wipe jar rims with a clean damp cloth.
Apply lids and rings until fingertip tight.
Step 6: Load the Pressure Canner
Place the filled jars into the prepared pressure canner.
Secure the lid according to the manufacturer’s directions.
Vent steam for 10 minutes before pressurizing.
After venting, bring the canner to the appropriate pressure.
Step 7: Process the Jars
Process jars according to their size:
Pint Jars: 75 minutes
Quart Jars: 90 minutes
Use the pressure recommended for your canner type and altitude.
Maintain steady pressure throughout the entire processing time.
Step 8: Cool the Canner
When processing is complete, turn off the heat.
Allow the canner to cool naturally until pressure returns to zero.
Do not force-cool the canner.
Once pressure has fully dropped, wait an additional 10 minutes before opening the lid.
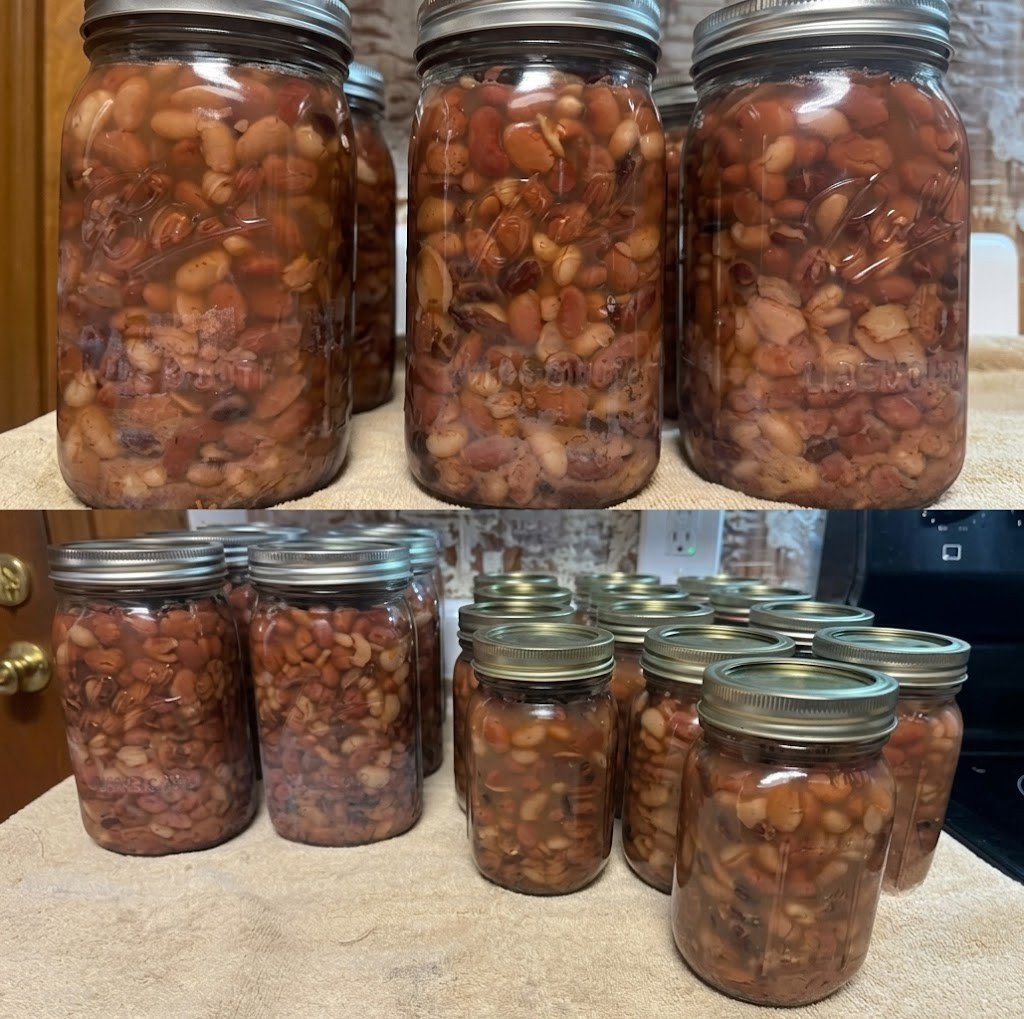
Carefully remove the jars and place them on a towel-lined surface.
Allow them to cool undisturbed for 12 to 24 hours.
Step 9: Check the Seals
After cooling, remove the rings and check each lid.
A properly sealed lid will be concave and should not flex when pressed in the center.
Any unsealed jars should be refrigerated and used within several days.
Step 10: Label and Store
Label jars with the contents and date.
Store in a cool, dark, dry location.
For best quality, use within 12 to 18 months.
Serving Suggestions
Home-canned pinto beans are incredibly versatile. Try them in:
- Chili recipes
- Burritos and tacos
- Refried beans
- Soups and stews
- Rice bowls
- Bean salads
- Casseroles
- Southwestern side dishes
Because the beans are already cooked, they can be used directly from the jar after draining and rinsing if desired.
Storage Information
Shelf Life: 12–18 months for best quality
Storage Temperature: 50°F–70°F (10°C–21°C)
Refrigerated After Opening: Up to 4 days
Always inspect jars before use. Discard any jar showing signs of spoilage, leakage, mold, unusual odor, or a broken seal.
Tips for Success
- Always use a pressure canner for beans.
- Never use a boiling-water canner for low-acid foods.
- Keep jars hot before filling.
- Maintain proper headspace.
- Use fresh, high-quality dried beans.
- Avoid adding thickening agents before canning.
- Follow pressure adjustments for your altitude.
Nutrition Information
Serving Size: ½ cup
Servings Per Jar: Approximately 4 per quart jar
Nutrition Facts (Per Serving)
- Calories: 120
- Total Fat: 0.5g
- Saturated Fat: 0g
- Cholesterol: 0mg
- Sodium: 10mg (without added salt)
- Carbohydrates: 22g
- Dietary Fiber: 7g
- Sugars: 1g
- Protein: 8g