Prep Time: 15 minutes
Rising Time: 2 hours
Bake Time: 30 minutes
Total Time: 2 hours 45 minutes
Difficulty / Intensity: Low (No-knead recipe; relies on gentle mixing and time for gluten development)
Yield: 2 Loaves (Serves 12)
Overview
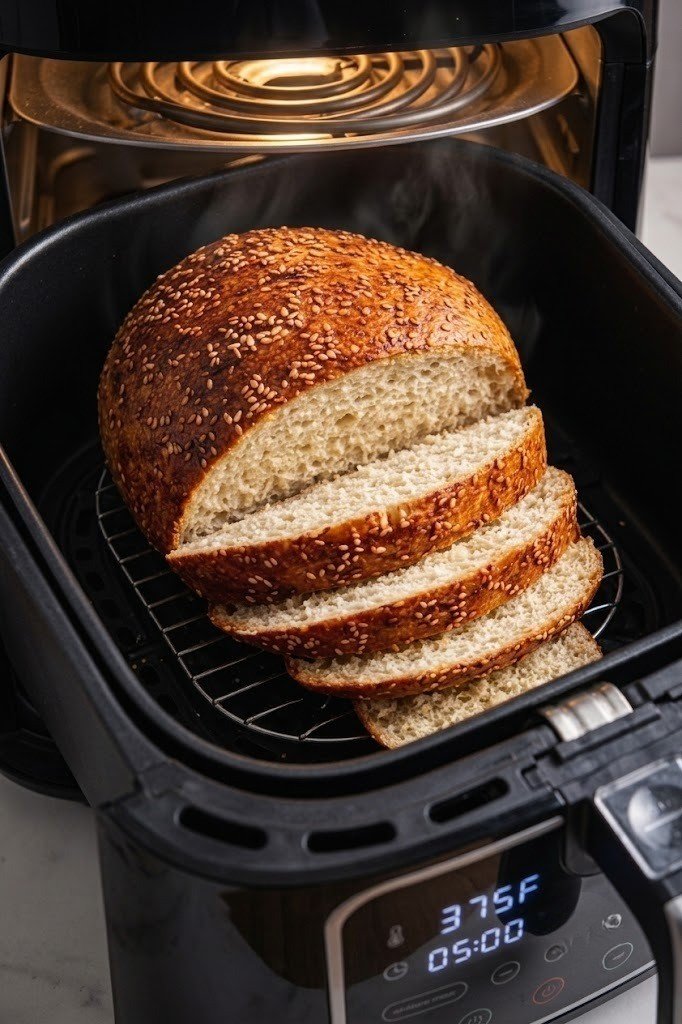
Rustic, crusty on the outside, and delightfully soft on the inside, Peasant Bread is the ultimate entry-level artisanal loaf. This traditional no-knead recipe uses simple everyday ingredients to yield a bakery-style result without requiring specialized equipment or tedious kneading. Baked in oven-safe bowls or Pyrex dishes, the high hydration produces an airy crumb structure wrapped in a buttery, golden-brown crust.
Equipment Needed
-
Large glass or ceramic mixing bowl
-
Wooden spoon or sturdy spatula
-
Two 1-quart oven-safe bowls (Pyrex or ceramic baking dishes)
-
Pastry brush
-
Measuring cups and spoons
Ingredients
For the Bread Dough
-
Unbleached All-Purpose Flour: 4 cups (500g)
-
Instant Yeast or Active Dry Yeast: 2 teaspoons (7g / 1 packet)
-
Granulated Sugar: 2 teaspoons
-
Kosher Salt: 2 teaspoons
-
Lukewarm Water: 2 cups (480 ml, around 105°F–110°F)
For Greasing and Baking
-
Unsalted Butter: 4 tablespoons (56g), melted (divided)
Step-by-Step Instructions
Step 1: Mix the Dough
-
In a large mixing bowl, whisk together the all-purpose flour, yeast, sugar, and kosher salt until evenly distributed.
-
Pour in the lukewarm water.
-
Using a wooden spoon or sturdy spatula, stir the ingredients together just until a shaggy, wet dough forms and no dry pockets of flour remain (about 1 to 2 minutes). Do not knead.
Step 2: First Rise (Bulk Fermentation)
-
Cover the mixing bowl with a damp kitchen towel or plastic wrap.
-
Set the bowl in a warm, draft-free spot in your kitchen.
-
Allow the dough to rise for 1.5 to 2 hours, or until it has doubled in volume and looks light and bubbly.
Step 3: Shape the Loaves
-
Generously grease two 1-quart oven-safe glass or ceramic bowls with 2 tablespoons of the melted butter.
-
Using two forks, gently pull the dough away from the sides of the mixing bowl toward the center, turning the bowl as you go to deflate it slightly into two separate portions.
-
Use the forks to lift half of the dough into each prepared baking bowl.
Step 4: Second Rise (Proofing)
-
Let the dough rise uncovered in the baking bowls for 20 to 30 minutes, or until the dough reaches the top rim of the bowls.
-
While the dough is proofing, preheat your oven to 425°F (220°C).
Step 5: Bake to Golden Perfection
-
Brush the tops of the proofed dough gently with 1 tablespoon of melted butter.
-
Place both bowls on the center rack of your preheated oven.
-
Bake for 15 minutes at 425°F (220°C).
-
Reduce the oven temperature to 375°F (190°C) and bake for an additional 15 to 17 minutes, until the crusts are deep golden brown and sound hollow when tapped gently on top.
Step 6: Finish and Cool
-
Remove the bowls from the oven and immediately brush the tops with the remaining tablespoon of melted butter.
-
Allow the loaves to cool in their bowls for 5 minutes, then run a butter knife around the edges and invert them onto a wire cooling rack.
-
Let the bread cool for at least 20 minutes before slicing to allow the interior structure to set.
Intensity & Cooking Stages Summary
| Stage | Action | Heat/Intensity Level | Duration |
| Mixing | Combining dry ingredients with warm water | Low (Manual Stirring) | 2 mins |
| First Rise | Fermentation and yeast activation | Ambient Warmth (~75°F–80°F) | 1.5–2 hours |
| Shaping | Dividing dough with forks into buttered bowls | Low | 3 mins |
| Second Rise | Final dough expansion to rim level | Ambient Warmth | 20–30 mins |
| Initial Bake | Setting crust structure and oven spring | High Heat (425°F) | 15 mins |
| Final Bake | Internal baking and golden crust development | Medium-High Heat (375°F) | 15–17 mins |
| Cooling | Moisture balancing and structure stabilization | Ambient Cooling | 20 mins |
Chef’s Tips for Success
-
Water Temperature: Ensure your water is lukewarm (between 105°F and 110°F). Water that is too hot will kill the yeast, while water that is too cold will slow down fermentation drastically.
-
Grease Generously: Don’t skimp on butter when coating the baking bowls. The butter not only prevents sticking but also fries the outer crust as it bakes, creating a signature buttery finish.
-
Storage: Store cooled bread wrapped in parchment or a paper bag at room temperature for up to 3 days, or slice and freeze for up to 3 months.
Estimated Nutrition Information
Serving Size: 1 slice (Yield: 12 slices across 2 loaves)
-
Calories: 190 kcal
-
Total Fat: 4.5g
-
Saturated Fat: 2.5g
-
Trans Fat: 0g
-
-
Cholesterol: 10mg
-
Sodium: 390mg
-
Total Carbohydrates: 32g
-
Dietary Fiber: 1.5g
-
Total Sugars: 1g
-
-
Protein: 5g
-
Calcium: 12mg
-
Iron: 1.8mg