-
Prep Time: 15 minutes
-
Cook Time: 10 to 12 minutes
-
Chilling Time: 2 hours (or until set)
-
Total Time: 2 hours 27 minutes
-
Course: Condiment, Spread, Dessert Filling
-
Cuisine: Classic British / American Baking
-
Yield: Approximately 1.5 Cups (12 servings)
-
Intensity / Skill Level: Intermediate (requires temperature control and constant whisking to prevent curdling)
Why You Will Love This Recipe
-
Pure, Intense Citrus Flavor: By utilizing both freshly grated lemon zest and pure fresh juice, this recipe captures the aromatic essential oils of the fruit for an authentic, vibrant taste.
-
Incomparably Silky Texture: Tempering the eggs correctly and straining the final mixture guarantees an utterly lump-free, glossy, and luxurious mouthfeel.
-
Versatile Application: It functions seamlessly as a spread, a filling, a topping, or a standalone dessert component.
-
No Artificial Additives: Completely free of artificial colorings or preservatives, relying entirely on wholesome, everyday baking ingredients.
Equipment Needed
To achieve professional-grade results, having the right tools on hand makes the process smooth and foolproof:
-
Microplane / Fine Zester: Essential for harvesting only the bright yellow outer peel without the bitter white pith.
-
Juicer: A handheld citrus press or electric reamer to extract seed-free juice.
-
Heavy-Bottomed Non-Reactive Saucepan: Copper, stainless steel, or enameled cast iron prevents metallic off-flavors from reacting with the acidic lemon juice. Aluminum or unlined copper should be avoided.
-
Wire Whisk: For incorporating air and ensuring continuous movement across the bottom of the pan.
-
Fine-Mesh Strainer (Sieve): Crucial for catching any stray bits of zest or cooked egg particles to ensure a flawless finish.
-
Glass Jars or Airtight Containers: For proper cooling and storage.
Ingredients
Achieving perfection with such a minimalist ingredient list relies heavily on the quality of each component. Use fresh, unwaxed lemons whenever possible.
-
4 large fresh lemons (yielding approximately $1/2$ cup of fresh juice and 1 tablespoon of finely grated zest)
-
1 cup granulated white sugar (provides the necessary sweetness to balance the tart citrus acid)
-
3 large whole eggs plus 1 large egg yolk (at room temperature; provides structure, richness, and the golden color)
-
A pinch of fine sea salt (enhances and sharpens the bright fruit flavors)
-
$\frac{1}{2}$ cup (1 stick) unsalted butter, cut into 8 small tablespoons (must be chilled or at cool room temperature for emulsification)
Step-by-Step Instructions
Step 1: Prep the Citrus
-
Thoroughly wash and dry your lemons.
-
Using a microplane zester, grate the bright yellow skin of the lemons, taking care not to grate into the bitter white pith underneath. Measure out 1 tablespoon of zest.
-
Cut the lemons in half and juice them until you have exactly $1/2$ cup of fresh juice. Strain out any seeds or heavy pulp.
Step 2: Macerate the Zest and Sugar
-
In a medium, heavy-bottomed, non-reactive saucepan, combine the granulated white sugar and the fresh lemon zest.
-
Using your clean fingertips, rub the zest directly into the sugar for about 30 seconds. This releases the essential oils from the peel into the sugar crystals, dramatically intensifying the aromatic lemon flavor of your final curd.
Step 3: Whisk the Eggs and Juice
-
Add the 3 whole eggs and 1 additional egg yolk to the sugar mixture.
-
Whisk vigorously for about 1 to 2 minutes until the mixture becomes pale, slightly thickened, and thoroughly combined.
-
Pour in the $1/2$ cup of fresh lemon juice and the pinch of salt. Whisk continuously until the liquid is uniform and completely smooth.
Step 4: Cook to Perfection (Low and Slow)
-
Place the saucepan over medium-low heat.
-
Whisk the mixture constantly, making sure to sweep the whisk across the bottom and edges of the pan to prevent any eggs from scrambling or sticking.
-
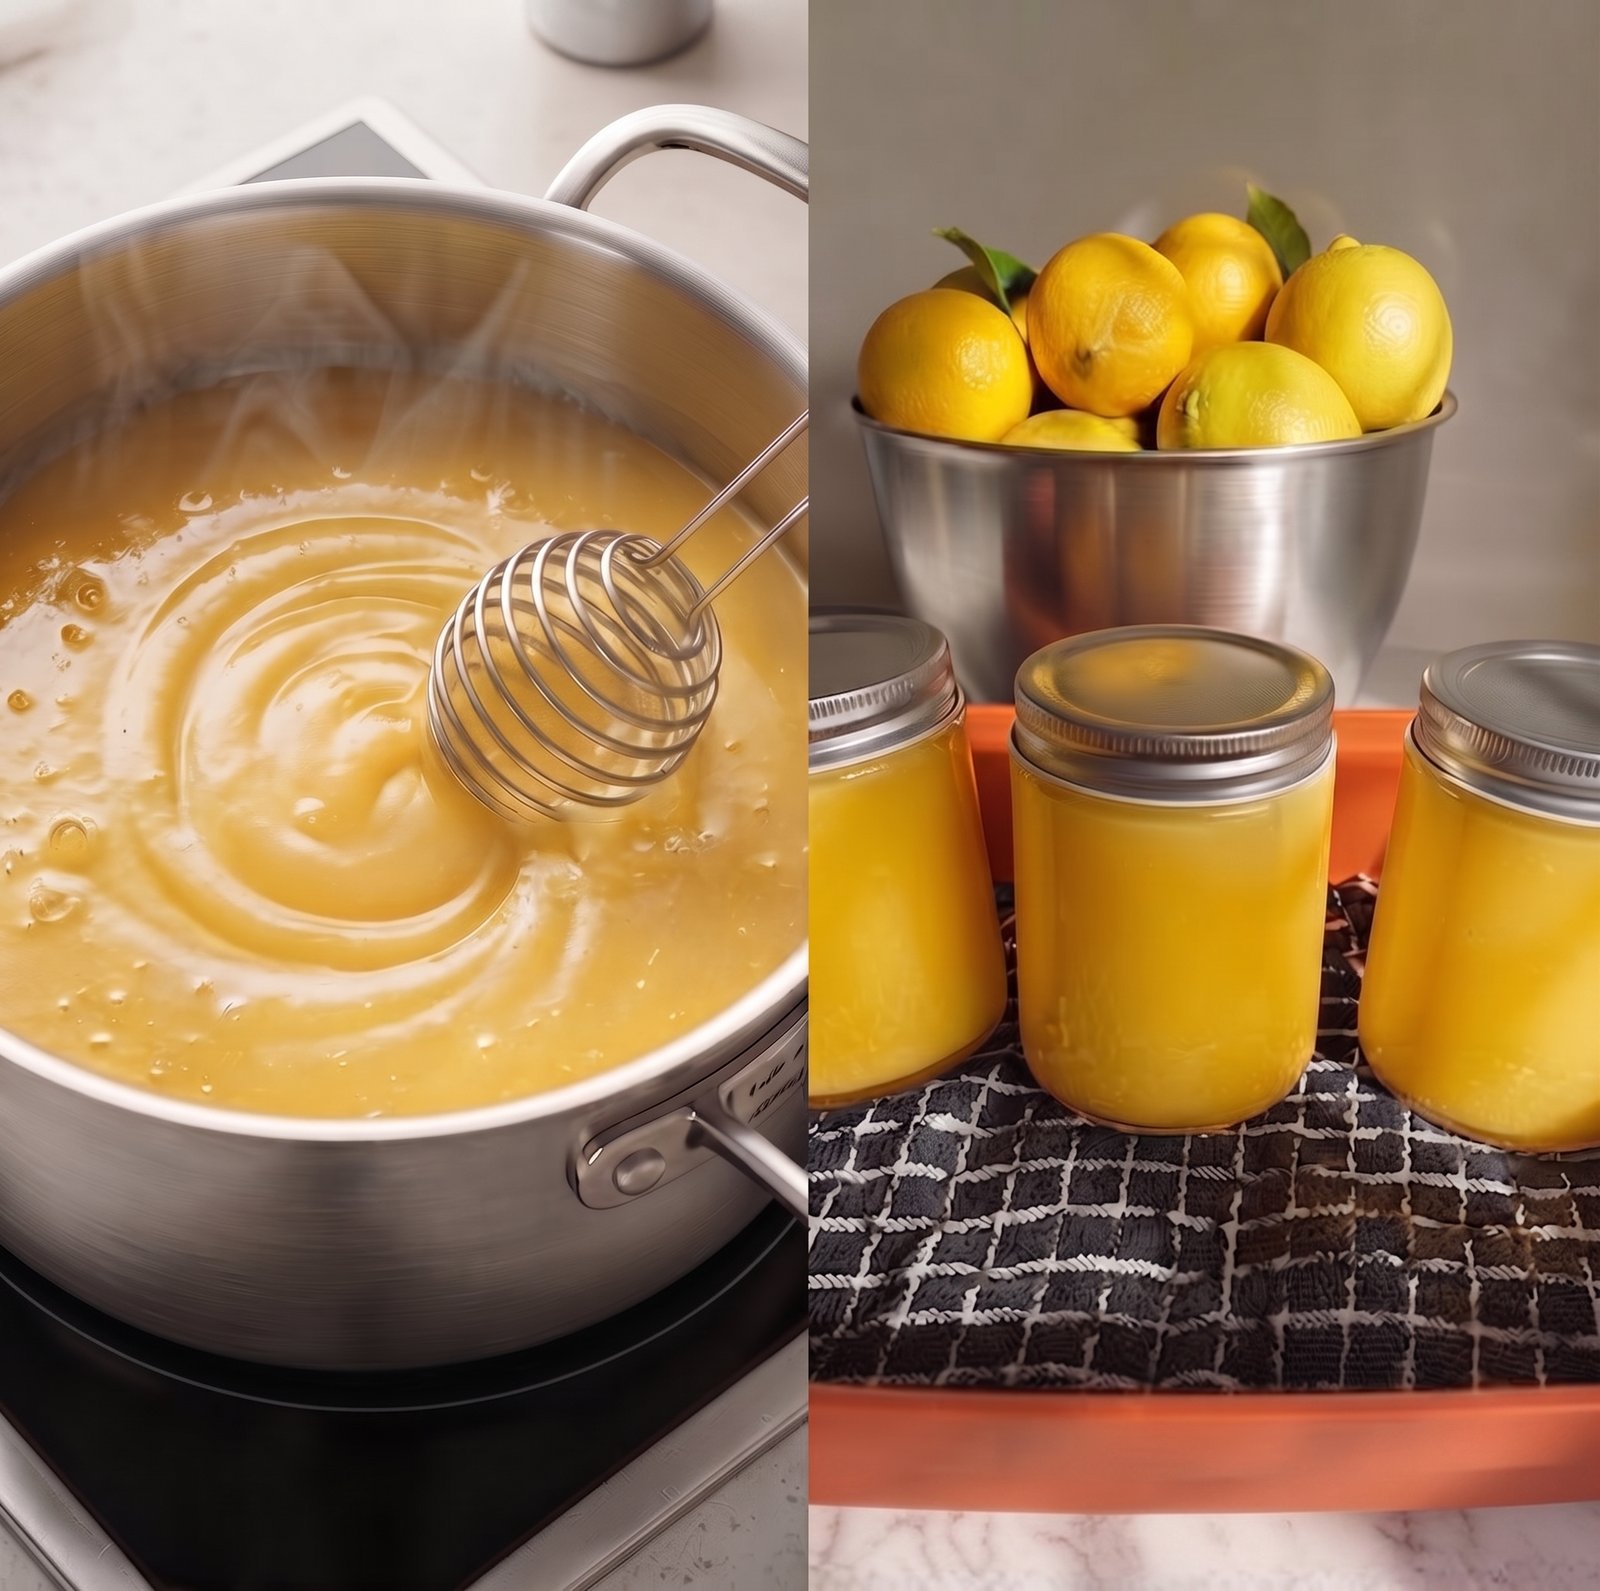
Continue cooking for approximately 8 to 12 minutes. As the temperature rises, the mixture will gradually transform from a frothy liquid into a thick, glossy, custard-like consistency that coats the back of a spoon.
-
Intensity Note: Do not let the mixture come to a rolling boil, or the eggs will curdle. If you see tiny bubbles starting to pop rapidly or steam turning to heavy bubbling, reduce the heat immediately.
Step 5: Strain for Absolute Silkiness
-
Remove the saucepan immediately from the heat source.
-
Pour the hot lemon curd through a fine-mesh sieve set over a clean glass bowl.
-
Use a silicone spatula to press the curd through the mesh, leaving behind any bits of cooked egg or reserved lemon zest. This step is non-negotiable for a professional, restaurant-quality texture.
Step 6: Emulsify with Butter
-
While the strained curd is still hot (ideally around 140°F to 150°F), add the cool butter cubes one or two at a time.
-
Whisk gently after each addition until the butter is completely melted and incorporated into the warm curd.
-
As the butter emulsifies, the curd will take on a brilliant gloss, a velvety body, and a smooth, rich finish.
Step 7: Cool and Set
-
Pour the finished lemon curd directly into clean glass jars or a shallow container.
-
Press a piece of plastic wrap directly onto the surface of the warm curd to prevent a tough skin from forming as it cools.
-
Allow it to come to room temperature for about 30 minutes, then transfer it to the refrigerator for at least 2 hours to chill and firm up completely.
Pro-Tips for Success
-
Temperature Control is Everything: High heat is the enemy of lemon curd. Keep your burner on medium-low and remain patient. If you suspect the mixture is getting too hot, pull it off the heat immediately while continuing to whisk.
-
Non-Reactive Cookware: Always use stainless steel, enamel, or glass. Aluminum pans will react chemically with the citric acid, imparting an unpleasant, metallic taste to your spread.
-
Don’t Skip the Butter: The butter does more than add flavor; it acts as a fat stabilizer that gives the curd its rich, spreadable consistency once chilled.
Serving Suggestions
Homemade lemon curd is remarkably versatile. Try incorporating it into these culinary creations:
-
Breakfast & Brunch: Spread generously over toasted brioche, slather onto classic scones, or swirl into Greek yogurt and oatmeal.
-
Pastry & Baking: Use as a filling for pre-baked tart shells, layer between vanilla sponge cake tiers, or pipe into filled cupcakes and donuts.
-
Desserts: Fold a few spoonfuls into freshly whipped cream to create a quick, decadent lemon mousse, or serve alongside shortbread cookies and fresh berries.
Storage and Shelf Life
-
Refrigeration: Store your homemade lemon curd in an airtight glass jar in the refrigerator for up to 1 to 2 weeks.
-
Freezing: Lemon curd freezes exceptionally well. Pour it into freezer-safe containers or bags, leaving a small amount of headspace, and freeze for up to 3 months. Thaw overnight in the refrigerator before using.