-
Prep time: 5 minutes
-
Cook time: 8 minutes
-
Total time: 13 minutes
-
Yield: Approximately 1.5 cups (12 servings)
-
Intensity Level: Easy / Beginner-friendly
Ingredients
To craft this decadent homemade chocolate syrup, you will need the following simple components:
-
1 cup unsweetened cocoa powder: Use high-quality natural or Dutch-processed cocoa powder for the best depth of flavor.
-
1 cup granulated sugar: Provides the essential sweetness and structure.
-
1 cup water: The liquid base for the syrup.
-
¼ teaspoon kosher salt: Crucial for balancing the sweetness and cutting the bitterness of the cocoa.
-
1 teaspoon pure vanilla extract: Adds warmth and aromatic complexity.
-
Optional boost: A tiny pinch (about 1/8 teaspoon) of instant espresso powder to supercharge the chocolate flavor profile.
Step-by-Step Instructions
Step 1: Whisk the Dry Ingredients
In a medium saucepan, combine the unsweetened cocoa powder, granulated sugar, and kosher salt. Whisk them together thoroughly while dry. This step breaks up any clumps in the cocoa powder and ensures the sugar is evenly distributed, preventing graininess later.
Step 2: Incorporate the Water
Gradually pour in the water while continuously whisking. At first, the mixture will look thick and stubborn, but keep whisking as you stream the water in. Once fully incorporated, the mixture will look smooth and uniform before it even hits the heat.
Step 3: Simmer and Thicken
Place the saucepan over medium heat. Bring the mixture to a gentle boil, whisking frequently to ensure the sugar completely dissolves and the bottom does not scorch.
Once boiling, reduce the heat to low and let it simmer gently for about 3 to 5 minutes. Stir occasionally. As it simmers, the water will evaporate slightly, transforming the liquid into a glossy, velvety syrup that coats the back of a spoon.
Step 4: Remove and Stir in Flavor
Remove the saucepan from the heat source. Immediately stir in the pure vanilla extract (and the optional espresso powder, if using). The residual heat will meld the vanilla into the syrup, releasing a wonderful aroma.
Step 5: Cool and Store
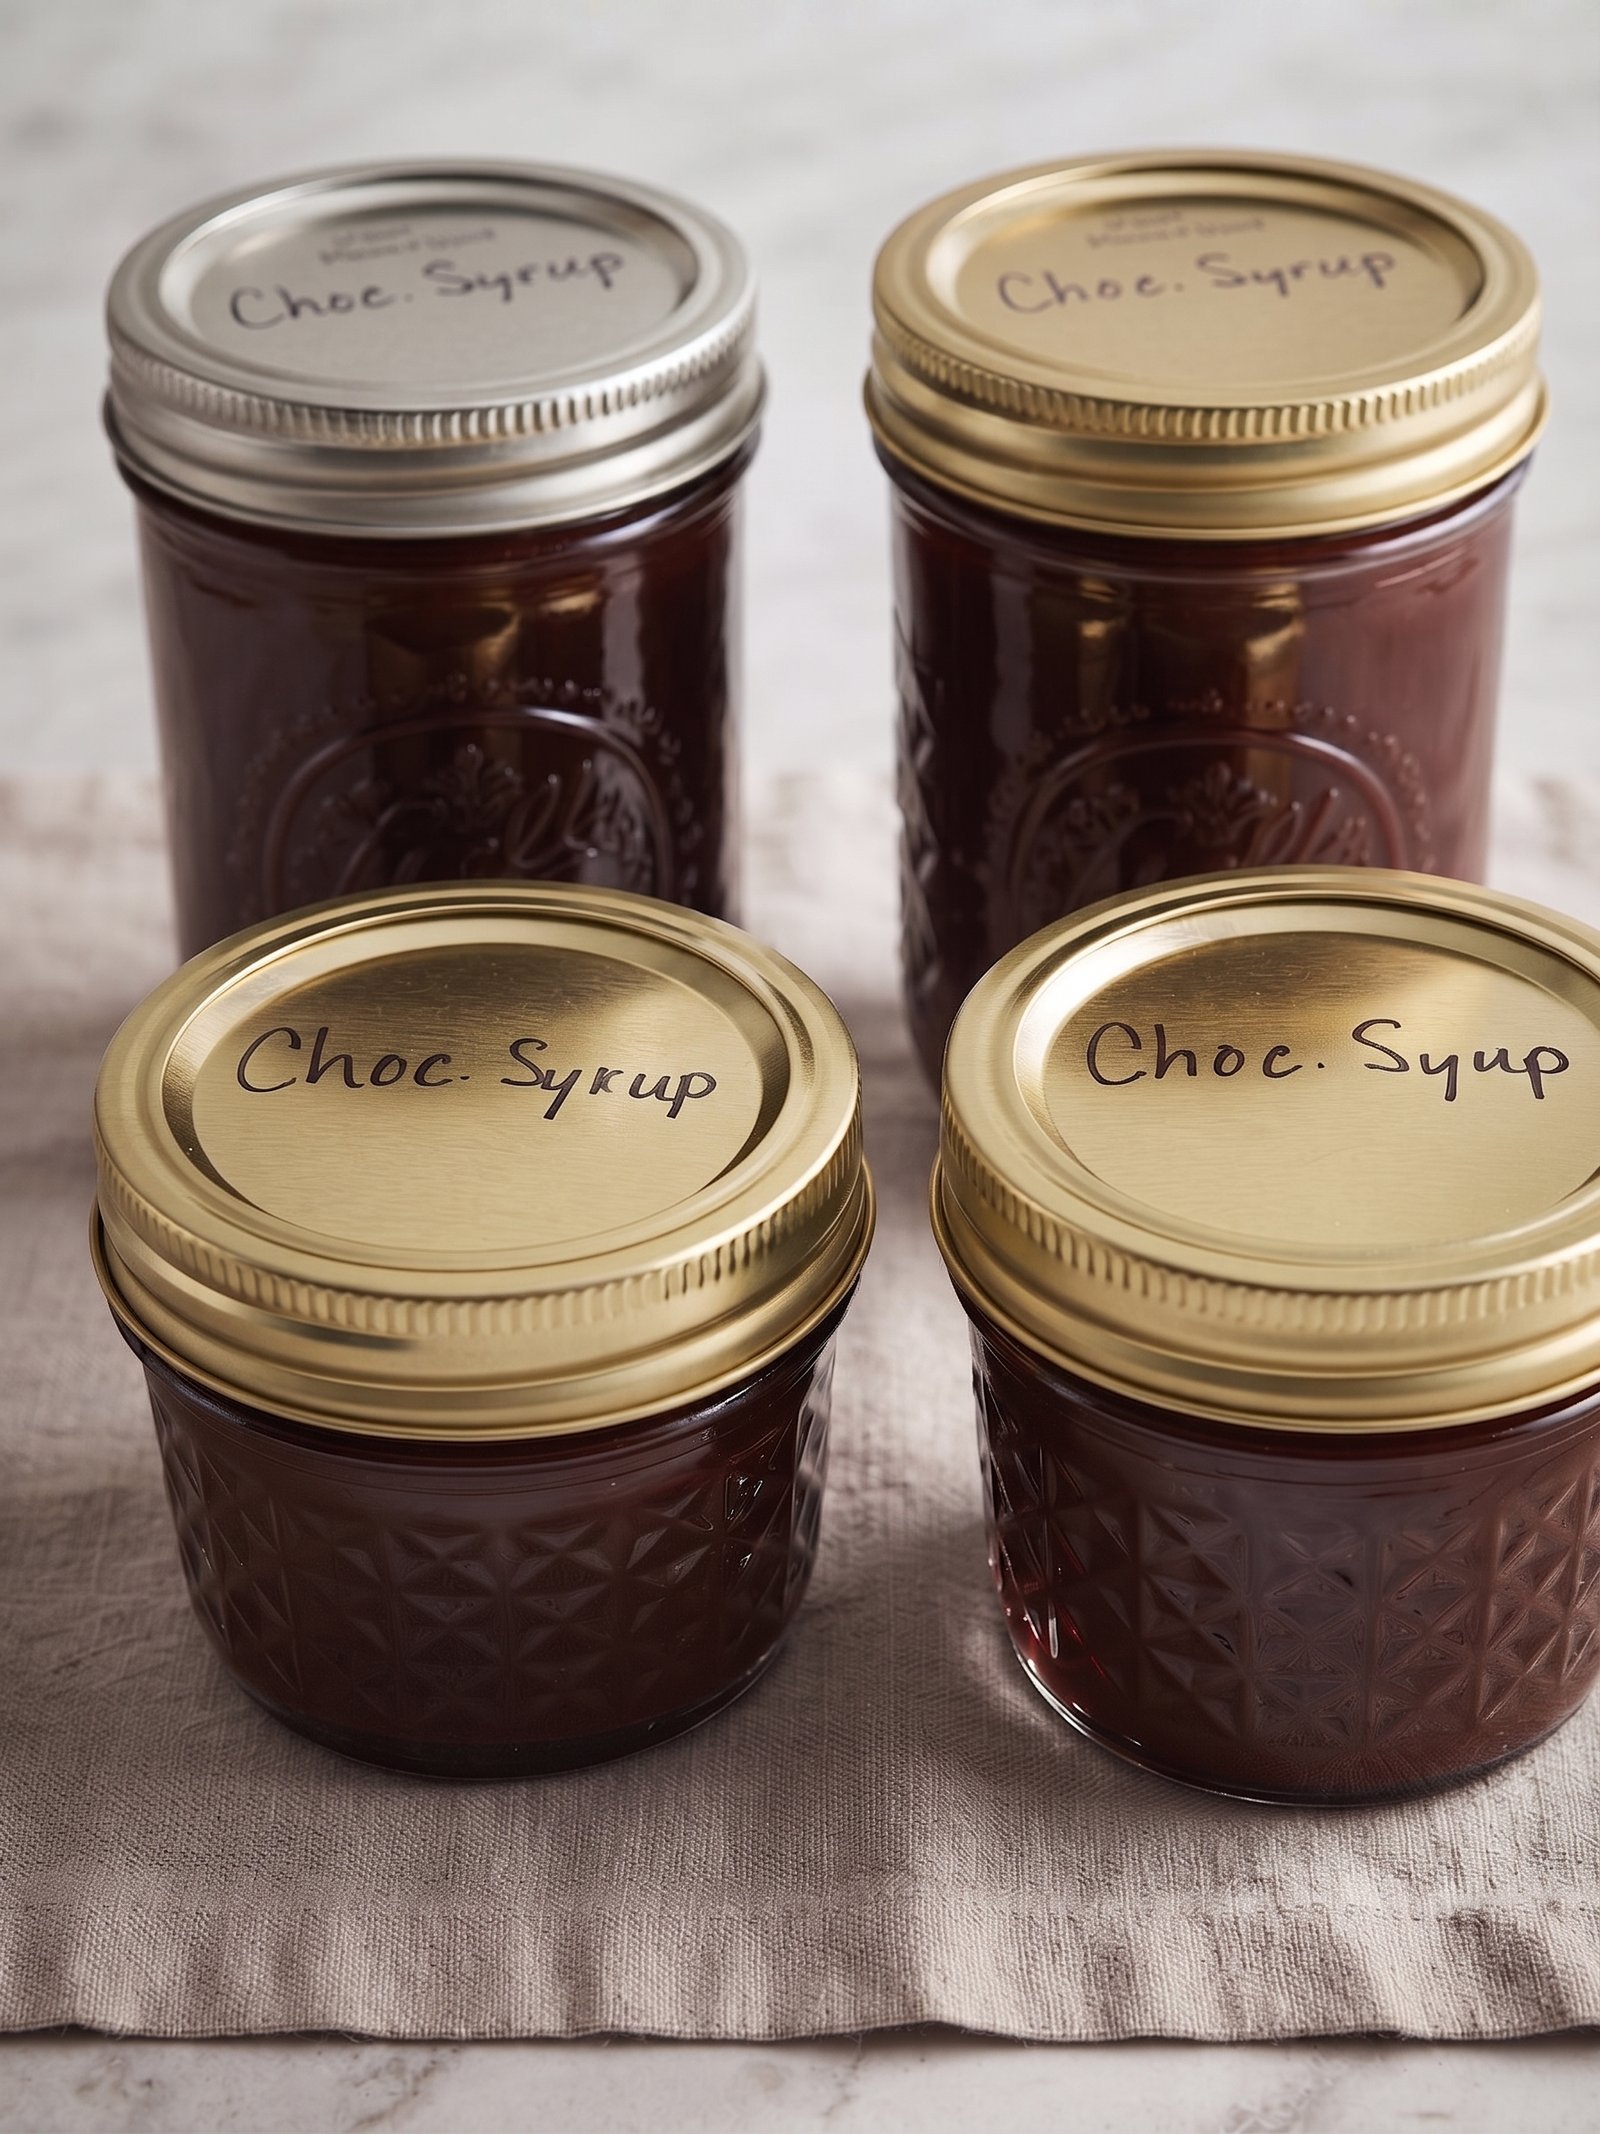
Allow the chocolate syrup to cool completely at room temperature. As it cools down, it will thicken up a bit more. Pour the cooled syrup into a clean glass jar, bottle, or squeeze container with a tight-fitting lid.
Chef’s Pro Tips for Success
-
Do Not Skip the Salt: Salt might seem counterintuitive in a sweet dessert sauce, but it acts as a flavor enhancer that makes the chocolate taste richer and less flat.
-
Strain If Needed: If your cocoa powder was particularly lumpy, you can pour the finished, warm syrup through a fine-mesh sieve before adding the vanilla extract to ensure a silky-smooth texture.
-
Adjusting Thickness: Remember that hot liquids always look thinner than they actually are. Do not over-simmer the syrup trying to make it thick in the pan, or it will turn into hard caramel candy once it cools down.
Storage and Shelf Life
-
Refrigerator: Store your homemade chocolate syrup in a sealed glass jar or airtight container in the refrigerator for up to 1 month.
-
Serving Note: Because this recipe contains no commercial stabilizers or waxes, the syrup may thicken significantly when chilled. To use it cold, simply shake the bottle or give it a quick stir. If you prefer it pourable over warm desserts, microwave a small amount for 10 to 15 seconds before serving.
Nutritional Information
-
Serving size: 2 tablespoons (approx. 30ml)
-
Calories: 75 kcal
-
Total Fat: 1 g
-
Saturated Fat: 0.5 g
-
Sodium: 35 mg
-
Total Carbohydrates: 18 g
-
Dietary Fiber: 1.5 g
-
Sugars: 15 g
-
Protein: 1 g