-
Prep Time: 15 minutes
-
Chill Time: 2 hours (Minimum)
-
Total Time: 2 hours 15 minutes
-
Course: Dessert, Snack
-
Cuisine: Modern Healthy / Fusion
-
Servings: 4 generous portions
-
Intensity Level: Easy (Beginner-friendly, no baking or stove required)
Equipment Needed
-
Mixing bowls: One medium and one large bowl.
-
Hand mixer or whisk: Essential for whipping the ingredients into a cloud-like texture.
-
Serving dishes: 4 small ramekins, dessert glasses, or mason jars.
-
Measuring cups and spoons.
Ingredients
For the Protein Cloud Filling:
-
8 oz (226g) Light Cream Cheese: Softened to room temperature for smooth blending.
-
1 cup (220g) Plain Non-Fat Greek Yogurt: Adds creamy tang and a massive protein boost.
-
1/2 cup Chocolate Protein Powder: Whey or a whey-casein blend works best for texture.
-
3 tbsp Unsweetened Cocoa Powder: Deepens the rich chocolate flavor.
-
1/4 cup Powdered Erythritol or Stevia Blend: Adjust to your preferred sweetness level.
-
1 tsp Pure Vanilla Extract: Enhances the depth of the chocolate and cheesecake notes.
-
2-3 tbsp Unsweetened Almond Milk: Used sparingly to thin the mixture if it gets too thick.
For the Whipped Protein Topping:
-
1/2 cup Low-Fat Whipping Cream or Light Cool Whip: For that ultra-light cloud finish.
-
1 tbsp Powdered Sweetener: To lightly sweeten the cloud layer.
-
Sugar-Free Chocolate Shavings or Cacao Nibs: For a professional bakery-style garnish.
Step-by-Step Instructions
Step 1: Prep and Soften the Base
-
Ensure your cream cheese is completely at room temperature to prevent lumps.
-
Place the softened light cream cheese into a large mixing bowl. Using a hand mixer on medium speed, beat the cream cheese for about 1 to 2 minutes until it is completely smooth, creamy, and free of any lumps.
Step 2: Incorporate the Protein and Yogurt
-
Add the plain non-fat Greek yogurt and pure vanilla extract directly into the beaten cream cheese.
-
Mix on low speed until fully combined and velvety.
-
Sift in the unsweetened cocoa powder and chocolate protein powder to ensure no dry clumps form. Add your powdered sweetener of choice.
-
Continue mixing on low-to-medium speed until a thick, rich chocolate mousse-like batter forms. If the mixture is too stiff, drizzle in 1 to 2 tablespoons of unsweetened almond milk until your desired smooth consistency is reached.
Step 3: Whip to Cloud-Like Perfection
-
In a separate clean bowl, whip your light whipping cream (or prepare your light topping) until soft peaks form.
-
Gently fold half of the whipped topping directly into the chocolate cheesecake batter using a spatula. Use a gentle “scooping and turning” motion to keep as much air trapped inside as possible—this is what creates the signature “cloud” texture.
Step 4: Layer and Chill
-
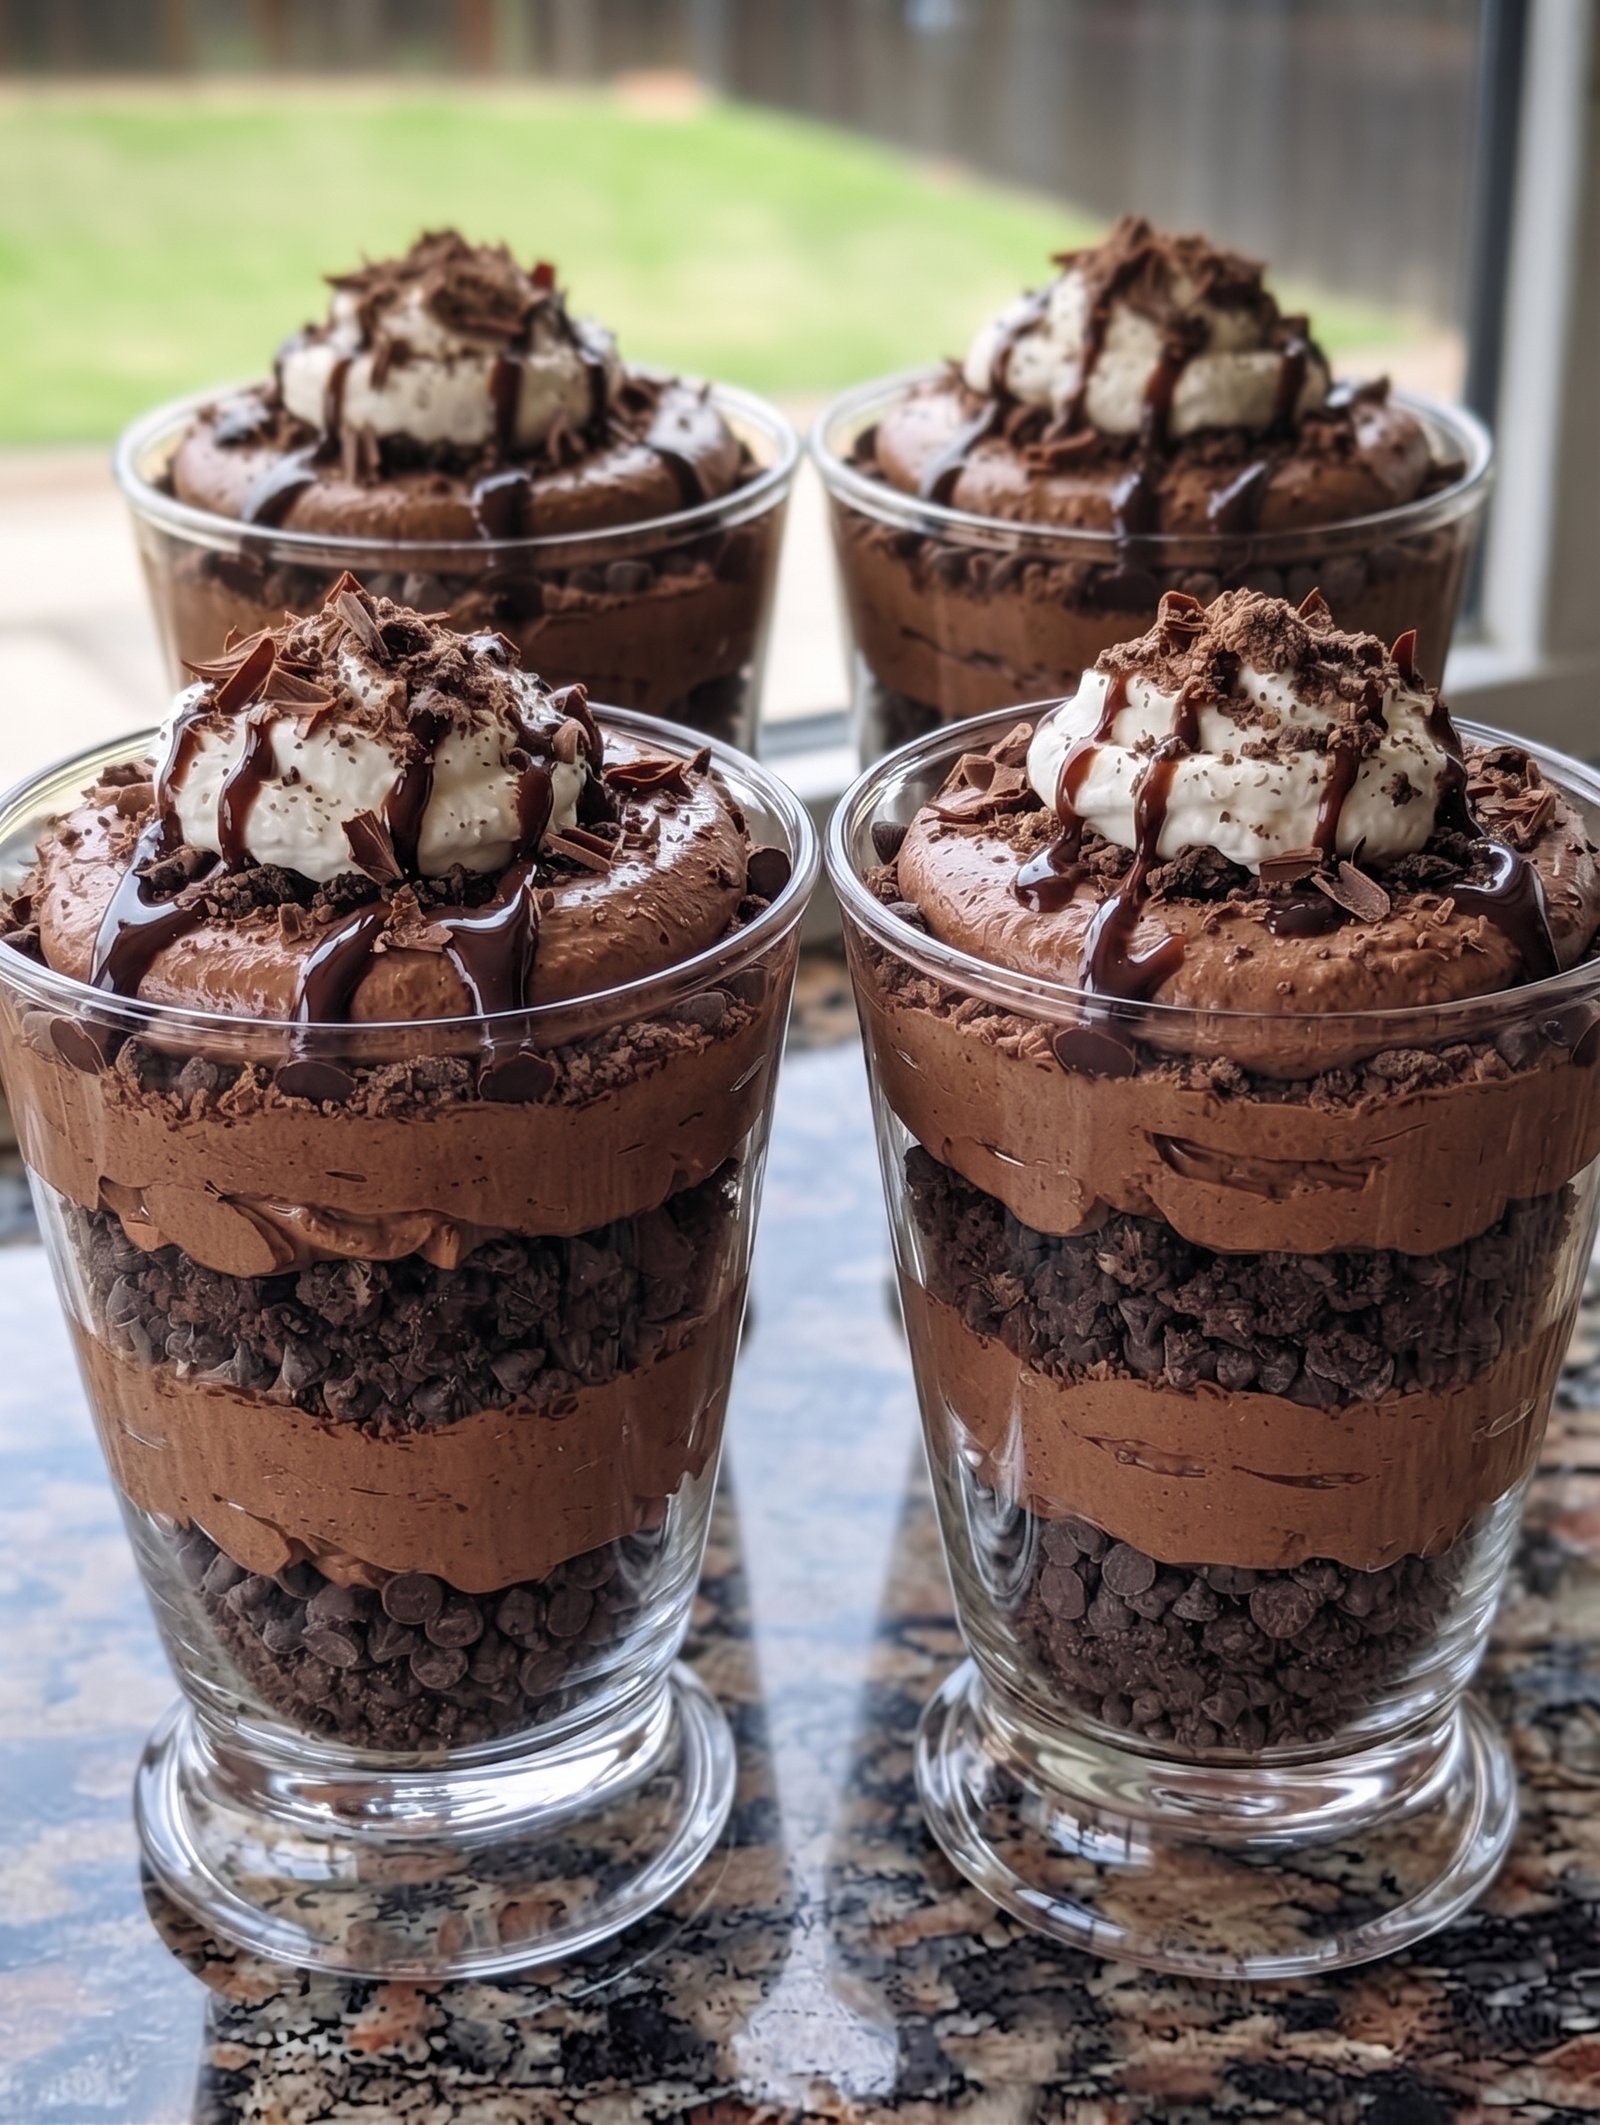
Spoon or pipe the chocolate cheesecake cloud mixture evenly across your 4 serving glasses, ramekins, or small bowls.
-
Smooth out the tops with the back of a spoon or an offset spatula.
-
Top each glass with a dollop of the remaining whipped topping.
-
Place the glasses into the refrigerator to chill for at least 2 hours. Chilling allows the protein powder and cream cheese to firm up into a decadent, mousse-like consistency.
Step 5: Garnish and Serve
-
Just before serving, sprinkle sugar-free chocolate shavings, a dusting of cocoa powder, or cacao nibs over the top for an elegant presentation.
-
Serve cold straight from the fridge and enjoy your luxurious, macro-friendly treat!
Chef’s Pro-Tips for Success
-
Protein Powder Choice: Casein or a whey/casein blend absorbs liquid better than pure whey isolate, resulting in a much thicker, fluffier dessert. If using pure whey isolate, you may need to reduce the almond milk entirely.
-
Temperature Matters: Do not skip softening the cream cheese. Cold cream cheese will seize up when mixed with cold yogurt, leaving unblendable lumps in your cloud.
-
Make Ahead: This recipe can be prepared up to 3 days in advance and stored safely in the refrigerator, making it an ideal meal-prep dessert.
Nutrition Information
Serving Size: 1 of 4 portions
-
Calories: 210 kcal
-
Protein: 18g
-
Carbohydrates: 9g
-
Dietary Fiber: 2g
-
Sugars: 4g
-
Fat: 11g
-
Sodium: 180mg