-
Prep time: 20 minutes
-
Cook time: 30 minutes
-
Processing time: 30 minutes (Pressure Canning)
-
Total time: 1 hour 20 minutes (plus cooling time)
-
Intensity/Skill Level: Intermediate / Home Canning
-
Yield: About 4 to 5 half-pint (8 oz) jars
Introduction
There is an undeniable nostalgia attached to a classic sandwich spread. Whether you grew up spreading it over soft white bread for school lunches, packing it for picnics, or whisking it into quick appetizers, a savory, creamy sandwich spread is a timeless convenience food. However, many commercial varieties found on supermarket shelves are packed with artificial preservatives, excessive sodium, and mysterious fillers.
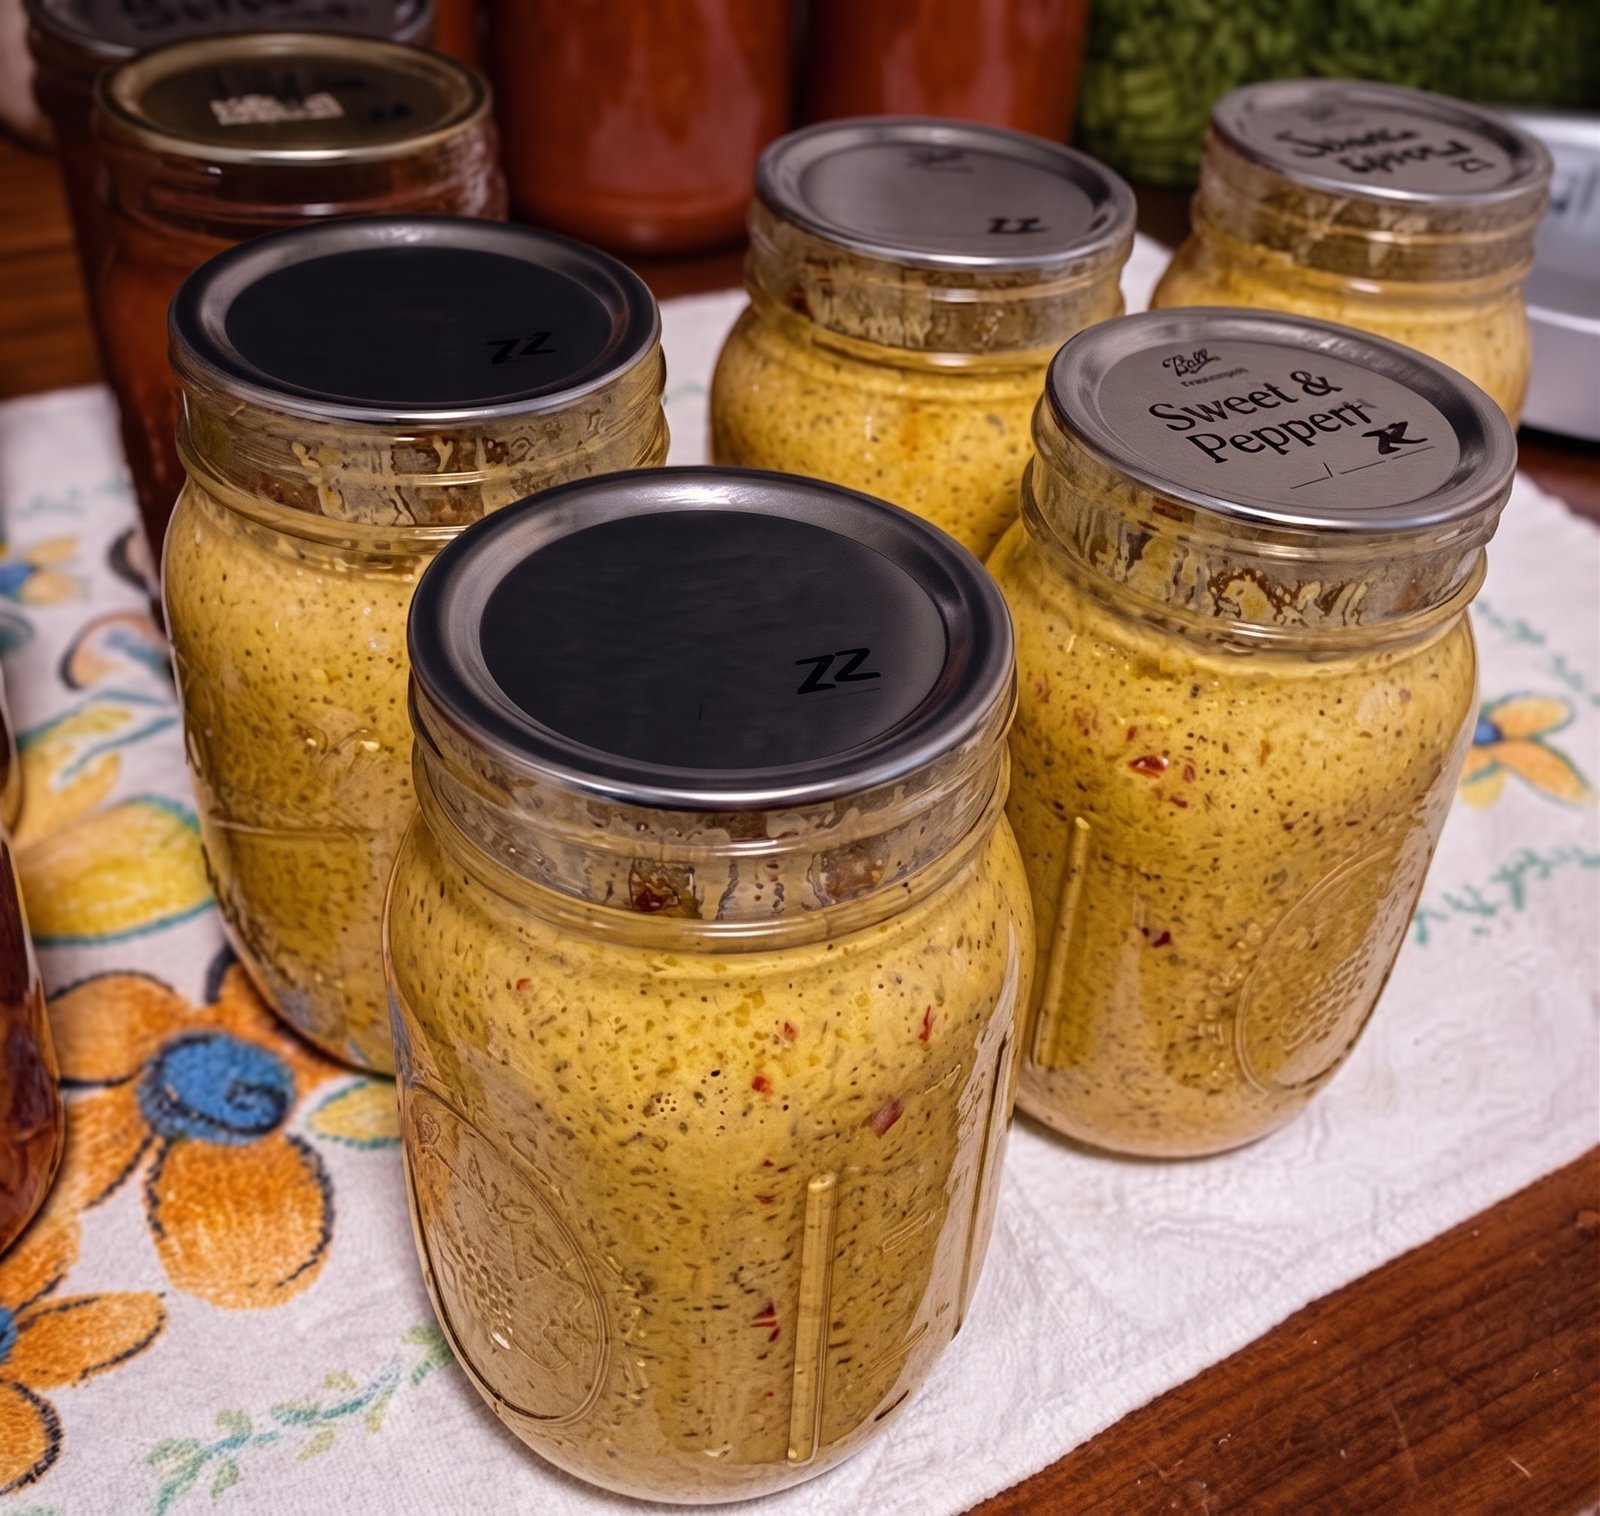
Making your own Canned Sandwich Spread at home allows you to control every single ingredient, ensuring a clean, wholesome, and deeply flavorful condiment ready to be pulled straight from your pantry shelf. By combining finely minced cooked meats or vegetables with a savory blend of pickles, mayonnaise-friendly aromatics, and spices, you create a shelf-stable powerhouse. When pressure-canned correctly, these jars seal securely, giving you instant access to a delicious sandwich filler whenever hunger strikes.
Equipment Needed
-
Pressure canner (with canning rack and weighted/dial gauge)
-
Half-pint (8 oz) mason jars with new, unused lids and screw bands
-
Food processor or meat grinder
-
Large heavy-bottomed stockpot
-
Jar lifter, funnel, and bubble-popper/spatula
Ingredients
-
3 cups finely minced or ground cooked chicken, ham, or turkey (ensure the meat is fully cooked and tender)
-
½ cup finely diced sweet or dill pickles (well-drained)
-
¼ cup finely minced celery
-
2 tablespoons finely minced sweet onion
-
1 cup low-sodium chicken broth or vegetable broth (to adjust moisture)
-
2 tablespoons yellow mustard
-
1 teaspoon paprika
-
½ teaspoon garlic powder
-
½ teaspoon onion powder
-
Salt and freshly ground black pepper (to taste)
Step-by-Step Instructions
Step 1: Prep and Sterilize
Begin by washing your half-pint mason jars, lids, and screw bands in hot, soapy water. Rinse them thoroughly. Inspect the jar rims carefully to ensure there are no nicks or cracks. Keep the jars warm until you are ready to fill them.
Step 2: Process the Meat and Vegetables
If your cooked meat is in large chunks, place it into a food processor and pulse briefly until finely minced or ground to a uniform, spreadable texture. In a mixing bowl, combine the minced meat, finely diced pickles, celery, and onion. Toss the ingredients together until they are evenly distributed.
Step 3: Mix the Seasoning Base
In a separate small bowl, whisk together the chicken broth, yellow mustard, paprika, garlic powder, onion powder, salt, and black pepper. Pour this liquid mixture into the meat and vegetable blend, stirring well until everything is moistened and cohesive, creating a thick, spreadable mixture.
Step 4: Pack the Jars
Spoon the sandwich spread mixture into your warm half-pint mason jars, pressing down gently with a spoon or spatula to eliminate any large air pockets. Leave 1 inch of headspace at the top of each jar.
Step 5: De-bubble and Clean Rims
Run a non-metallic bubble-popper or spatula down the inside of each jar to release any trapped air. Wipe the rims and threads of the jars meticulously with a clean, damp cloth to remove any grease or food residue, ensuring a secure seal. Place the flat canning lids onto the jars and twist on the screw bands until fingertip-tight.
Step 6: Pressure Canning Process
Because this recipe contains meat and low-acid vegetables, it must be processed using a pressure canner to ensure safety against foodborne pathogens. Place the canning rack into your pressure canner, add the recommended amount of water, and load your filled jars. Secure the lid, bring the canner to a boil, and vent steam for 10 minutes. Apply the weighted gauge or allow the dial to reach 10 pounds of pressure (at sea level). Process half-pint jars for 75 minutes.
Step 7: Cooling and Storing
Once the processing time is complete, turn off the heat and let the pressure canner depressurize completely and naturally. Carefully remove the jars using a jar lifter and place them upright on a towel, leaving space between each jar. Let them cool undisturbed for 12 to 24 hours. Check the seals, remove the screw bands, label the jars with the date, and store them in a cool, dark pantry.
Chef’s Pro Tips for Success
-
Texture Matters: Ensure your meat and vegetables are minced finely enough so that the final product spreads smoothly onto bread or crackers straight from the jar.
-
Fat Content: Trim excess visible fat from your cooked meats before processing, as too much oil can interfere with the jar sealing process during pressure canning.
-
Serving Suggestion: Once opened, chill any unused portion in the refrigerator and consume within 3 to 4 days. Mix with a spoonful of fresh mayonnaise right before serving for an extra creamy texture!
Nutritional Information
Note: Nutritional values are approximate per 2-tablespoon serving.
-
Calories: 45 kcal
-
Total Fat: 2g
-
Saturated Fat: 0.5g
-
Cholesterol: 15mg
-
Sodium: 140mg
-
Total Carbohydrates: 1g
-
Dietary Fiber: 0g
-
Net Carbs: 1g
-
Protein: 6g