-
Prep time: 15 minutes (plus optional 20–60 minutes to brine)
-
Active Cook time: 15 minutes
-
Total time: 30–90 minutes
-
Servings: 4
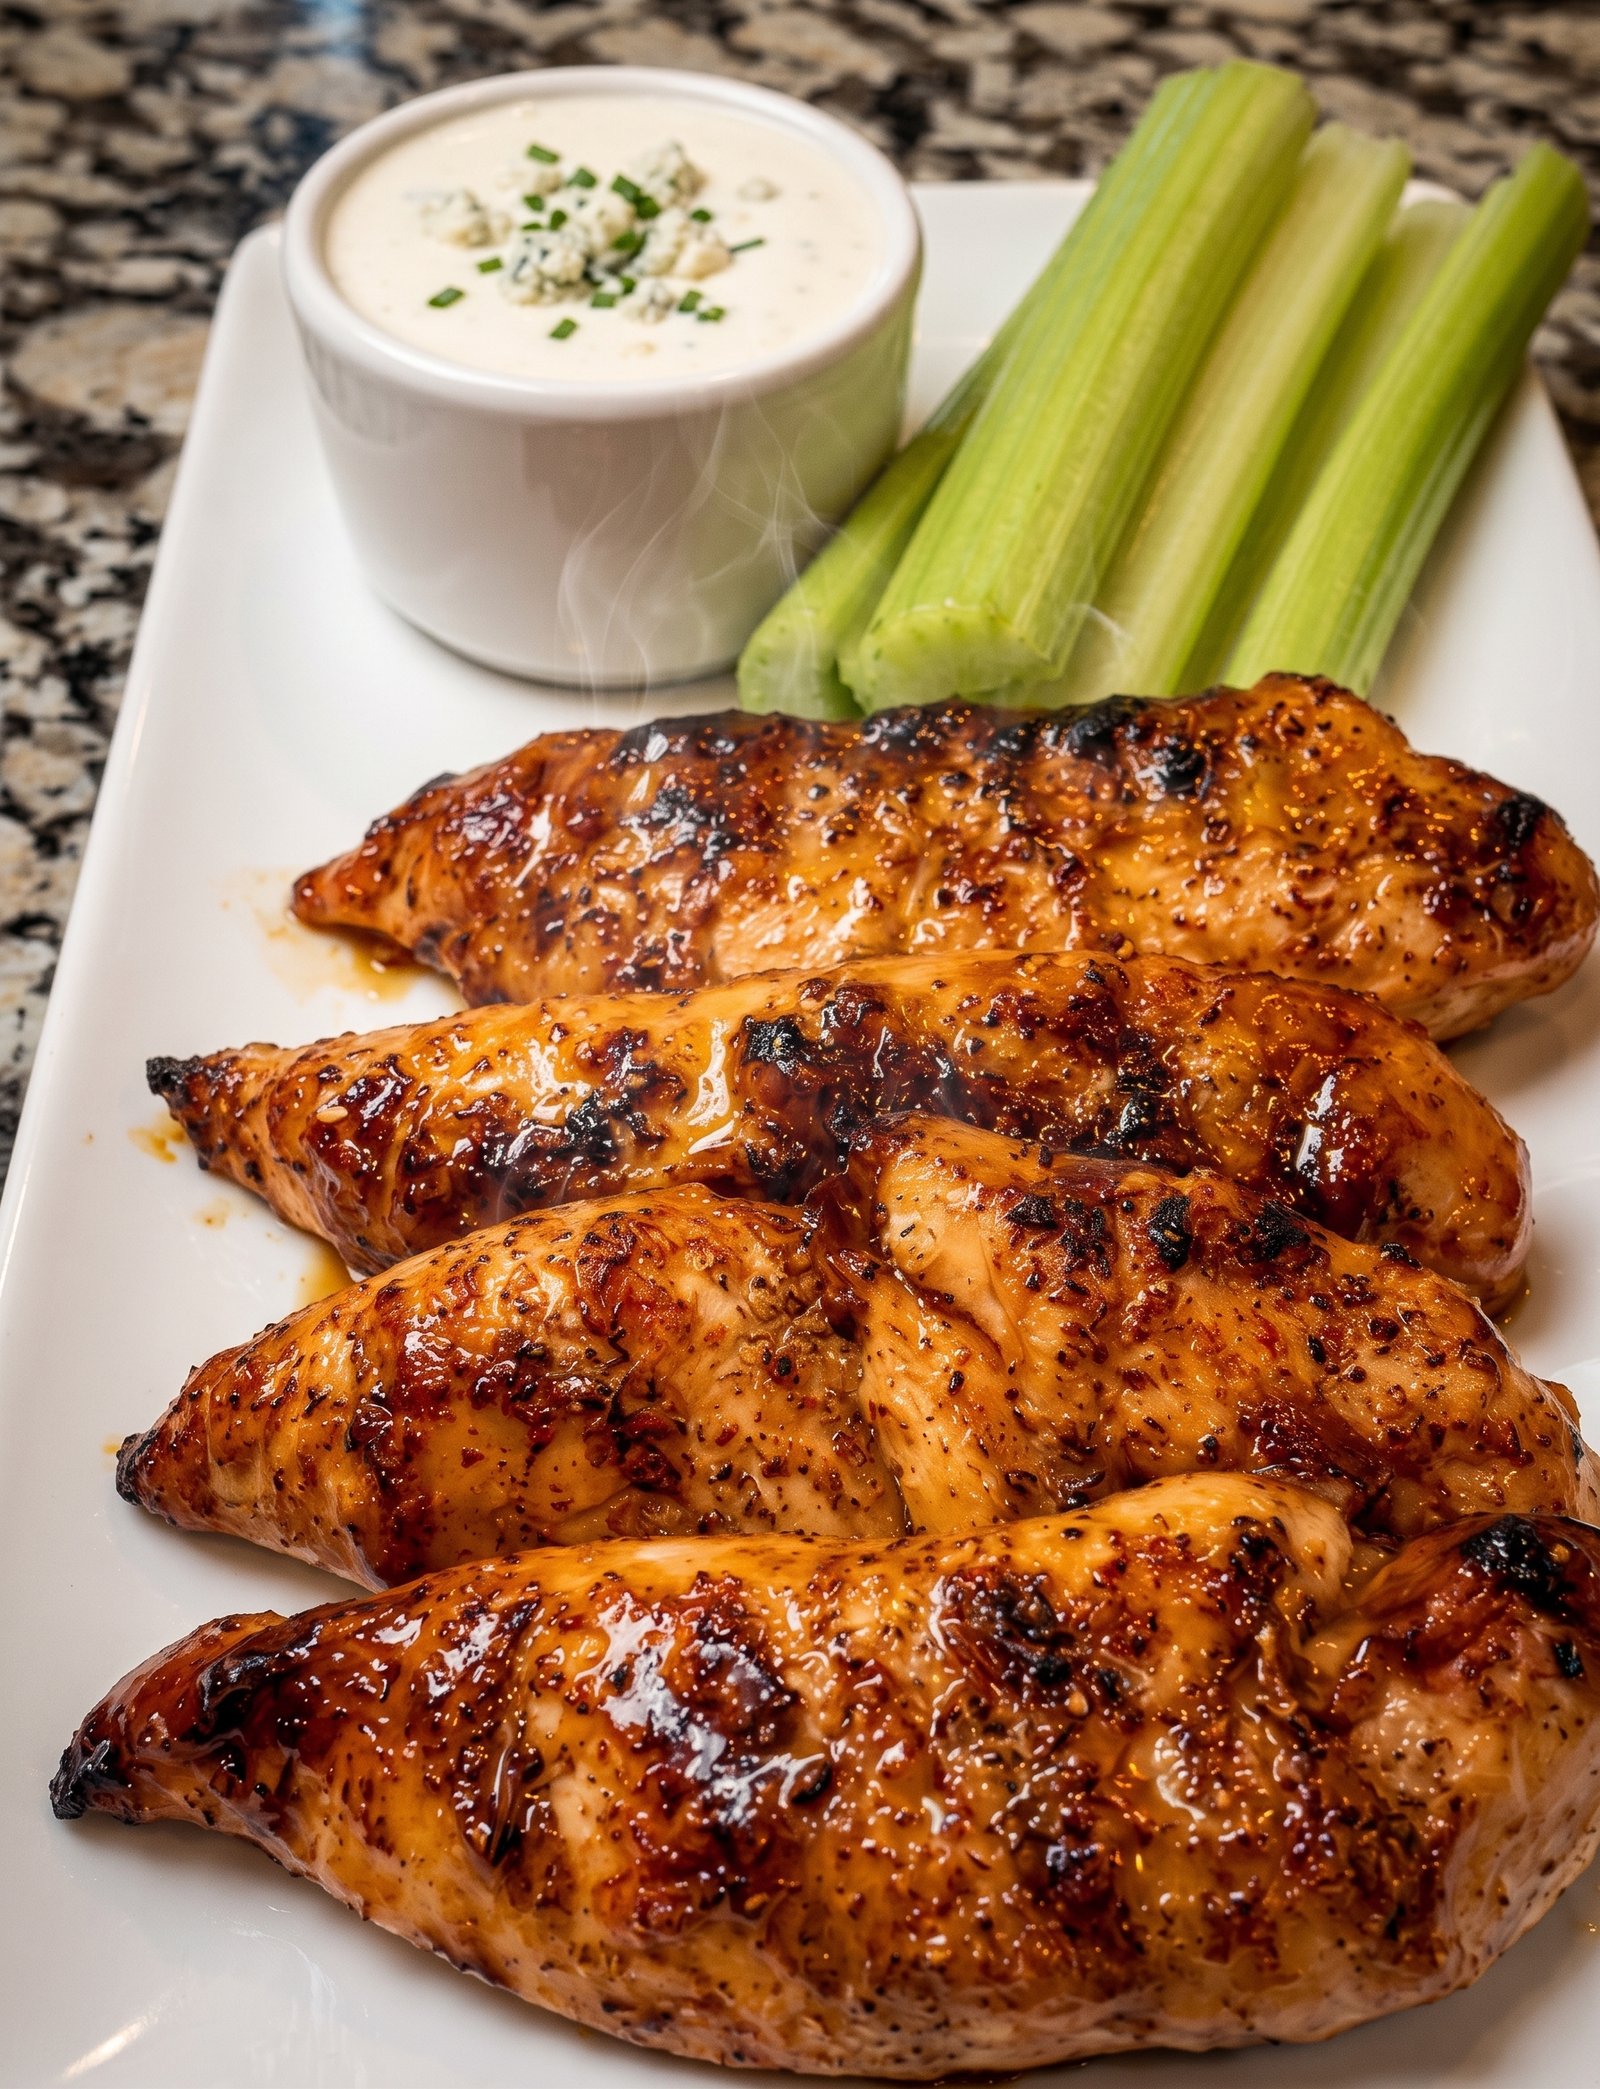
The Ultimate Crispy Chicken Tenders Recipe
Ingredients
For the Chicken & Optional Buttermilk Brine:
-
1 lb (450g) Chicken Tenderloins (approx. 8–10 tenders)
-
1 cup Buttermilk (optional but recommended)
-
1 tsp Kosher Salt
For the Breading Stations (Set up 3 shallow bowls):
Station 1: Seasoned Flour
-
¾ cup All-purpose flour
-
1 ½ tsp Smoked paprika
-
1 tsp Garlic powder
-
1 tsp Onion powder
-
½ tsp Salt
-
¼ tsp Black pepper
Station 2: Egg Wash
-
2 large Eggs
-
1 tbsp Milk or water
Station 3: Premium Panko Crust
-
1 ½ cups Panko breadcrumbs
-
¼ cup Grated Parmesan cheese (optional, but highly recommended)
For Frying:
-
Neutral Oil (Canola, vegetable, or peanut)
-
A Dutch oven or deep skillet
Step-by-Step Instructions
Step 1: Prep & Optional Brine (Choose Your Intensity)
Difficulty: Easy | Intensity: Low
-
If using the optional brine (highly recommended for maximum tenderness), combine 1 cup buttermilk and 1 tsp kosher salt in a resealable plastic bag or large bowl. Add the chicken tenders, ensure they are fully submerged, and refrigerate for 30 minutes (or up to 2 hours).
-
If you are not brining, simply pat the tenders dry with paper towels. Making sure the chicken is dry is crucial for the flour to adhere properly.
Step 2: Set Up the Breading Station
Difficulty: Easy | Intensity: Moderate (Organizational)
Set up three shallow bowls in order, from left to right:
-
Bowl 1 (Flour): Whisk together the flour, smoked paprika, garlic powder, onion powder, salt, and black pepper.
-
Bowl 2 (Egg Wash): Whisk together the eggs and milk (or water) until smooth.
-
Bowl 3 (Panko Crust): Whisk together the Panko breadcrumbs and the grated Parmesan cheese.
Step 3: Bread the Tenders
Difficulty: Intermediate | Intensity: Moderate (Active & Meticulous)
-
To minimize mess, use the “Wet Hand, Dry Hand” technique: assign one hand for dipping chicken into wet ingredients (egg wash) and the other for dipping into dry ingredients (flour and Panko).
-
If you brined the chicken, remove it from the brine and pat it very dry with paper towels.
-
The Process: Take a chicken tender.
-
Dip in Bowl 1 (Flour): Coat the entire tender. Shake off any excess flour.
-
Dip in Bowl 2 (Egg Wash): Submerge completely, allowing any excess to drip off (or use your wet hand).
-
Dip in Bowl 3 (Panko): Place the tender on the Panko mixture. Press down firmly to ensure the Panko adheres. Turn and repeat, pressing again, to build a thick crust.
-
-
Set the breaded tenders on a wire rack or clean plate. Let them rest for 10 minutes; this helps the breading to “set” and remain intact during the fry.
Step 4: The Crispy Fry (Active Cooking)
Difficulty: Intermediate | Intensity: High (Safety & Focus Required)
-
Pour 1 to 1 ½ inches of neutral oil (like canola or vegetable) into a Dutch oven or deep skillet.
-
Heat the Oil (Medium-High Intensity): Turn the stove to Medium-High heat. Using a clip-on digital thermometer, heat the oil to 350°F (175°C).
-
Tip: No thermometer? Stick the handle of a wooden spoon into the oil. If it immediately and steadily bubbles, the oil is ready (around 325-350°F). If it bubbles aggressively, turn the heat down slightly.
-
-
The Fry (Active Engagement): Once the oil is hot, carefully lower 3–4 tenders into the oil, ensuring not to overcrowd the pan.
-
Fry for 3–4 minutes per side. The crust should be a deep, golden-brown color, and the internal temperature (measured with an instant-read thermometer) must reach 165°F (74°C).
-
Remove the tenders to a wire rack set over a baking sheet (this prevents a soggy bottom). Immediately sprinkle the hot tenders with a pinch of salt (the salt adheres best to the hot oil).
-
Allow the oil to return to 350°F (175°C) and repeat with the remaining batches.
Serving & The Final Note
Serve these classic chicken tenders immediately while they are hot and crispy. The ultimate pairing is, of course, homemade sauces. While ranch is a staple, we recommend creating a quick “honey-mustard” by whisking equal parts mayonnaise, Dijon mustard, and honey, with a squeeze of fresh lemon juice.
Whether it’s for a family dinner, game day, or a party appetizer, these chicken tenders prove that the classic can always be improved with a little technique and focus. Enjoy the ultimate comfort food.
Recipe Notes
-
Panko Selection: Use Panko breadcrumbs, not standard fine breadcrumbs. This creates the light, crispy texture you are looking for.
-
Resting time: Do not skip the 10-minute rest after breading and before frying. This “setting” time is the difference between breading that falls off in the oil and breading that stays perfectly attached to the meat.
-
Storage & Reheating: Store leftovers in an airtight container in the refrigerator for up to 3 days. To reheat and restore crispiness, do not use a microwave. Reheat in an air fryer or oven at 375°F (190°C) for 5–7 minutes until hot and the crust has returned to its original crunch.
Nutrition Facts (Per Serving)
-
Recipe Name: Classic Crispy Chicken Tenders
-
Serving Size: 1 Serving (Approx. 2–3 tenders, assuming 4 servings per recipe)
-
Servings Per Recipe: 4
Amount Per Serving:
-
Calories: 540
-
Total Fat: 28g
-
Saturated Fat: 6g
-
-
Cholesterol: 180mg
-
Sodium: 1480mg
-
Total Carbohydrates: 32g
-
Dietary Fiber: 2g
-
Sugars: 3g
-
-
Protein: 39g
-
Vitamin D: 1mcg
-
Calcium: 120mg
-
Iron: 3mg
-
Potassium: 550mg