-
Prep Time: 15 minutes
-
Chill Time: 10 minutes (recommended for best texture)
-
Cook Time: 18–22 minutes
-
Total Time: ~45 minutes
-
Yield: 8 large scones
-
Intensity: Easy / Beginner-Friendly
-
Active Effort: Low to Medium
Equipment Needed
-
Large Mixing Bowl
-
Pastry Blender (or a box grater for the butter)
-
Measuring Cups and Spoons
-
Whisk
-
Baking Sheet
-
Parchment Paper
-
Serrated Knife or Bench Scraper
-
Small Whisk and Bowl (for the glaze)
Ingredients
For the Scones:
-
All-Purpose Flour: 2 ½ cups (plus more for dusting)
-
Granulated Sugar: ½ cup
-
Baking Powder: 1 tablespoon (this provides the lift)
-
Salt: ½ teaspoon (enhances all the flavors)
-
Unsalted Butter: ½ cup (1 stick), very cold, cut into small cubes
-
Chocolate Chips: 1 cup (semisweet or dark chocolate work best)
-
Large Egg: 1, cold
-
Heavy Whipping Cream: ½ cup, cold (plus 1-2 tablespoons for brushing)
-
Vanilla Extract: 1 teaspoon
For the Vanilla Glaze:
-
Powdered Sugar (Confectioners’ Sugar): 1 cup
-
Milk or Heavy Cream: 2–3 tablespoons
-
Vanilla Extract: ¼ teaspoon
Step-by-Step Instructions
Phase 1: The Dry Ingredients and the Butter
Step 1: Preheat and Prepare Preheat your oven to 400°F (205°C). Line a large baking sheet with parchment paper. This prevents sticking and ensures the bottoms of the scones don’t brown too quickly.
Step 2: Whisk the Dry Ingredients In a large mixing bowl, whisk together the all-purpose flour, granulated sugar, baking powder, and salt until thoroughly combined. Whisking is important to ensure the leavening agent (baking powder) is evenly distributed throughout the flour.
Step 3: “Cut In” the Cold Butter This is the most crucial step for texture. Add the small, very cold cubes of unsalted butter to the flour mixture. Use a pastry blender to cut the butter into the flour until the mixture resembles coarse meal, with some pea-sized pieces of butter remaining visible.
-
Pro-Tip: If you don’t have a pastry blender, use a box grater to grate the cold stick of butter directly into the flour mixture. Then, gently toss it to coat. Visible butter chunks are what create the flaky layers.
Step 4: Fold in the Chocolate Chips Add the chocolate chips to the flour-butter mixture and gently toss to coat. Coating the chips in flour helps prevent them from sinking to the bottom during baking.
Phase 2: The Wet Ingredients and Dough Formation
Step 5: Mix the Wet Ingredients In a separate, smaller bowl, whisk together the cold egg, cold heavy cream, and vanilla extract until just combined.
Step 6: Combine Wet and Dry Pour the wet ingredients into the large bowl with the dry ingredients. Using a sturdy rubber spatula or a wooden spoon, gently fold the mixture together just until the dough begins to come together.
-
Critical: Do not overmix. A few dry, crumbly bits are perfectly fine. Overmixing develops the gluten in the flour, which will make the scones tough and dense instead of tender and flaky. The dough should look shaggy and just barely hold its shape.
Phase 3: Shaping and Baking
Step 7: Shape the Scones Turn the shaggy dough out onto a lightly floured surface. Gently gather it and pat it into a rough circle, about 7 to 8 inches in diameter and approximately 1 inch thick. Using a sharp knife or a bench scraper, cut the circle into 8 equal wedges, like a pizza.
Step 8: Prepare for Baking Carefully transfer the 8 wedges to the prepared baking sheet, leaving about 2 inches of space between them to allow for spreading. Brush the tops and sides of each scone lightly with the extra 1-2 tablespoons of heavy cream. This helps them achieve a beautiful, golden-brown crust. (Optional: Sprinkle the tops with a little coarse sugar for extra crunch and sparkle).
Step 9: Chill (Highly Recommended) For the best shape and texture, place the entire baking sheet with the unbaked scones into the refrigerator or freezer for 10-15 minutes. Chilling the butter again ensures it melts in the oven, creating steam pockets that lift the dough into flaky layers.
Step 10: Bake Bake the scones in the preheated 400°F (205°C) oven for 18 to 22 minutes, or until the edges are golden brown and the tops are set and lightly cracked. A toothpick inserted into the center should come out clean.
Phase 4: The Finish
Step 11: Cool Remove the scones from the oven and transfer them to a wire rack to cool completely.
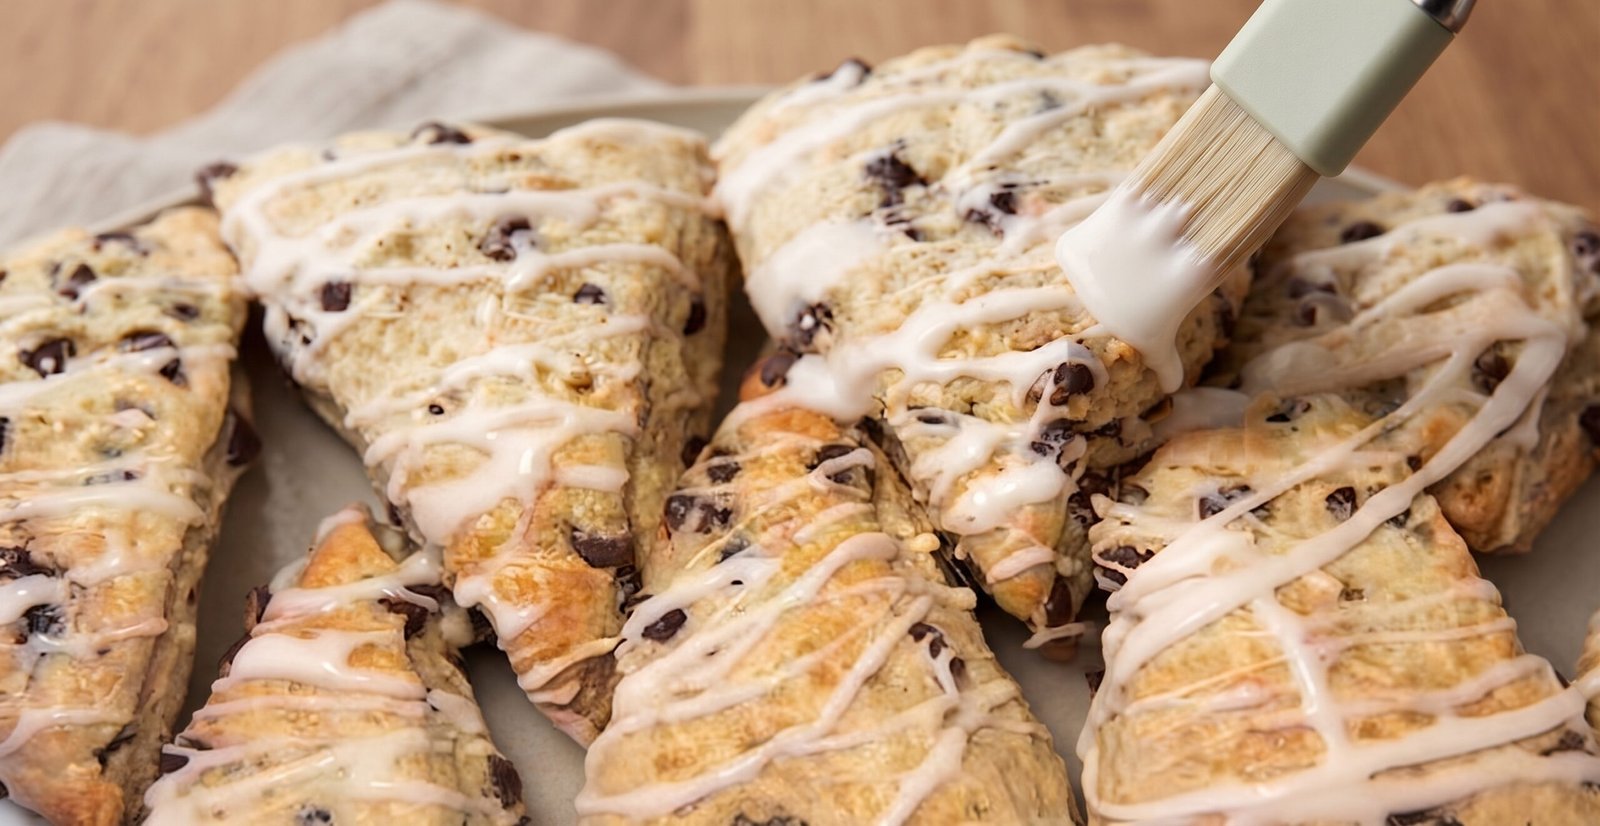
Step 12: Glaze While the scones are cooling, prepare the glaze. In a small bowl, whisk together the powdered sugar, 2 tablespoons of milk (or cream), and vanilla extract. Add more milk, one teaspoon at a time, until you reach a drizzling consistency. Once the scones are mostly cool, drizzle the glaze generously over the top. Let the glaze set for about 10 minutes before serving.
Pro-Chef Tips for Perfect Scones
-
Keep Everything Cold: The number one rule of scone making is keeping the butter cold. If the butter gets too soft or melts before baking, you lose the flaky texture. Work quickly, and if the dough feels too warm at any point, pop it back in the fridge.
-
Don’t Fear the Crumb: The dough should not look like a smooth bread dough. It should be rough and sticky. A shaggy dough is a tender dough. Trust the process.
-
Use a Hot Oven: Baking at a high temperature (400°F) is essential. It causes the cold butter to create steam rapidly, which is what lifts the scone and creates those signature layers.
-
Customize Your Scones: This base recipe is incredibly versatile. Feel free to substitute the chocolate chips with dried cranberries, white chocolate chips, blueberries, or even orange zest and pecans.
-
Overnight Scones: You can prep the unbaked scones, cut them into wedges, wrap them tightly, and store them in the freezer for up to 3 months. Bake them directly from the freezer (add 2-3 minutes to the baking time) for fresh scones any morning.
Nutrition Facts
Note: Nutritional values are estimated per single scone (1/8th of the recipe) and include the vanilla glaze. Values may vary slightly based on specific brands of ingredients used.
-
Calories: 460 kcal
-
Total Fat: 23 g
-
Saturated Fat: 14 g
-
Total Carbohydrates: 58 g
-
Dietary Fiber: 2 g
-
Sugars: 31 g
-
Protein: 6 g
-
Sodium: 180 mg