Prep Time: 15 minutes
Rest Time (optional but recommended): 30 minutes
Cook Time: 20 minutes
Total Time: ~35–65 minutes
Difficulty Level (Intensity)
- Preparation Intensity: Low to Medium
(simple mixing, no advanced techniques) - Cooking Intensity: Medium
(requires attention to waffle iron heat control) - Fermentation Intensity: Low (optional resting improves texture but not required)
- Overall Difficulty: Easy
Description
These sourdough discard waffles are a perfect breakfast or brunch option. They combine the natural tang of sourdough with the richness of butter and eggs, balanced by a slight sweetness. The batter is versatile—resting it improves flavor depth and crispness, but you can also cook it immediately if you are short on time.
They are ideal for topping with honey, fruit, maple syrup, yogurt, or even savory toppings like fried eggs and cheese.
Ingredients
Wet Ingredients
- 1 cup sourdough discard (unfed starter)
- 2 large eggs
- 1 ½ cups milk (whole milk preferred for richness)
- 6 tablespoons melted butter (plus extra for waffle iron)
- 1 teaspoon vanilla extract
Dry Ingredients
- 1 ½ cups all-purpose flour
- 2 tablespoons sugar (adjust to taste)
- 2 teaspoons baking powder
- ½ teaspoon baking soda
- ½ teaspoon salt
Optional Add-ins
- ½ teaspoon cinnamon (for warmth)
- 1 tablespoon honey (for extra sweetness)
- ½ cup chocolate chips or blueberries
Equipment Needed
- Waffle iron (standard or Belgian-style)
- Mixing bowls (one large, one medium)
- Whisk or electric hand mixer
- Measuring cups and spoons
- Ladle or scoop for batter
- Cooling rack (for crispier waffles)
Instructions
Step 1: Prepare the Batter Base
In a large mixing bowl, combine the sourdough discard, eggs, milk, melted butter, and vanilla extract. Whisk until the mixture is smooth and fully blended.
The sourdough discard may vary in thickness. If your starter is very thick, add a splash more milk to loosen it slightly.
Step 2: Mix Dry Ingredients
In a separate bowl, whisk together flour, sugar, baking powder, baking soda, salt, and any optional spices like cinnamon.
This step ensures even distribution of leavening agents, which is critical for waffle rise and texture.
Step 3: Combine Wet and Dry Mixtures
Slowly add the dry ingredients into the wet mixture. Stir gently until just combined.
Do not overmix. A slightly lumpy batter is ideal. Overmixing can reduce fluffiness and make waffles dense.
At this stage, the batter has a medium mixing intensity requirement—steady but gentle folding is best.
Step 4: Rest the Batter (Optional but Recommended)
Let the batter rest for 30 minutes at room temperature.
Why this matters:
- The flour hydrates fully
- The sourdough discard begins mild fermentation interaction
- Gluten relaxes, improving texture
- Final waffles become crispier outside and softer inside
This step increases the “fermentation intensity” slightly but improves flavor significantly.
If you are in a hurry, you can skip this step.
Step 5: Preheat Waffle Iron
Preheat your waffle iron according to manufacturer instructions.
Lightly grease with butter or oil to prevent sticking and to enhance browning.
Cooking intensity tip:
Set heat to medium-high. Too low will create soft waffles; too high will burn the exterior before cooking inside.
Step 6: Cook the Waffles
Pour batter into the center of the waffle iron. Do not overfill; the batter will spread as it cooks.
Close the lid and cook for 4–6 minutes depending on your machine.
Avoid opening too early—steam is crucial for proper lift.
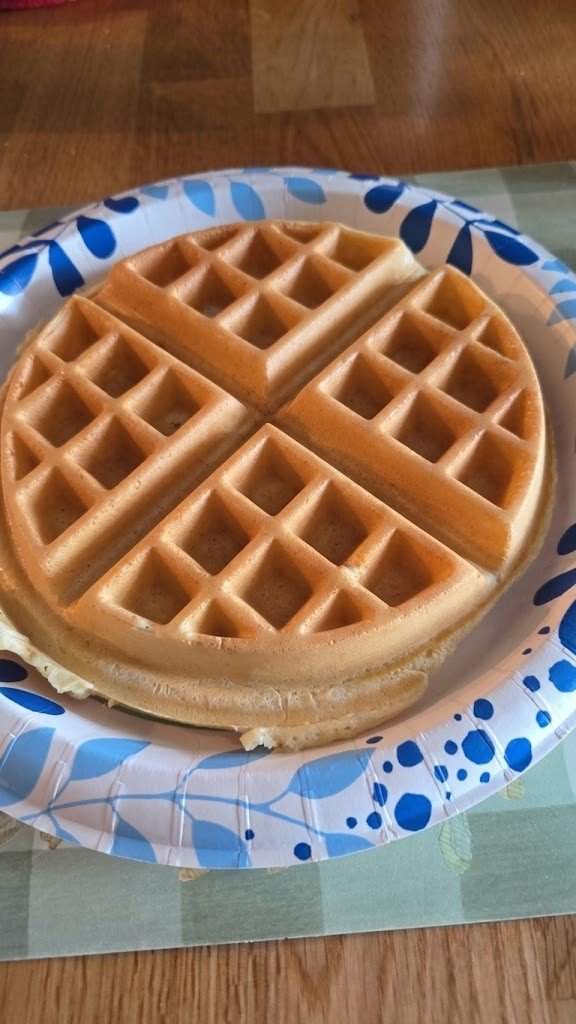
Waffles are ready when:
- They are golden brown
- Steam significantly reduces
- Edges are crisp
Step 7: Keep Warm and Crisp
Place cooked waffles on a cooling rack instead of stacking them. This prevents sogginess.
If making multiple batches, keep them warm in a low oven (around 90–100°C).
Serving Suggestions
Sourdough discard waffles are incredibly versatile. Here are some ideas:
Sweet Options
- Maple syrup and butter
- Fresh strawberries and whipped cream
- Banana slices with honey
- Nutella and crushed nuts
Savory Options
- Fried egg and cheese
- Avocado and chili flakes
- Smoked chicken and garlic yogurt sauce
Tips for Best Results
- Use room temperature ingredients for smoother mixing.
- Do not overmix batter—it is the most common mistake.
- Adjust thickness depending on waffle iron type.
- For extra crispiness, add 1 extra tablespoon of melted butter to the batter.
- For deeper sourdough flavor, refrigerate batter overnight (slow fermentation).
- Always preheat waffle iron fully before cooking.
Common Variations
1. Whole Wheat Version
Replace half the flour with whole wheat flour for a nuttier flavor and denser texture.
2. Protein Boost Version
Add 2 tablespoons of milk powder or a scoop of unflavored protein powder.
3. Dairy-Free Version
Replace milk with almond or oat milk and use coconut oil instead of butter.
4. Extra Tangy Version
Increase sourdough discard to 1 ½ cups and reduce milk slightly.
Storage Instructions
- Refrigerator: Store leftovers in an airtight container for up to 3 days.
- Freezer: Freeze waffles in a single layer, then transfer to a freezer bag for up to 2 months.
- Reheating: Toast in a toaster or oven at 180°C for 5–7 minutes until crisp again.
Nutrition Information (Per 1 Waffle, Approximate)
- Calories: 230–280 kcal
- Carbohydrates: 28–32 g
- Protein: 7–9 g
- Fat: 10–13 g
- Fiber: 1–2 g
- Sugar: 3–6 g
- Sodium: 250–350 mg