-
Prep Time: 1 hour 30 minutes
-
Cook Time: 20 minutes
-
Processing Time: 30 minutes
-
Total Time: 2 hours 20 minutes
-
Intensity / Skill Level: Intermediate (Water-bath canning experience recommended)
-
Yield: About 6 quart jars (or roughly 12 pint jars)
-
Category: Home Canning / Desserts / Baking Staples
Ingredients
To successfully execute this home-canned peach pie filling, gather the following precise ingredients:
-
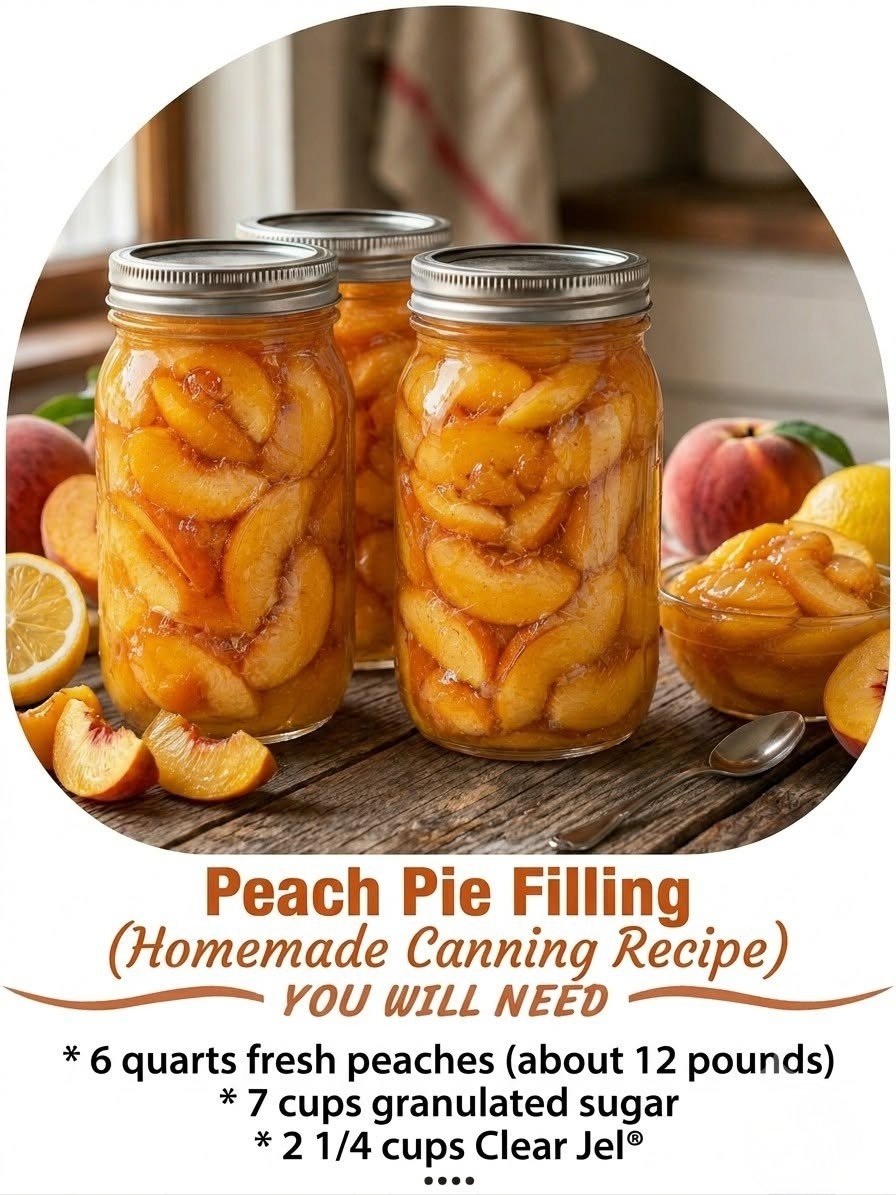
6 quarts fresh peaches (approximately 12 pounds whole, firm-ripe freestone peaches)
-
7 cups granulated sugar (acts as a sweetener and preservative agent)
-
2 ¼ cups Clear Jel® (Modified cornstarch specifically formulated for safe home canning that will not break down during processing)
-
1 ½ cups bottled lemon juice (essential for providing the necessary acidity to ensure safe water-bath canning)
-
2 ½ teaspoons ground cinnamon (optional, for subtle warmth)
-
¼ teaspoon ground nutmeg (optional, adds depth)
-
2 ½ cups cold water
-
5 cups apple juice or water (to reconstitute and cook the thickener base)
Step-by-Step Instructions
Step 1: Prepare and Blanch the Peaches
-
Wash all your peaches thoroughly in cool, clean water.
-
Bring a large pot of water to a rolling boil and prepare a large bowl of ice water nearby.
-
Drop the peaches into the boiling water in batches for about 30 to 60 seconds, just until the skins loosen.
-
Immediately transfer the blanched peaches into the ice water bath to stop the cooking process.
-
Slip the skins off the peaches using your fingers or a paring knife. Pit the peaches and slice them into uniform, thick wedges (about ½-inch thick).
-
To prevent browning, place your sliced peaches into a large bowl filled with water treated with a commercial ascorbic acid or a splash of lemon juice. Drain well before using.
Step 2: Acidify and Prepare the Fruit
-
In a very large, heavy-bottomed stockpot, combine the drained peach slices with the 1 ½ cups of bottled lemon juice. Toss gently to ensure every piece is coated, which safeguards both flavor and safe pH levels for canning.
Step 3: Create the Thickening Gel Base
-
In a separate, large cooking pot, combine the cold water and the Clear Jel®. Whisk continuously until completely smooth with no lumps.
-
Pour in the 5 cups of apple juice (or water) and the 7 cups of granulated sugar. Add the ground cinnamon and ground nutmeg if you prefer a spiced filling.
-
Cook this mixture over medium-high heat, stirring constantly with a heat-resistant spatula or whisk, until the mixture thickens and begins to bubble.
Step 4: Combine Fruit and Base
-
Gently fold the prepared peach slices into the hot thickened gel mixture.
-
Bring the entire mixture back to a gentle simmer, stirring frequently and carefully to avoid breaking up the delicate peach slices. Cook for roughly 3 minutes until the peaches are heated through.
Step 5: Jar and Process
-
While your filling is simmering, prepare your water-bath canner, fill it with water, and bring it to a simmer. Wash your canning jars (quarts or pints) in hot, soapy water and rinse well. Keep them hot until ready to fill.
-
Ladle the hot peach pie filling into your hot jars, leaving 1 inch of headspace at the top of each jar.
-
Remove any trapped air bubbles by running a non-metallic spatula or bubble-popper down the inside of the jar. Wipe the jar rims clean with a damp, lint-free cloth to ensure a proper seal.
-
Center heated canning lids onto the jars and screw down the metal bands until fingertip-tight.
-
Place the jars into the boiling water canner, ensuring the water level is at least 1 to 2 inches above the tops of the jars.
-
Process quart jars in a boiling water bath for 30 minutes (adjusting properly for your local altitude if necessary).
-
Once processing time is complete, turn off the heat, remove the lid, and let the jars sit in the water for 5 minutes. Carefully remove the jars using jar lifters and place them upright on a towel-lined countertop, leaving space between each jar. Do not tighten or disturb the rings. Let them cool undisturbed for 12 to 24 hours.
Storage and Shelf Life
-
Cooling & Sealing: Check the seals after 24 hours. The centers of the lids should be pulled downward and should not flex when pressed.
-
Storage: Remove the screw bands, wipe the jars clean, label them with the contents and date, and store them in a cool, dark, and dry place.
-
Shelf Life: Properly canned pie filling will maintain optimal quality for up to 12 to 18 months. Once opened, store the jar in the refrigerator and consume within 3 to 5 days.
Nutritional Information
-
Serving Size: 1/6th of a standard batch / 1 cup serving of filling
-
Calories: 240 kcal
-
Total Fat: 0.2 g
-
Saturated Fat: 0 g
-
-
Sodium: 5 mg
-
Total Carbohydrates: 61 g
-
Dietary Fiber: 3.5 g
-
Sugars: 52 g
-
-
Protein: 1 g