-
Prep time: 15 minutes
-
Fermentation time: 3 to 4 weeks (with daily burping and turning)
-
Total time: 1 month
-
Yield: Approximately 1 pint jar (about 2 cups total)
-
Cuisine: Global / Fermentation / Artisan Pantry
-
Course: Condiment / Pantry Staple / Wellness Remedy
-
Equipment: 16-ounce glass Mason jar with a tight-fitting lid, kitchen scale (optional but recommended), small silicone spatula.
Recipe Intensities & Profile
-
Skill Level: Beginner-Friendly (Requires patience rather than technical cooking skills)
-
Active Effort: Low (15 minutes of hands-on prep, followed by 30 seconds of daily maintenance)
-
Flavor Profile: Deeply sweet, rich, savory, slightly tangy, with a mellowed garlic warmth completely free of harsh raw-garlic heat.
-
Texture Profile: The honey becomes luxuriously fluid and silky; the garlic cloves soften into a buttery, spreadable texture that melts on the tongue.
Ingredients
Because this recipe relies on raw fermentation without added vinegar, water, or artificial preservatives, the quality of your ingredients dictates the success of your ferment.
The Core Ingredients
-
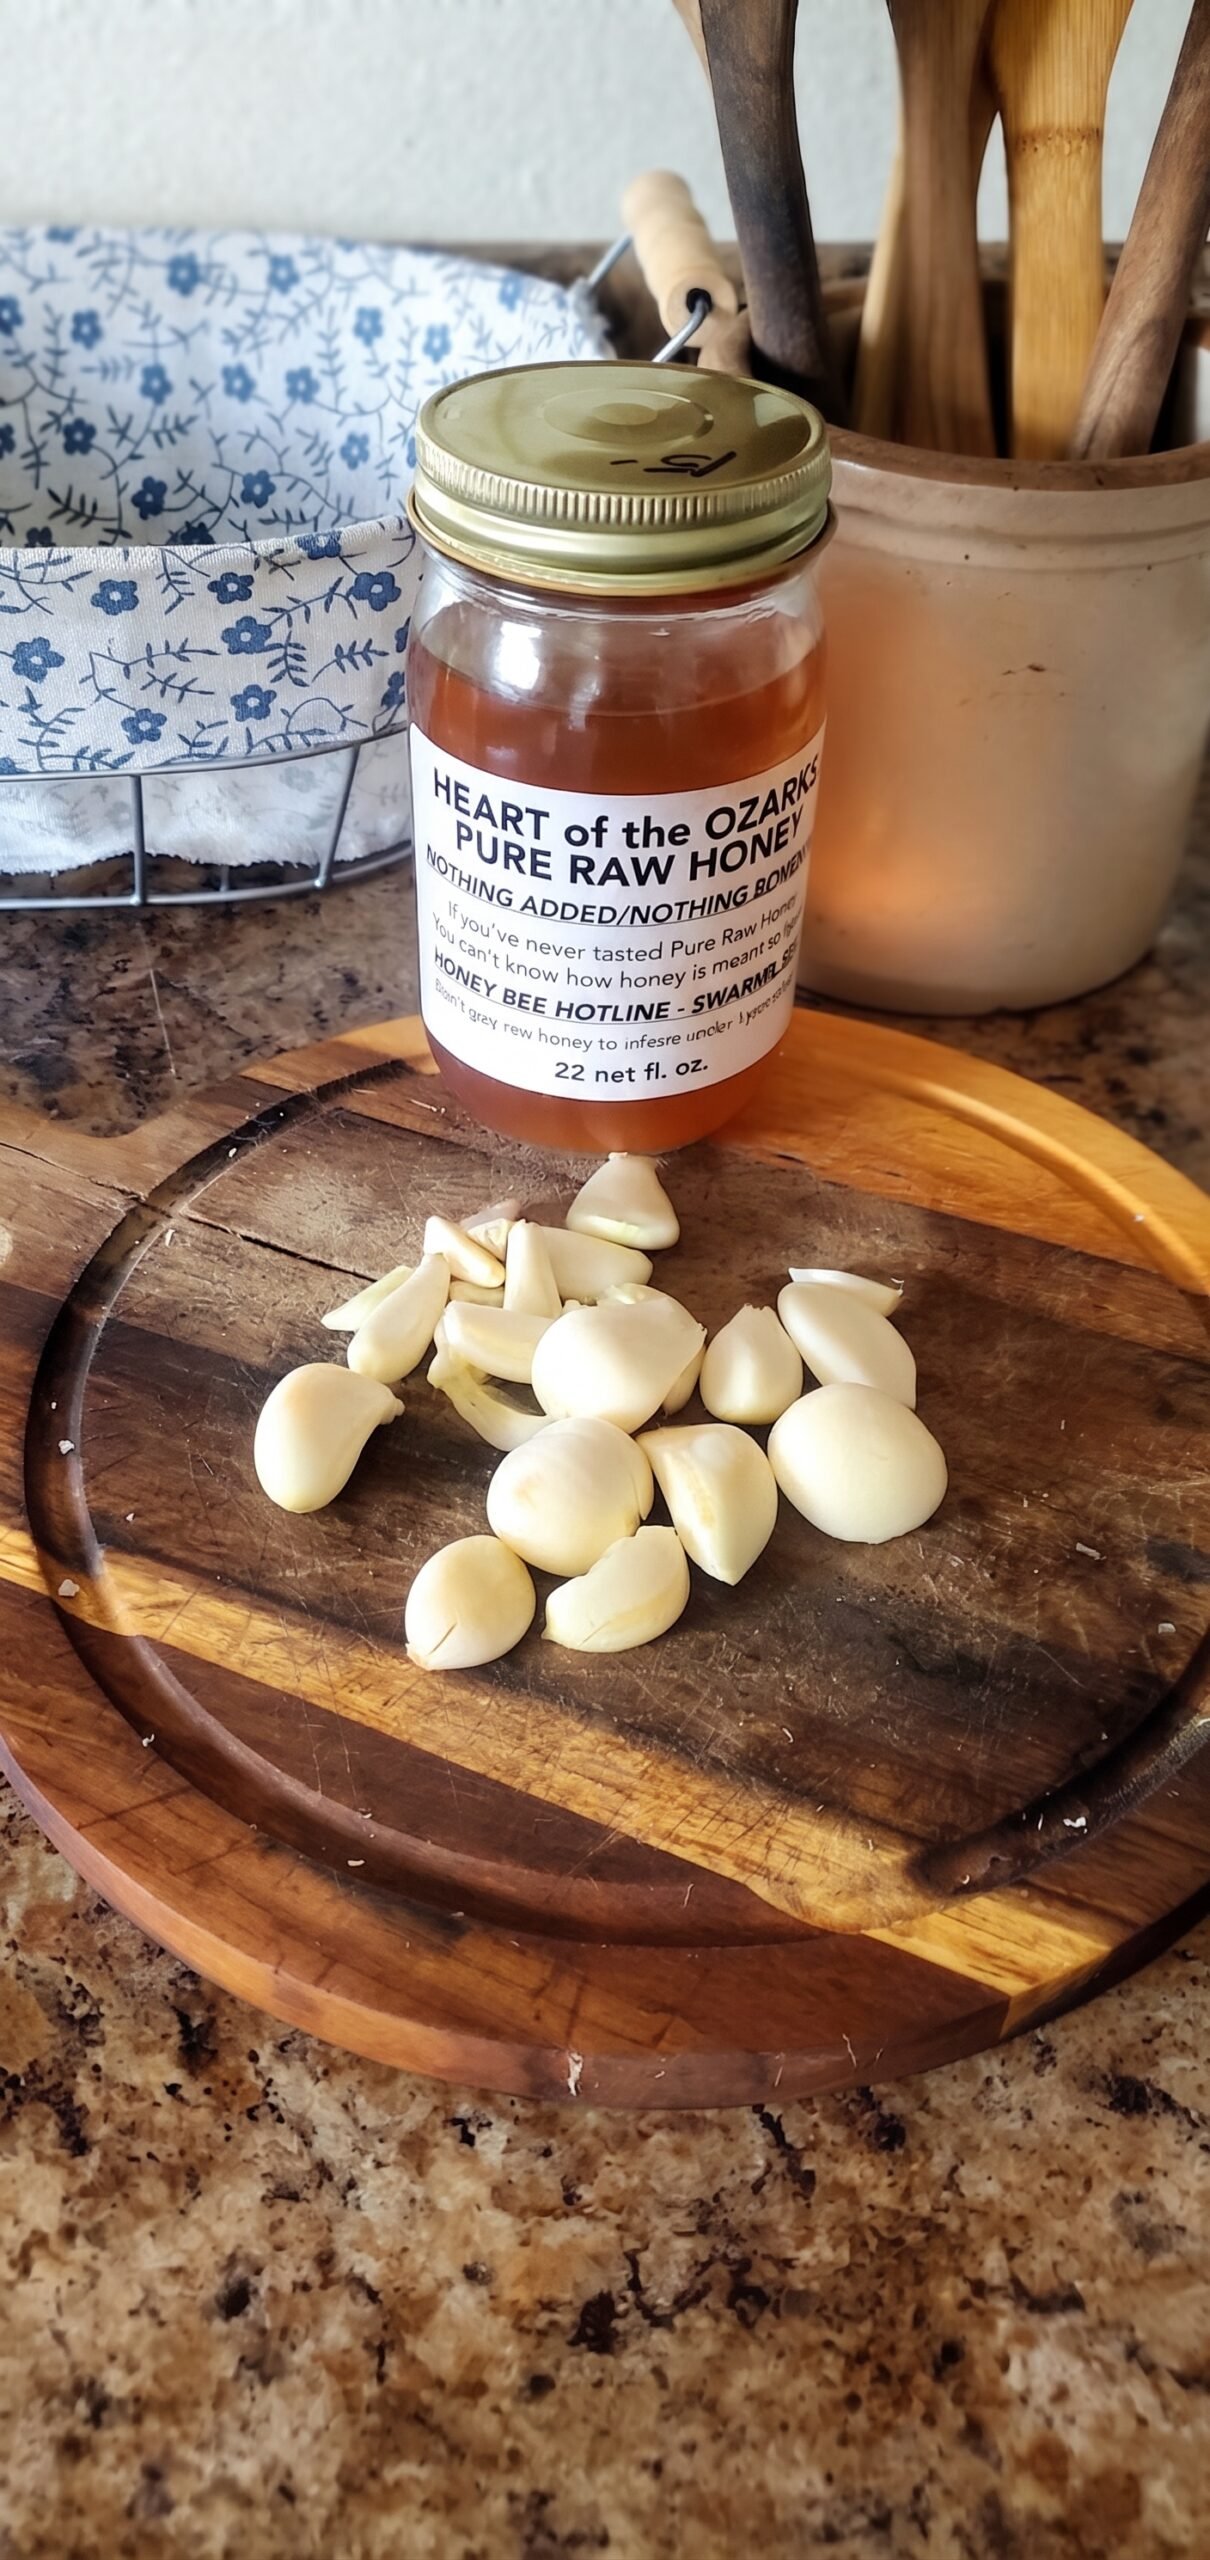
2 cups Fresh Garlic Cloves: Peeled fresh garlic cloves (about 3 to 4 large heads of garlic). Avoid pre-peeled, vacuum-packed, or imported processed garlic from bags, as these often contain chemical preservatives or chlorine washes that inhibit natural fermentation. Take the time to separate and peel fresh cloves by hand.
-
1 cup Raw, Unpasteurized Honey: This is non-negotiable! You must use raw honey that is unheated and unfiltered. Raw honey contains active wild yeasts, beneficial enzymes, and natural microflora required to kickstart the fermentation process. Commercial, highly filtered supermarket honey has been heated and pasteurized, meaning it lacks the live elements needed to ferment properly.
Step-by-Step Instructions
Step 1: Prepare and Inspect the Garlic
Separate your heads of garlic and peel all the cloves. Inspect each clove carefully. Cut away any stubborn root ends, bruised spots, or blemishes. It is vital that every piece of garlic you use is completely clean, fresh, and free of mold or damage, as introduction of bad bacteria can ruin the batch. Pat the peeled cloves completely dry with a clean paper towel.
Step 2: Pack the Jar
Place your clean, dry glass Mason jar on your counter. Add the peeled garlic cloves into the jar. Fill the jar until it is about three-quarters full, leaving at least one to two inches of headspace at the top. This headspace is crucial because active fermentation creates gas bubbles that will cause the mixture to expand and bubble up.
Step 3: Pour the Raw Honey
Slowly pour the raw, unpasteurized honey directly over the garlic cloves. Ensure that the honey flows down and completely surrounds every single clove, filling all the air pockets between them. Continue pouring until the honey covers the top of the garlic cloves by at least one inch.
Pro-Tip: Garlic cloves are naturally lighter than honey and will try to float to the top. If any cloves poke out above the surface of the honey line, they can oxidize or spoil. Use a clean kitchen utensil or a small weight to push them down, and make sure there is enough honey covering them completely.
Step 4: Seal and Start the Fermentation
Secure the lid tightly onto your Mason jar. Give the jar a gentle tilt or inversion to help coat all the cloves thoroughly with honey.
Place the jar in a dark, temperature-stable location out of direct sunlight—such as a pantry shelf or a kitchen cabinet. The ideal ambient temperature for honey fermentation is between 65°F and 75°F (18°C to 24°C).
Step 5: Daily Maintenance (The Burping Phase)
During the first 2 to 3 weeks of fermentation, active wild yeasts and bacteria will awaken, consuming the natural sugars in the honey and producing carbon dioxide gas.
-
Daily Action: Once a day, open (“burp”) the jar to release any built-up pressure. You may hear a soft hiss or see bubbles rising to the top—this is a sign that a healthy, active fermentation is underway!
-
Swirling: After burping, tilt or gently invert the jar so the liquid honey washes back over any garlic cloves that may have floated to the top.
Step 6: Tracking Progress and Patience
Around week two, you will notice the honey becoming noticeably thinner and runnier. This happens because the natural moisture inside the garlic cloves draws out into the honey via osmosis, while the honey infuses into the garlic.
By week three or four, the bubbling will begin to slow down significantly. The garlic cloves may change color slightly, taking on a translucent, amber hue. Taste a clove: if the harsh raw garlic bite has completely vanished and transformed into a smooth, sweet, deeply savory flavor, your honey fermented garlic is ready to use! (Though it only gets better and more complex the longer you let it age).
Safety and Botulinum Guidelines
Fermenting garlic in honey is an ancient, safe practice when done correctly, but it is important to understand the science behind food safety:
-
pH Levels: Raw honey is naturally acidic, and as fermentation proceeds, beneficial lactic acid bacteria produce further acidity, dropping the pH. A low pH environment successfully prevents harmful pathogens like Clostridium botulinum from growing.
-
Moisture Control: Ensure your honey has a low water content (using raw, pure honey) and that you do not add water to the jar. Adding external water can dilute the natural sugar concentration and raise the pH, creating an unsafe environment.
-
Storage Safety: Once fermented, honey fermented garlic can safely sit at room temperature for months or even years because honey is a natural preservative. Always use clean, dry utensils whenever dipping into the jar to prevent introducing contaminants.
Chef’s Ways to Use Honey Fermented Garlic
Once your batch is ready, the culinary possibilities are endless. Here are some of the best ways to incorporate it into your cooking:
-
Glazes and Marinades: Chop up a few fermented garlic cloves and mix them with soy sauce, ginger, and a spoonful of the garlic honey to create an unbeatable glaze for chicken wings, pork chops, or salmon.
-
Salad Dressings: Whisk a teaspoon of the infused honey with olive oil, apple cider vinegar, Dijon mustard, salt, and pepper for a sweet-and-savory vinaigrette.
-
Direct Health Tonic: Take a spoonful of the honey or eat a single fermented clove whenever you want a natural immune boost during cold and flu season.
-
Pizza and Bread Finishes: Drizzle the runny garlic honey over a hot, freshly baked artisan pizza or a warm slice of sourdough bread topped with goat cheese.
Nutritional Information
Please note that nutritional values are approximate calculations based on standard unpasteurized honey and fresh garlic profiles.
-
Serving Size: 1 tablespoon (approx. 20g)
-
Calories: 64 kcal
-
Total Fat: 0g
-
Saturated Fat: 0g
-
-
Cholesterol: 0mg
-
Sodium: 1mg
-
Total Carbohydrates: 17g
-
Dietary Fiber: 0.1g
-
Sugars: 16g
-
-
Protein: 0.2g