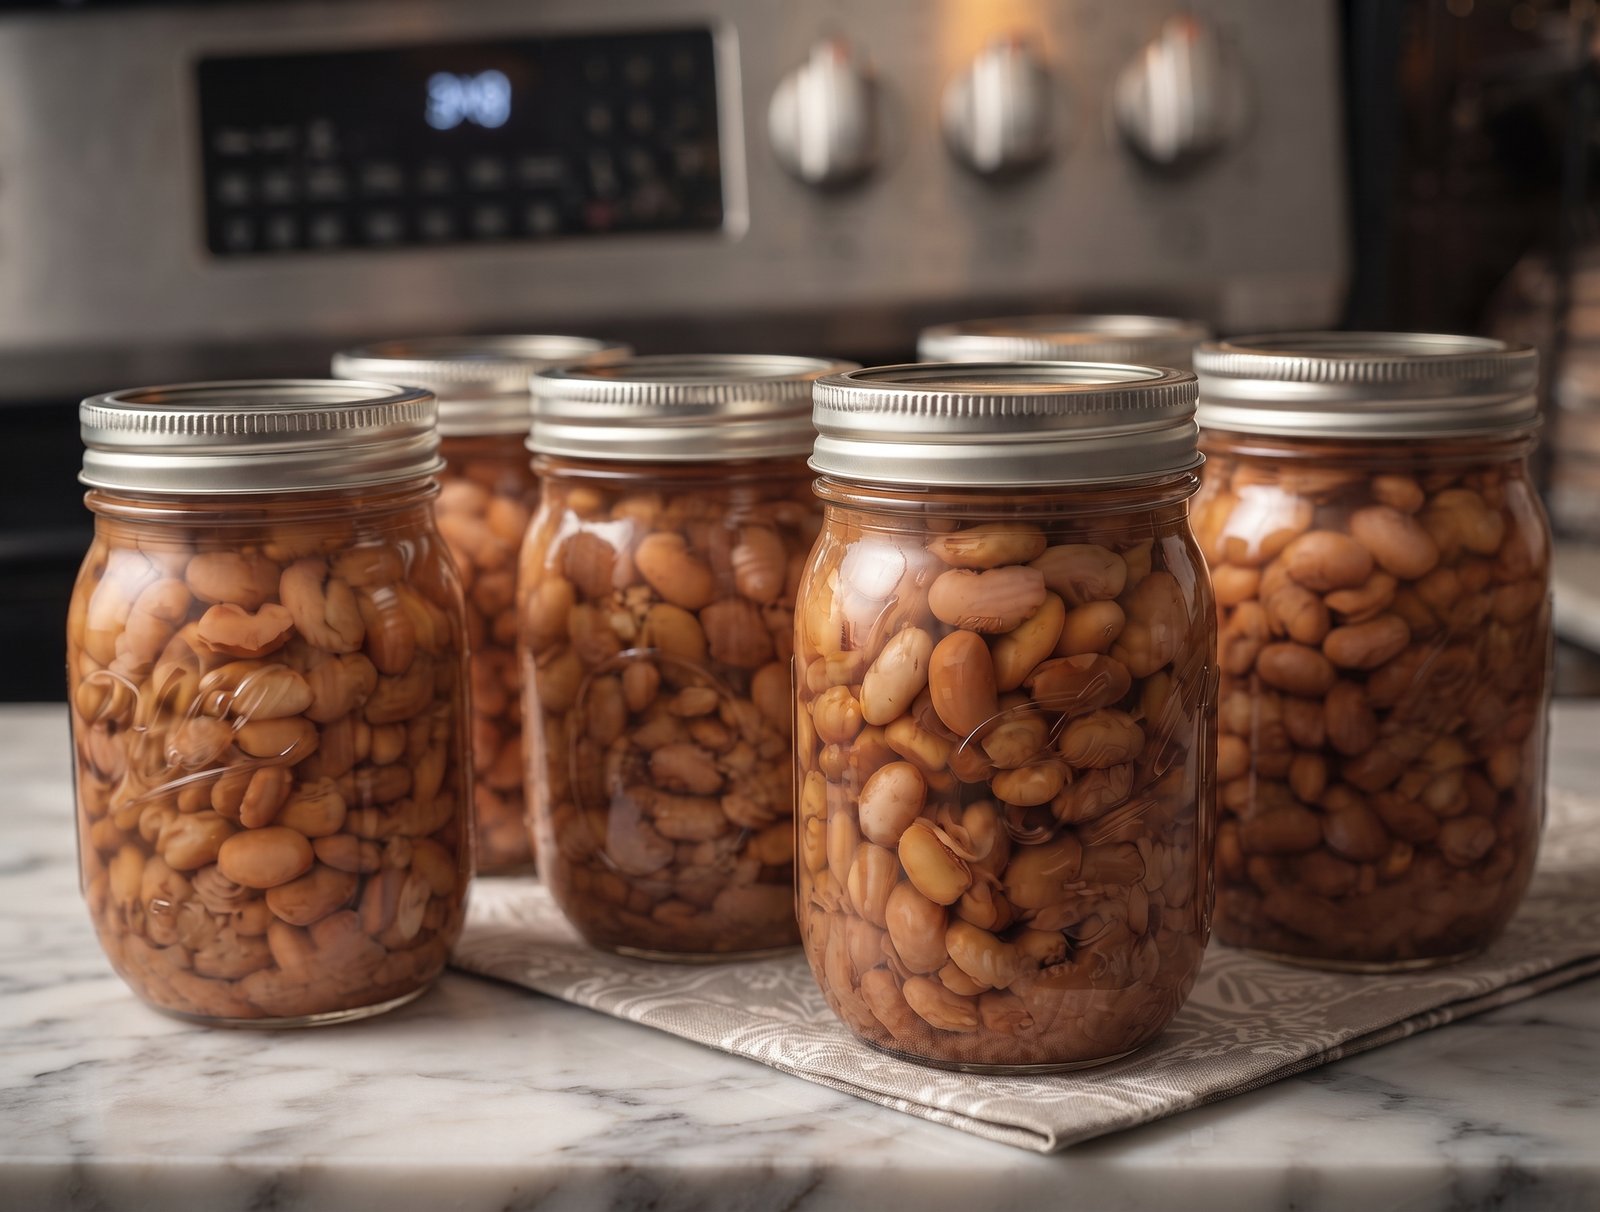
How to Can and Cook Dried Pinto Beans for Long-Term Storage
-
Prep time: 12 hours (soaking time)
-
Cook time: 90 minutes (pressure canning)
-
Total time: 13 hours 30 minutes
-
Intensity/Skill Level: Intermediate / Home Canning
-
Yield: About 7 pint jars (or 5 quart jars)
Introduction
Stocking your pantry with home-canned staples is one of the most rewarding ways to take control of your food supply, and mastering home-canned dried pinto beans is a cornerstone skill. Unlike store-bought canned beans, which can often turn mushy, lack flavor, or contain excess sodium and metallic preservatives, home-canned pinto beans give you total control over the ingredients.
Pinto beans are an incredible source of plant-based protein, complex carbohydrates, and dietary fiber. When pressure canned from dried beans that have been properly soaked and prepared, you end up with tender, creamy, perfectly seasoned beans ready to be tossed into soups, stews, chilis, or refried instantly. Having these ready-to-eat jars on your shelf saves hours of weeknight meal prep while providing wholesome, comforting nutrition for your household.
Equipment Needed
-
Pressure canner (with canning rack and weighted/dial gauge)
-
Standard mason jars (pint or quart size)
-
New, unused canning lids and screw bands
-
Jar lifter and funnel
-
Large mixing bowl (for soaking)
-
Heavy-bottomed stockpot
Ingredients
-
4 cups dried pinto beans (sorted and rinsed thoroughly to remove any debris or shriveled beans)
-
Boiling water (for soaking and filling jars)
-
1–2 teaspoons salt per jar (optional, but adds great flavor)
-
Optional seasonings per jar: A pinch of cumin, garlic powder, onion powder, or a small piece of smoked bacon/salt pork if desired.
Step-by-Step Instructions
Step 1: Sorting and Washing
Begin by spreading your dried pinto beans out on a clean baking sheet or white plate. Carefully sort through them, discarding any broken beans, small stones, or foreign debris. Transfer the remaining good beans to a colander and rinse them thoroughly under cold running water.
Step 2: The Soaking Process
Place the rinsed pinto beans into a large bowl and cover them with plenty of cool water, ensuring the water level sits at least two inches above the beans. Allow them to soak at room temperature for at least 8 to 12 hours (or overnight). The beans will expand significantly as they absorb water. Drain and rinse the soaked beans before proceeding.
Step 3: Hot Packing vs. Raw Packing
While some canners use a raw-pack method, a brief pre-cooking or hot-pack method prevents the beans from absorbing too much liquid inside the jar. Place the soaked beans in a large stockpot, cover with fresh water, bring to a boil, and simmer for about 10 minutes. Drain the beans, reserving the cooking liquid if desired.
Step 4: Filling the Jars
Pack the hot, pre-conditioned pinto beans loosely into clean, sterilized mason jars, leaving about 1 inch of headspace at the top of each jar. If desired, add 1 teaspoon of salt to each pint jar (or 2 teaspoons for quarts). Pour boiling water or hot broth over the beans, maintaining that crucial 1 inch of headspace.
Step 5: De-bubbling and Sealing
Run a non-metallic spatula or bubble-popper down the inside of each jar to release any trapped air pockets. Wipe the rims of the jars thoroughly with a clean, damp cloth to remove any traces of food or moisture. Place the flat canning lids onto the jars and twist on the screw bands until fingertip-tight.
Step 6: Pressure Canning Process
Place your pressure canner on the stove with the designated amount of water according to your manufacturer’s instructions. Load your filled jars onto the canning rack. Lock the lid, bring the canner to a boil, and vent steam for 10 minutes before applying the weighted gauge or letting the dial reach pressure. Process pint jars at 10 pounds of pressure (weighted gauge) for 75 minutes (or 90 minutes for quart jars). Once processing time concludes, turn off the heat and allow the canner to depressurize naturally before opening.
Chef’s Pro Tips for Success
-
Headspace is Critical: Never skip the 1-inch headspace rule. Beans expand during processing, and inadequate headspace can prevent proper sealing.
-
Hard Water Warning: If your tap water is extremely hard, it can toughen the skins of the beans during processing. Using filtered or distilled water yields a much creamier texture.
-
Storage: Store your sealed jars in a cool, dark, and dry place. Remove the screw bands before storage to prevent rust and allow you to easily detect any broken seals later.
Nutritional Information
Note: Nutritional values are approximate per 1/2 cup serving of cooked pinto beans.
-
Calories: 120 kcal
-
Total Fat: 0.5g
-
Saturated Fat: 0g
-
Cholesterol: 0mg
-
Sodium: 0mg (unless added salt is used during jarring)
-
Total Carbohydrates: 22g
-
Dietary Fiber: 8g
-
Net Carbs: 14g
-
Protein: 8g