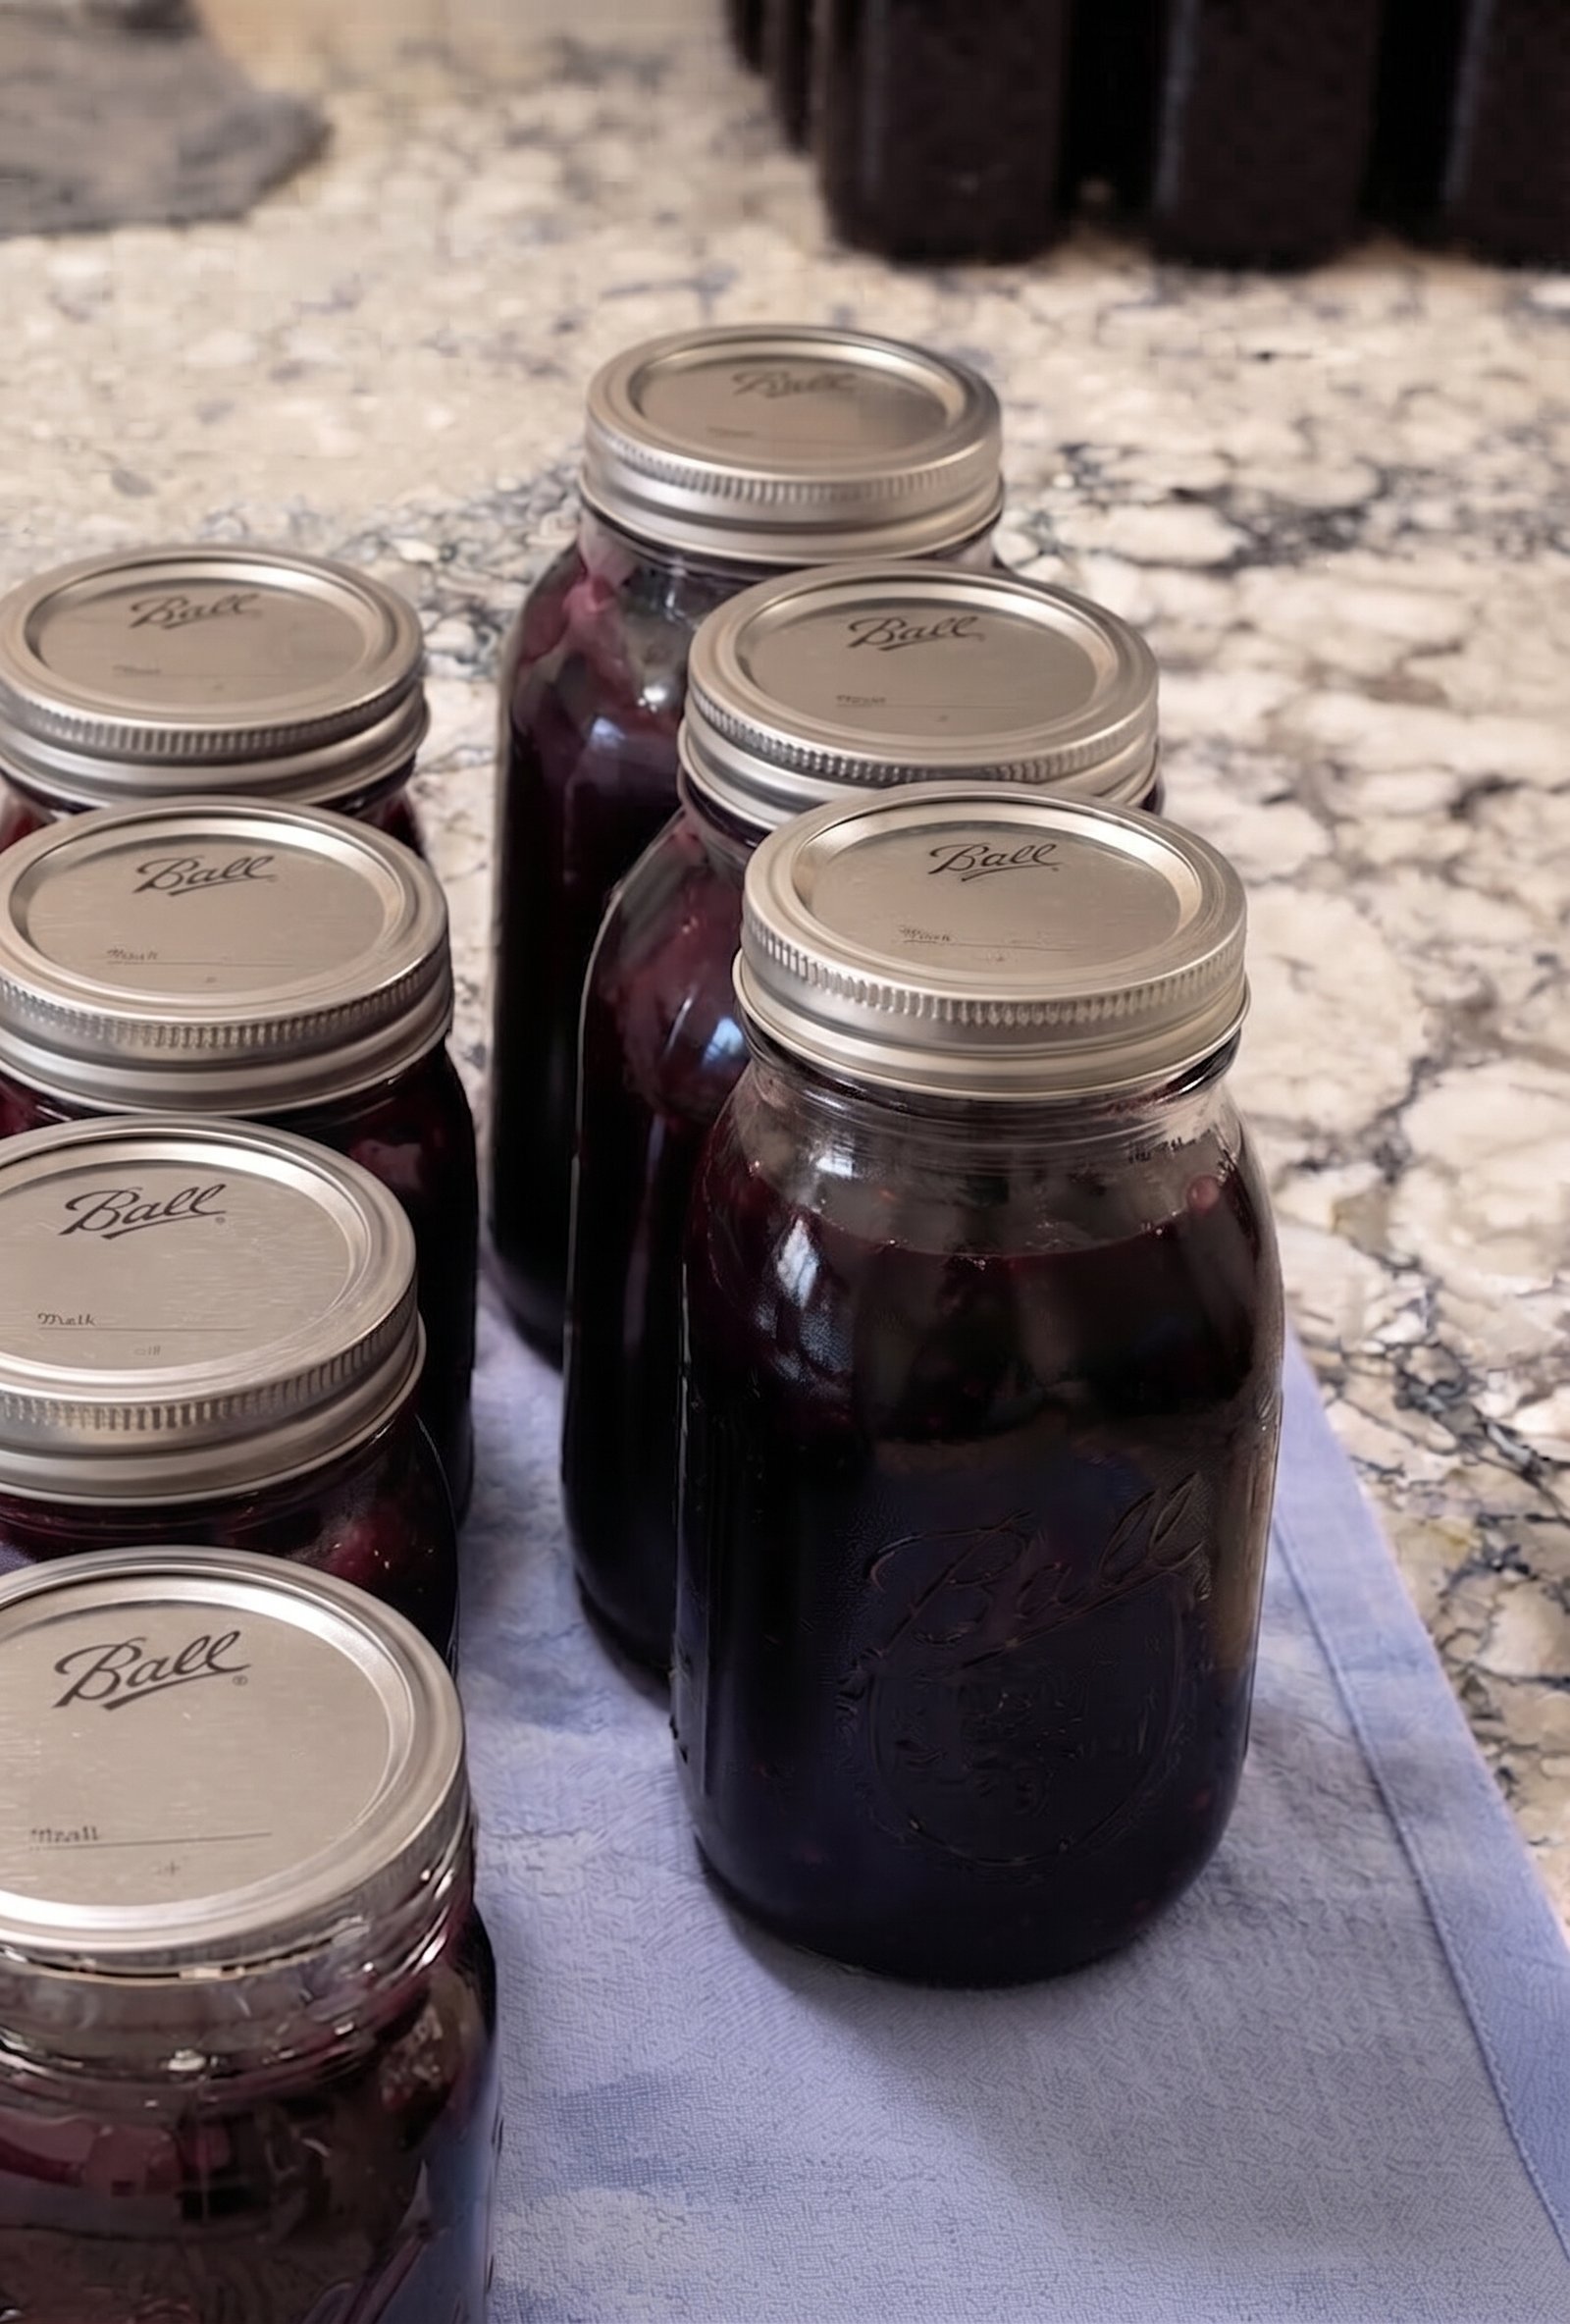
-
Prep time: 30 minutes
-
Cook time: 20 minutes
-
Processing time: 30 minutes
-
Total time: 1 hour 20 minutes
-
Yield: About 6 to 7 quart jars (or 12 to 14 pint jars)
Equipment Needed
-
Water bath canner and canning rack
-
Quart or pint mason jars, lids, and bands
-
Jar lifter and funnel
-
Large mixing bowls
-
Heavy-bottomed stainless steel stockpot
-
Measuring cups and spoons
Ingredients
-
6 quarts Fresh blueberries (rinsed, stemmed, and sorted)
-
4 ½ cups Granulated sugar
-
1 ½ cups ClearJel (Regular/Cook-Type, do not use Instant ClearJel)
-
5 cups Cold water or apple juice
-
1 cup Bottled lemon juice (bottled ensures a consistent, safe acidity level)
-
2 tsp Ground cinnamon (optional, for a warm undertone)
-
1 tbsp Pure vanilla extract
Step-by-Step Instructions
Step 1: Prepare the Canner and Jars
-
Wash your mason jars, lids, and bands in hot, soapy water, then rinse well.
-
Place your water bath canner on the stove, fill it with water, and heat it up to a simmer. Keep your jars warm in hot water until you are ready to fill them, but do not boil them dry. Prepare your canning lids according to the manufacturer’s instructions.
Step 2: Wash and Sort the Blueberries
-
Sort through your fresh blueberries, discarding any stems, leaves, or bruised, overripe fruit.
-
Rinse the remaining berries thoroughly in a colander under cool running water.
-
Optional blanching step: To prevent the blueberries from floating to the top of the jars during processing, you can blanch them in boiling water for 1 minute, then drain. Alternatively, many home canners prefer to skip this step as the thickening power of ClearJel holds them suspended nicely.
Step 3: Mix the Thickeners and Liquids
-
In a very large, heavy-bottomed stockpot, combine the cold water (or apple juice), granulated sugar, and ClearJel. Whisk thoroughly until the ClearJel is completely dissolved and no lumps remain.
-
Stir in the bottled lemon juice and ground cinnamon (if using).
Step 4: Cook the Mixture
-
Place the pot over medium-high heat. Stir the mixture constantly with a heat-resistant spatula or wooden spoon to prevent it from scorching or sticking to the bottom of the pot.
-
Bring the mixture to a boil and cook, stirring continuously, until it thickens and begins to bubble. The mixture will become quite thick, glossy, and translucent.
-
Remove the pot from the heat and gently fold in the prepared fresh blueberries and vanilla extract, stirring carefully so you do not crush the delicate berries.
Step 5: Fill the Jars
-
Ladle the hot blueberry pie filling immediately into your warm prepared mason jars.
-
Leave 1 inch of headspace at the top of each jar.
-
Use a non-metallic bubble freer or spatula to slide down the inside of the jars and release any trapped air pockets. Check your headspace again and add more filling if necessary to maintain the 1-inch mark.
-
Wipe the rims of the jars clean with a damp, lint-free cloth to remove any sticky residue, sugar, or thickener.
-
Center the flat lids on the jars and twist on the screw bands until they are fingertip tight.
Step 6: Process in the Water Bath Canner
-
Use your jar lifter to place the filled jars into the simmering water bath canner, ensuring the water level is at least 1 to 2 inches above the tops of the jars.
-
Place the lid securely on the canner and bring the water to a rolling boil over high heat.
-
Once a rolling boil is achieved, process the jars for 30 minutes (adjusting the time for your local altitude if you live above 1,000 feet). Maintain a steady boil throughout the processing time.
-
When the time is up, turn off the heat, remove the canner lid, and let the jars sit undisturbed in the hot water for 5 minutes.
Step 7: Cool and Store
-
Carefully lift the jars out of the canner using your jar lifter, taking care not to tilt them.
-
Set the hot jars upright on a dry towel or wooden cutting board in a draft-free spot, leaving space between each jar for air circulation.
-
Let the jars cool completely undisturbed for 12 to 24 hours.
-
Check the seals by pressing down on the center of each lid; if it pops up and down, it did not seal (store that jar in the refrigerator and use it first). Remove the screw bands, wash any residual stickiness from the jars, label them with the date, and store them in a cool, dark, dry place.
Chef’s Tips for Success
-
Why ClearJel Matters: Regular (cook-type) ClearJel is the only USDA-approved starch for home canning pie fillings. Standard cornstarch breaks down during the high heat of canning, resulting in a watery, runny mess. Never substitute regular cornstarch or instant pudding mixes for shelf-stable canning.
-
Bottled vs. Fresh Lemon Juice: Always use commercially bottled lemon juice instead of fresh squeezed. Bottled juice guarantees a standardized acid level ($pH$), which is critical for safe home canning and preventing botulism.
-
Baking Day Usage: When you are ready to make a pie, open a quart jar of filling, pour it directly into a prepared unbaked pastry crust, top with a lattice crust or crumble topping, and bake according to your favorite pie recipe until bubbly and golden!
Nutritional Information
Serving size: 1/2 cup filling (approximate values based on standard home canning proportions)
-
Calories: 185 kcal
-
Carbohydrates: 46 g
-
Dietary Fiber: 3 g
-
Sugars: 40 g
-
Sodium: 5 mg
-
Fat: 0.2 g
-
Protein: 1 g