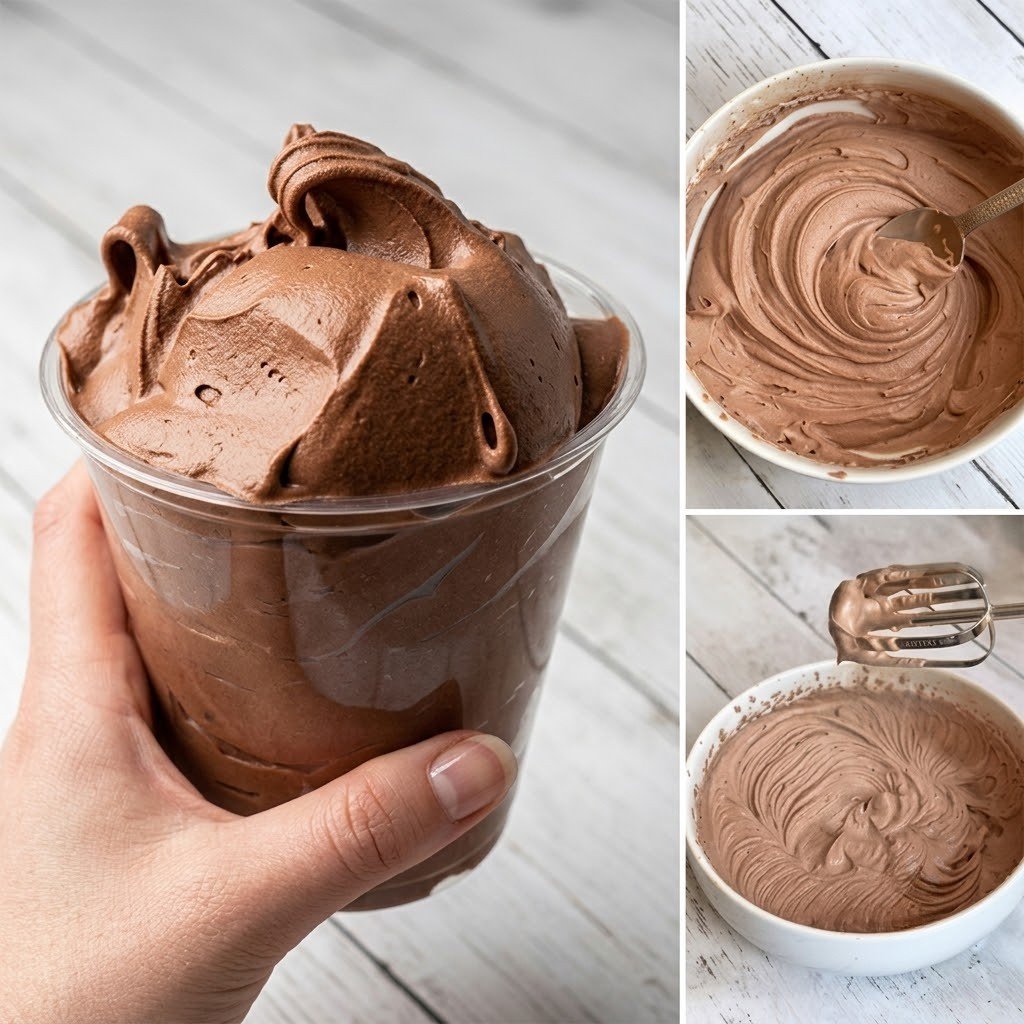
-
Prep Time: 10 minutes
-
Freezing Time: 6 to 8 hours (or overnight)
-
Total Time: ~6 to 8 hours (mostly hands-off)
-
Yield: 8 Servings (approx. 1 quart / 1 liter)
-
Difficulty: Extremely Easy
Intensity Breakdown & Mixing Guide
Achieving the perfect creamy texture without ice crystals requires proper whipping intensity and precise freezing parameters. Follow this intensity guide:
| Phase | Speed / Intensity Level | Duration | Purpose |
| Chilling Equipment | Freezer Prep ($-0^\circ\text{F} / -18^\circ\text{C}$) | 15 minutes | Chilling the mixing bowl and beaters ensures maximum volume during whipping. |
| Cocoa Slurry Base | Low Speed (Manual Stirring) | 2 minutes | Whisking cocoa powder into condensed milk until smooth avoids flying powder pockets. |
| Heavy Cream Whipping | Medium-High to High Speed | 3–5 minutes | Aerates heavy cream to stiff peaks, creating the structural foam that prevents ice crystals. |
| Folding Integration | Gentle Hand Folding (Low Intensity) | 2 minutes | Incorporates the chocolate mixture into whipped cream without deflating the air pockets. |
| Deep Freeze Setting | Maximum Cold Freezing | 6–8 hours | Solidifies the fats and sugars into a firm yet scoopable structure. |
Equipment Needed
-
Electric hand mixer or stand mixer fitted with a whisk attachment
-
Large glass or stainless steel mixing bowl (pre-chilled)
-
Medium mixing bowl
-
Rubber spatula
-
Standard 9×5-inch loaf pan (or freezer-safe airtight container)
-
Plastic wrap or parchment paper
Ingredients List
-
2 cups (16 oz / 480 ml) Heavy Whipping Cream (must be very cold, minimum 36% milk fat content)
-
1 can (14 oz / 396 g) Sweetened Condensed Milk (chilled)
-
1/2 cup (50 g) Unsweetened Cocoa Powder (Dutch-processed for a darker, smoother flavor, or natural cocoa)
-
Optional Pinch: 1/4 tsp fine sea salt or 1 tsp vanilla extract (optional, but enhances the chocolate depth!)
Step-by-Step Instructions
Phase 1: Chill & Prepare
-
Prep Equipment: Place your mixing bowl and metal beaters into the freezer for 15 minutes before starting. Cold tools allow heavy cream to whip much faster and hold more volume.
-
Prep Pan: Line a standard 9×5-inch loaf pan with parchment paper or ensure your freezer-safe container is clean and dry.
Phase 2: Create the Chocolate Base
-
Sift Cocoa: Sift the 1/2 cup of cocoa powder into a medium bowl to eliminate any clumps.
-
Mix with Condensed Milk: Pour the cold sweetened condensed milk into the cocoa powder. Add a tiny pinch of sea salt or vanilla extract if desired.
-
Whisk to Combine: Using a manual whisk or spoon on Low intensity, stir thoroughly until the cocoa powder is fully dissolved into the condensed milk. The mixture will look thick, glossy, and fudge-like. Set aside.
Phase 3: Whip & Fold
-
Whip Heavy Cream: Retrieve your pre-chilled bowl and beaters. Pour the cold heavy whipping cream into the bowl. Start beating on medium speed, then increase to High speed. Beat for 3 to 5 minutes until stiff peaks form (the cream should hold its shape firmly when beaters are lifted). Be careful not to over-whip, or it will turn into chocolate butter!
-
Lighten the Base: Add a large scoop (about 1/2 cup) of the whipped cream into the thick chocolate-condensed milk mixture. Stir briskly to loosen the texture.
-
Fold Gently: Pour the loosened chocolate mixture into the main bowl of whipped cream. Using a rubber spatula, gently fold the two mixtures together using an under-and-over motion until fully combined and streak-free. Maintain as much air and fluffiness as possible.
Phase 4: Freezing & Serving
-
Transfer: Pour the silky chocolate ice cream batter into your prepared loaf pan or container. Use your spatula to smooth the top.
-
Cover: Press a piece of plastic wrap or parchment paper directly onto the surface of the ice cream mixture (this prevents ice crystals from forming on top), then cover tightly with a lid or foil.
-
Freeze: Freeze on the coldest shelf of your freezer for at least 6 to 8 hours, preferably overnight, until firm and scoopable.
-
Scoop & Enjoy: Allow the ice cream to sit at room temperature for 3 to 5 minutes before scooping for maximum creaminess!
Storage, Shelf Life, & Preservation
-
Freezer Storage: Keep tightly sealed in an airtight container for up to 2 to 3 weeks.
-
Preventing Freezer Burn: Always keep plastic wrap pressed against the exposed surface before sealing the lid.
-
Texture Check: If frozen for over a week, transfer the tub to the refrigerator 15 minutes prior to serving to soften the edges naturally.
Complete Nutritional Profile
Serving Size: 1 Scoop / 1/2 cup (approx. 110g)
Servings Per Batch: 8 Servings
| Nutrient | Amount per Serving | % Daily Value* |
| Calories | 310 kcal | — |
| Total Fat | 21 g | 27% |
| Saturated Fat | 13.5 g | 68% |
| Trans Fat | 0.5 g | — |
| Cholesterol | 70 mg | 23% |
| Sodium | 75 mg | 3% |
| Total Carbohydrates | 28 g | 10% |
| Dietary Fiber | 1.5 g | 5% |
| Total Sugars | 25 g | — |
| Includes Added Sugars | 22 g | 44% |
| Protein | 4.5 g | 9% |
| Vitamin D | 0.6 mcg | 3% |
| Calcium | 135 mg | 10% |
| Iron | 1.1 mg | 6% |
| Potassium | 220 mg | 5% |