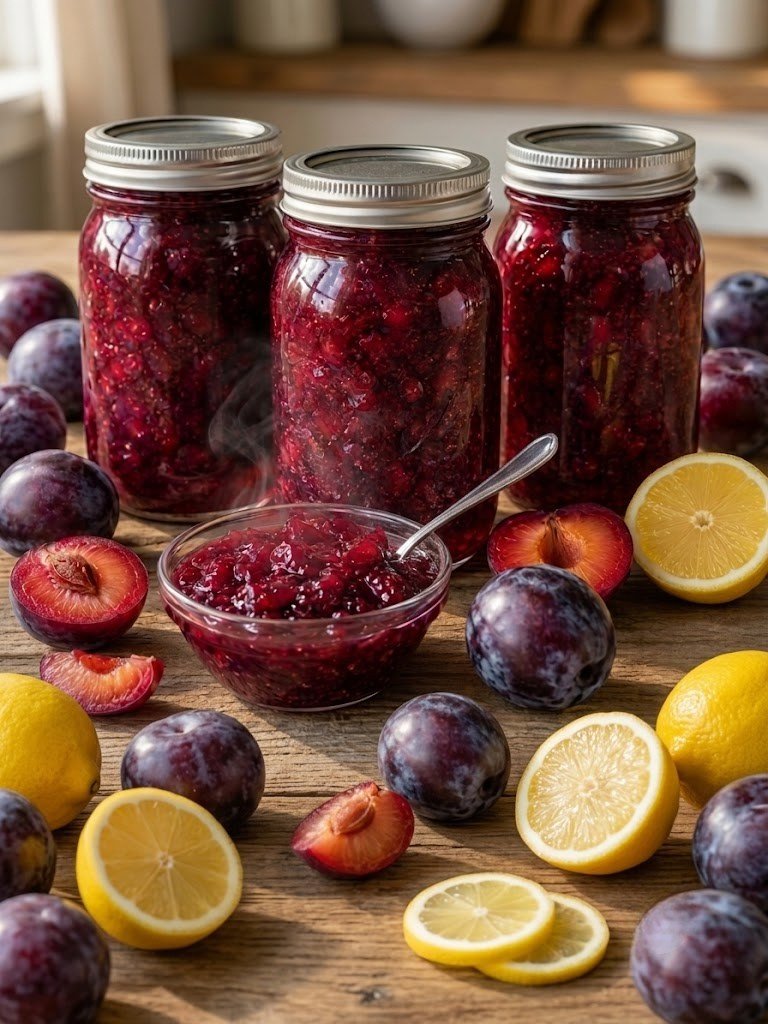
-
Prep Time: 25 minutes
-
Cook Time: 25 to 30 minutes
-
Total Time: 55 minutes (plus overnight setting time)
-
Cooking Intensity / Difficulty: Medium (Requires vigilant stirring and temperature awareness during the gelling phase)
-
Boiling Intensity: Medium-High Initial Simmer; Rapid, High-Heat Hard Boil
-
Course: Condiment / Spread
-
Cuisine: Traditional American Heritage
-
Yield: Approximately 4 to 5 half-pint (8 oz) jars
The Beauty of Pectin-Free Jam Making
Plums are uniquely suited for traditional jam-making because their skins and flesh contain an abundance of natural pectin—the structural carbohydrate responsible for thickening fruit spreads. By pairing the fruit with fresh lemon juice and a precise amount of sugar, a natural chemical reaction occurs under high heat. This creates a dense, luxurious texture that showcases the true, unaltered essence of the fruit without any powdery or chalky aftertaste.
Ingredients
To achieve a crystal-clear, deep-toned red finish and balanced acidity, source fresh, high-quality ingredients:
The Fruit Foundation:
-
Ripe Plums: 5 lbs, washed, pitted, and finely chopped (Keep the skins on! They provide the stunning ruby color and contain the bulk of the natural pectin).
-
Bottled Lemon Juice: cup (Provides the essential acid structure needed to bind the natural pectin and balances the intense sweetness).
The Preserving Element:
-
Granulated White Sugar: 5 cups (Crucial for shelf stability, texture formation, and maintaining the bright fruit color).
Step-by-Step Instructions
Step 1: Prep the Canning Station
If you are planning to store your jam long-term on a pantry shelf, fill a large water-bath canner or deep stockpot with enough water to submerge your jars by at least one inch. Bring the water to a gentle simmer. Thoroughly wash 5 half-pint glass jars and their matching two-piece lids in hot, soapy water. Place the clean jars into the simmering water bath to keep them warm until filling time; this prevents thermal shock, which can crack cold glass when hot jam is poured inside.
Step 2: Macerate and Simmer the Plums
In a heavy-bottomed, non-reactive stainless steel pot or Dutch oven, combine the 5 pounds of finely chopped plums and the cup of bottled lemon juice. Stir the fruit continuously over medium-high heat for 8 to 10 minutes. As the plums heat up, they will release their juices, the flesh will break down, and the tough skins will soften into the deep crimson liquid base.
Step 3: Dissolve the Sugar
Reduce the heat to medium-low and pour all 5 cups of granulated sugar into the softened fruit. Stir thoroughly for 2 to 3 minutes until the sugar granules are completely dissolved into the warm juices. Ensure no grains remain stuck to the bottom of the pot, as these can scorch easily once the heat is increased.
Step 4: The High-Intensity Hard Boil
Turn the heat up to high. Bring the sweetened plum mixture to a rapid, rolling boil—a vigorous boil that bubbles furiously and cannot be stirred down. Stir the jam continuously with a long-handled wooden or silicone spoon to prevent the fruit sugars from burning on the bottom of the pan.
Maintain this high-intensity boil for 15 to 20 minutes. As the water evaporates, the liquid will transform from a thin syrup into a glossy, thick, sheet-like consistency. Skim off any floating white foam that accumulates on the surface with a metal spoon.
Step 5: Test the Gel State
To verify the jam has reached its perfect setting point without overcooking it, use the Cold Plate Test. Place a small ceramic saucer in the freezer before you begin cooking. Drop a spoonful of the boiling jam onto the frozen plate and let it rest for 30 seconds. Push the edge of the jam gently with the tip of your finger. If the surface wrinkles up and holds its shape, your jam is perfectly set. If it remains completely liquid and runs across the plate, continue boiling for another 2 to 3 minutes and test again.
Step 6: Jarring the Jam
Turn off the heat. Carefully lift your hot, sterilized jars from the canner using jar lifters, emptying any trapped water back into the pot. Place the warm jars onto a clean towel. Fit a wide-mouth funnel over the first jar and ladle the hot plum jam inside, leaving exactly 1/4 inch of headspace at the top.
Wipe the rim of the jar meticulously with a clean, damp paper towel to remove any sticky drops. Center a flat lid on the clean rim and screw the metal band down until it is fingertip-tight—do not over-tighten, as air must be allowed to escape during the canning process.
Step 7: The Water-Bath Process
Lower the filled jars carefully back into the boiling water-bath canner. Ensure the water covers the lids by at least an inch. Put the lid on the pot, bring the water back to a full rolling boil, and process the jars for 10 minutes (adjust for altitude if living above 1,000 feet).
Turn off the heat, remove the canner lid, and let the jars sit in the hot water for 5 minutes. Use your jar lifters to remove them and place them upright on a towel-lined surface. Let them sit undisturbed for 24 hours. You will hear a series of crisp “pings” as the cooling jars form a permanent vacuum seal.
Pro-Tips for Culinary Perfection
-
Never Reduce the Sugar: Sugar isn’t just a sweetener here; it acts as a molecular preservative and structural setting agent. Cutting down the sugar will cause the jam to turn out runny and shortens its shelf-life significantly.
-
Why Bottled Lemon Juice? Fresh lemons vary wildly in their acidity levels. Bottled lemon juice has a standardized pH level, guaranteeing the exact acidity required to properly activate natural fruit pectin.
-
Checking the Seal: After 24 hours, press down on the center of each lid. If it is firm and dipped slightly downward without flexing up or popping, the jar is successfully sealed.
Storage and Enjoyment
-
Pantry Storage: Properly processed and sealed jars can be stored in a cool, dark pantry for up to 1 year.
-
Refrigerator Use: Once a jar is opened, store it in the refrigerator and consume it within 3 to 4 weeks. If you opt to skip the water-bath canning step altogether, the jam can go straight into the fridge once cooled.
Nutrition Information
Estimated values per serving (based on 1 tablespoon per serving; approx. 70-80 servings per batch):
-
Calories: 50 kcal
-
Total Fat: 0g
-
Saturated Fat: 0g
-
Cholesterol: 0mg
-
Sodium: 0mg
-
Total Carbohydrates: 13g
-
Dietary Fiber: 0.2g
-
Sugars: 12.5g
-
Protein: 0.1g