-
Prep Time: 45 minutes
-
Cook Time (Initial Simmer): 20 minutes
-
Processing Time (Pressure Canner): 75 minutes (Pints) or 90 minutes (Quarts)
-
Cooling & Sealing Time: 12 to 24 hours
-
Total Time: ~3 hours (including prep, processing, and cooling)
-
Intensity / Difficulty: Intermediate (Requires a pressure canner and strict adherence to USDA canning safety guidelines)
-
Yield: Approx. 6 to 7 quart jars (or 12 pint jars)
-
Category: Pantry Preservation / Home Canning / Main Course Entrée
-
Cuisine: Traditional American Comfort Food / Preservation
Ingredients List
Because this recipe is designed for pressure canning safety, every ingredient has been carefully proportioned to match tested guidelines. Do not alter the acid levels or substitute non-approved thickeners (like flour or cornstarch, which will break down and cause unsafe density issues during processing).
-
Green Bell Peppers: 3 kg (approx. 6.5 lbs) fresh, firm, unblemished green bell peppers. Washed, cored, seeded, and chopped into bite-sized chunks or thick strips.
-
Ground Beef: 1.5 kg (approx. 3.3 lbs) lean ground beef (Browned and drained beforehand).
-
Yellow Onions: 3 large yellow onions, peeled and diced.
-
Garlic: 6 cloves of fresh garlic, minced.
-
Crushed or Diced Tomatoes: 2 large cans (approx. 800g each) of high-quality canned crushed tomatoes (or equivalent home-canned tomato sauce).
-
Tomato Juice or Beef Broth: 4 cups (used to adjust consistency and fill liquid headspace).
-
Long-Grain White Rice: 1.5 cups uncooked long-grain white rice (Note: Pre-cooking rice is not required for this tested style; it absorbs flavor as it pressure-processes, but keep quantities strictly measured as listed to prevent liquid absorption issues).
-
Seasoning Blend:
-
Salt: 2 tablespoons canning and pickling salt (or plain non-iodized salt).
-
Black Pepper: 1 tablespoon freshly cracked black pepper.
-
Dried Oregano: 1 tablespoon.
-
Worcestershire Sauce: 2 tablespoons for an extra savory umami boost.
-
Step-by-Step Preparation Instructions
Step 1: Sanitize and Prep Your Canning Equipment
-
Inspect your pressure canner, ensuring the vent pipe is clear and the rubber gasket is supple and clean. Check your pressure gauge or weighted gauge for accuracy.
-
Wash your Mason jars (pints or quarts) thoroughly in hot, soapy water, rinse them, and keep them warm so they don’t crack when hot food is added.
-
Prepare new, flat canning lids by washing them in warm soapy water (do not boil modern lids).
Step 2: Brown the Meat and Aromatics
-
In a large, heavy-bottomed stockpot or Dutch oven over medium-high heat, add your 1.5 kg of ground beef along with the diced yellow onions and minced garlic.
-
Cook, stirring frequently, until the ground beef is thoroughly browned and no pink remains.
-
Drain off any excess fat or grease into a disposable container (never pour grease down your kitchen drain).
Step 3: Combine the Filling Components
-
To the pot with the browned beef and onions, add the chopped green bell peppers, crushed tomatoes, tomato juice/beef broth, uncooked white rice, canning salt, black pepper, dried oregano, and Worcestershire sauce.
-
Stir everything together thoroughly. Bring the mixture to a gentle boil over medium heat, stirring constantly to prevent scorching at the bottom of the pot.
-
Once boiling, reduce the heat and let it simmer uncovered for 10 to 15 minutes just until the peppers begin to soften slightly and the ingredients are fully unified.
Step 4: Pack the Jars Safely
-
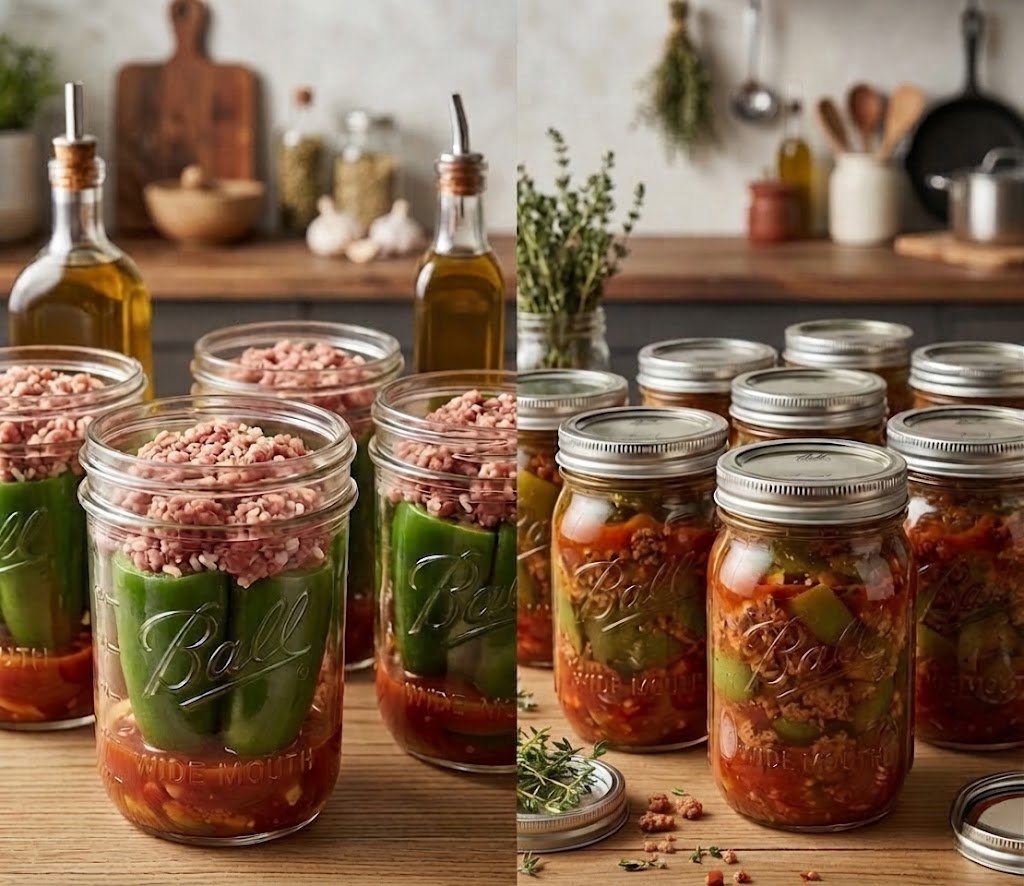
Ladle the hot stuffed pepper mixture into your warm, sterilized Mason jars using a wide-mouth canning funnel.
-
Ensure you leave exactly 1 inch of headspace at the top of each jar.
-
Tap the jars gently against the counter to release any trapped air bubbles, and add a little extra hot cooking liquid if necessary to maintain the correct 1-inch headspace.
-
Wipe the rims and threads of each jar clean with a damp paper towel to ensure a proper, hermetic seal.
-
Place the flat lids onto the jars and screw the band down finger-tight.
Step 5: Process in the Pressure Canner
-
Crucial Safety Warning: Because green peppers, meat, and rice are low-acid ingredients, this recipe MUST be processed in a pressure canner. A boiling water bath canner does not reach high enough temperatures to kill botulism spores safely.
-
Pour the recommended amount of water into the base of your pressure canner (usually about 2 to 3 inches, following your specific manufacturer’s instructions) and place your filled jars on the canning rack inside.
-
Lock the canner lid securely into place, leaving the weight off or the petcock open. Turn the heat to high and let steam vent freely from the pipe for a full 10 minutes.
-
Place the weighted gauge on the vent pipe (or let the dial gauge reach pressure). Adjust your burner heat to maintain pressure:
-
For Dial Gauge Canners: Process at 11 PSI (pounds per square inch) if you live between 0 and 2,000 feet altitude. (Adjust higher if you live at higher elevations, per USDA altitude charts).
-
For Weighted Gauge Canners: Process at 10 PSI for 0–1,000 feet, or 15 PSI if you are above 1,000 feet.
-
-
Processing Times:
-
Pint Jars: Process for 75 minutes.
-
Quart Jars: Process for 90 minutes.
-
Step 6: Cool Down and Store
-
Once the processing time is complete, turn off the heat source completely.
-
Do not force-cool the canner. Allow the pressure canner to depressurize and cool down naturally on its own until the pressure gauge drops to zero and all steam vents have closed.
-
Carefully remove the jars using a jar lifter, placing them upright on a dry towel or wooden cutting board in a draft-free spot. Leave them completely undisturbed for 12 to 24 hours.
-
Check the seals by pressing the center of each lid—if it does not flex up and down, your jar is successfully sealed. Remove the screw bands, wash the jars, label them with the date, and store them in a cool, dark, dry pantry.
Chef’s Pro-Tips & Serving Suggestions
-
How to Serve: When you are ready for a quick weeknight dinner, open a jar, pour it into a saucepan, and heat until bubbly. Serve it poured over a fresh bed of steaming hot white or brown rice, or scoop it into bowls and top with a generous handful of melted cheddar cheese and a dollop of sour cream.
-
Storage Shelf Life: Properly canned and sealed jars stored in a cool, dark pantry will maintain peak flavor, nutritional quality, and texture for 12 to 18 months.
-
Safety Reminder: Always inspect your home-canned jars before opening. If a seal has failed, or if you notice any unusual bubbles, off-odors, or discoloration upon opening, discard the contents immediately without tasting.
Nutritional Information
Note: Nutrition details are estimated per 1-cup serving of the finished canned stuffed pepper base, based on USDA-standard ingredient calculations.
-
Calories: ~210 kcal
-
Total Carbohydrates: 18.4 g
-
Dietary Fiber: 3.1 g
-
Sugars: 5.2 g
-
Protein: 14.2 g
-
Fat: 9.5 g
-
Sodium: ~580 mg (Adjusted for home-canning salt preservation standards)