Prep Time: 30 minutes
First Rise: 8–12 hours
Second Rise: 2–4 hours
Bake Time: 40 minutes
Total Time: Approximately 12–16 hours
Difficulty Level: Intermediate
Yield: 1 loaf (12 slices)
Cuisine: American
Ingredients
For the Dough
- 100g active sourdough starter
- 350g warm water
- 500g bread flour
- 30g unsalted butter, softened
- 20g honey
- 10g salt
Optional Topping
- Melted butter for brushing
- Oats or sesame seeds
Equipment Needed
- Large mixing bowl
- Kitchen scale
- 9×5-inch loaf pan
- Dough scraper
- Clean kitchen towel or plastic wrap
- Cooling rack
Instructions
Step 1: Feed the Starter
Ensure your sourdough starter is active and bubbly before beginning. Feed it 4–6 hours before mixing the dough. The starter should have doubled in size and show plenty of bubbles.
Step 2: Mix the Dough
In a large mixing bowl, combine the active sourdough starter and warm water. Stir until the starter is mostly dissolved.
Add the bread flour, honey, softened butter, and salt. Mix until a shaggy dough forms and no dry flour remains. The dough may feel slightly sticky, which is normal.
Cover the bowl and let the dough rest for 30 minutes.
Step 3: Strengthen the Dough
After resting, perform a series of stretch-and-folds.
Grab one side of the dough, stretch it upward, and fold it over itself. Rotate the bowl and repeat this process four times.
Cover and rest for 30 minutes.
Repeat this stretch-and-fold process three additional times, allowing 30 minutes of rest between each set.
The dough will become smoother, stronger, and more elastic with each round.
Step 4: Bulk Fermentation
Cover the bowl and allow the dough to rise at room temperature for 8–12 hours.
The dough should increase noticeably in size and appear puffy with small air bubbles throughout.
The exact fermentation time depends on the temperature of your kitchen. Warmer environments speed up fermentation, while cooler rooms slow it down.
Step 5: Shape the Dough
Lightly flour a work surface and turn out the dough.
Gently flatten it into a rectangle. Fold the top third toward the center, then fold the bottom third over it, similar to folding a letter.
Roll the dough tightly into a log shape, pinching the seam closed.
This shaping technique helps create the classic sandwich bread structure.
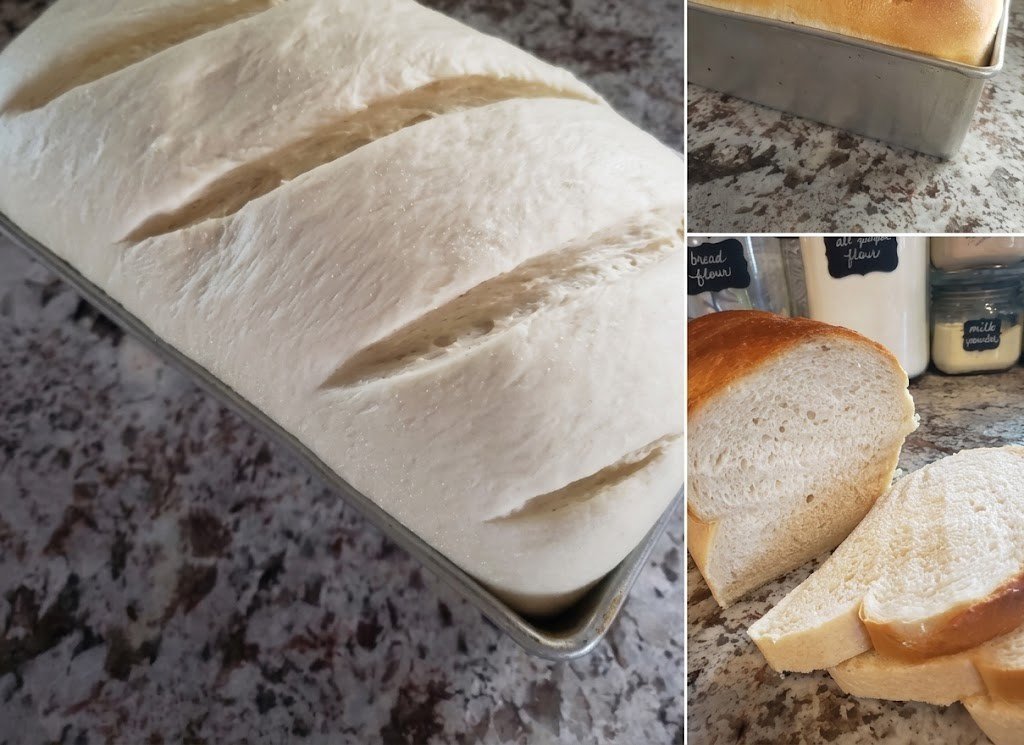
Step 6: Final Proof
Grease a 9×5-inch loaf pan.
Place the shaped dough seam-side down into the pan.
Cover loosely with plastic wrap or a damp towel and allow it to rise for 2–4 hours.
The dough is ready when it rises about 1 inch above the rim of the pan and springs back slowly when gently pressed.
Step 7: Preheat the Oven
Preheat your oven to 375°F (190°C).
Position the oven rack in the center for even baking.
Step 8: Bake the Bread
Bake the loaf for 35–40 minutes, or until the top is golden brown.
The internal temperature should reach approximately 200°F (93°C) when measured with an instant-read thermometer.
If the top browns too quickly, tent it loosely with aluminum foil during the final 10–15 minutes of baking.
Step 9: Cool Completely
Remove the bread from the oven and let it rest in the pan for 10 minutes.
Transfer the loaf to a wire rack and cool completely before slicing.
Cooling allows the crumb structure to set properly and prevents a gummy texture.
Tips for Success
- Use a healthy, active starter for the best rise.
- Weigh ingredients with a kitchen scale for accuracy.
- Avoid adding too much flour during shaping.
- Allow the loaf to cool fully before slicing.
- Store at room temperature to maintain softness.
Serving Suggestions
This sourdough sandwich bread is incredibly versatile and can be enjoyed in many ways:
- Toasted with butter and jam
- Peanut butter and banana sandwiches
- Grilled cheese sandwiches
- French toast
- Turkey and avocado sandwiches
- Breakfast toast with eggs
- Homemade garlic bread
Its soft texture makes it ideal for both sweet and savory toppings.
Storage Instructions
Room Temperature
Store the loaf in an airtight container or bread bag for up to 4 days.
Refrigerator
Refrigeration is not recommended because it can dry out the bread more quickly.
Freezer
Slice the loaf before freezing and store in a freezer-safe bag for up to 3 months.
Thaw slices individually as needed.
Nutrition Information
Per Slice (Based on 12 Slices)
- Calories: 165
- Carbohydrates: 31g
- Protein: 5g
- Fat: 2g
- Saturated Fat: 1g
- Cholesterol: 5mg
- Sodium: 195mg
- Fiber: 1g
- Sugar: 2g